
Asian-style crispy garlic chicken
Asian-style crispy garlic chicken in 35 minutes juicy, crunchy, and coated in a savory garlic-soy sauce. Perfect for weeknights!

By Emma FrostUpdated June 13, 2026

- Prep Time
- 15 min
- Cook Time
- 20 min
- Total Time
- 35 min
- Servings
- 4 servings

5-Ingredient Dump & Go Crockpot Meals
101 effortless slow cooker recipes for busy families.
View on AmazonAvailable on AmazonSkip the takeout this Asian-style crispy garlic chicken recipe is faster, crunchier, and packed with real flavor. Juicy chicken, golden garlic, and a tangy-savory sauce come together in minutes for a dinner that satisfies every time.
Table of Contents
Table of Contents
Intro & Personal Story
What is Asian-Style Crispy Garlic Chicken?
If there’s one dish that wins hearts every single time in our family, it’s this: Asian-style crispy garlic chicken. It’s the kind of dinner that hits every craving crispy, juicy, garlicky, and just the right amount of sticky-sweet. Unlike deep-fried fast food versions, this one uses boneless chicken thighs, pan-fried to golden perfection, and tossed in a homemade sauce that tastes like it came straight from your favorite Asian bistro.
You’ve probably seen versions of this dish floating around sometimes labeled crispy Asian garlic chicken recipe, Chinese garlic chicken stir fry, or easy crispy garlic chicken Asian style. No matter the name, the heart of it is the same: crave-worthy crunch, bold garlic, and that irresistible glossy finish.
Asian-style crispy garlic chicken
- Total Time: 35 min
- Yield: 4 servings 1x
Description
Asian-style crispy garlic chicken in 35 minutes juicy, crunchy, and coated in a savory garlic-soy sauce. Perfect for weeknights!
Ingredients
500 grams boneless chicken thighs, cut into bite-sized pieces
2 tablespoons cornstarch
1 tablespoon dark soy sauce
1.5 tablespoons minced garlic (divided)
1 teaspoon minced fresh ginger
1/2 teaspoon black pepper
2 tablespoons soy sauce
1/4 cup chicken broth
2 teaspoons rice vinegar
1 tablespoon light brown sugar
1 teaspoon sesame oil
1 teaspoon Sriracha
1/4 cup water
1 red bell pepper, sliced
1/3 cup green onion, chopped
1/3 cup oil for frying
Instructions
- In a bowl, toss: In a bowl, toss chicken with dark soy sauce, half of the garlic, ginger, pepper, and cornstarch. Let marinate 10–15 minutes.
- In a separate bowl: In a separate bowl, whisk soy sauce, broth, vinegar, sugar, sesame oil, Sriracha, remaining garlic, and water.
- Heat oil in a: Heat oil in a large skillet or wok over medium-high. Fry chicken until golden and crispy, 3–5 minutes per side. Drain on paper towels.
- Pour off excess oil: Pour off excess oil, keeping about 1 tablespoon. Stir-fry red pepper for 2 minutes.
- Return chicken to pan: Return chicken to pan. Pour in sauce, toss to coat, and let thicken for 2–3 minutes.
- Add green onions, toss: Add green onions, toss, and remove from heat. Serve immediately.
Notes
Use boneless thighs for best texture.
Don’t overcrowd the pan when frying.
Reheat leftovers in a skillet—not the microwave—to keep them crispy.
- Prep Time: 15 min
- Cook Time: 20 min
- Category: Main
- Method: Stir-Fry
- Cuisine: Asian
Nutrition
- Serving Size: 1 plate
- Calories: 390
- Sugar: 6g
- Sodium: 870mg
- Fat: 24g
- Saturated Fat: 5g
- Unsaturated Fat: 17g
- Trans Fat: 0g
- Carbohydrates: 17g
- Fiber: 1g
- Protein: 27g
- Cholesterol: 85mg
Why You’ll Love It
We first started cooking this dish on a rainy Friday night when we didn’t feel like ordering in but were dying for something cozy and comforting. It came together quickly, used pantry staples, and most importantly it delivered that restaurant-style texture and flavor we were after.
The magic? It’s in the sauce and the method. A quick marinade infuses flavor while cornstarch gives that signature crisp edge. You pan-fry instead of deep-fry, so it’s lighter and faster. And the sauce? Equal parts savory, sweet, and spicy with fresh garlic and ginger bringing it to life.
This is now one of those go-to recipes we rotate often, right alongside favorites like our Garlic Butter Steak Lightning Noodles or when we want something with a kick, Chicken and Shrimp Pad Thai.
Quick weeknight or a family dinner -- simple, satisfying, reliable.Find your next favorite dish in these simple dinner ideas for two.
Quick Overview
Ready in Under 40 Minutes, Start to Finish
This Asian-style crispy garlic chicken isn’t just about bold flavorit’s also about speed. With a short marinade, simple sauce, and one-pan cooking, the entire dish comes together in about 35 minutes. Perfect for weeknights or whenever you need a delicious meal without the wait.
Here’s what makes it shine:
- Crispy texture thanks to cornstarch
- Bold garlic and ginger flavor in every bite
- Balanced sauce with soy, vinegar, and just a hint of heat
- Quick stir-fry technique that keeps everything crisp not soggy
And because it uses boneless chicken thighs, it stays juicy and tender while still getting that signature crisp everyone loves.
Looking for more fast meals with bold flavor? Try our savory Cowboy Butter Chicken Linguine or the colorful Grilled Shrimp Bowl with Avocado Corn Salsa.
What You’ll Need
Basic kitchen tools are all you need to master this dish:
- Large skillet or wok (nonstick or cast iron works best)
- Mixing bowl for marinating
- Paper towels for draining
No fancy gadgets. Just real ingredients and solid technique.
You’re just a few easy steps away from crispy, sticky garlic chicken that beats any takeout.
Ingredients
Chicken
- 500 grams boneless chicken thighs, cut into bite-sized pieces
Chicken thighs are ideal for this crispy Asian garlic chicken recipe. They’re juicier than breasts and hold up better when pan-fried. The rich flavor also pairs beautifully with the sauce.
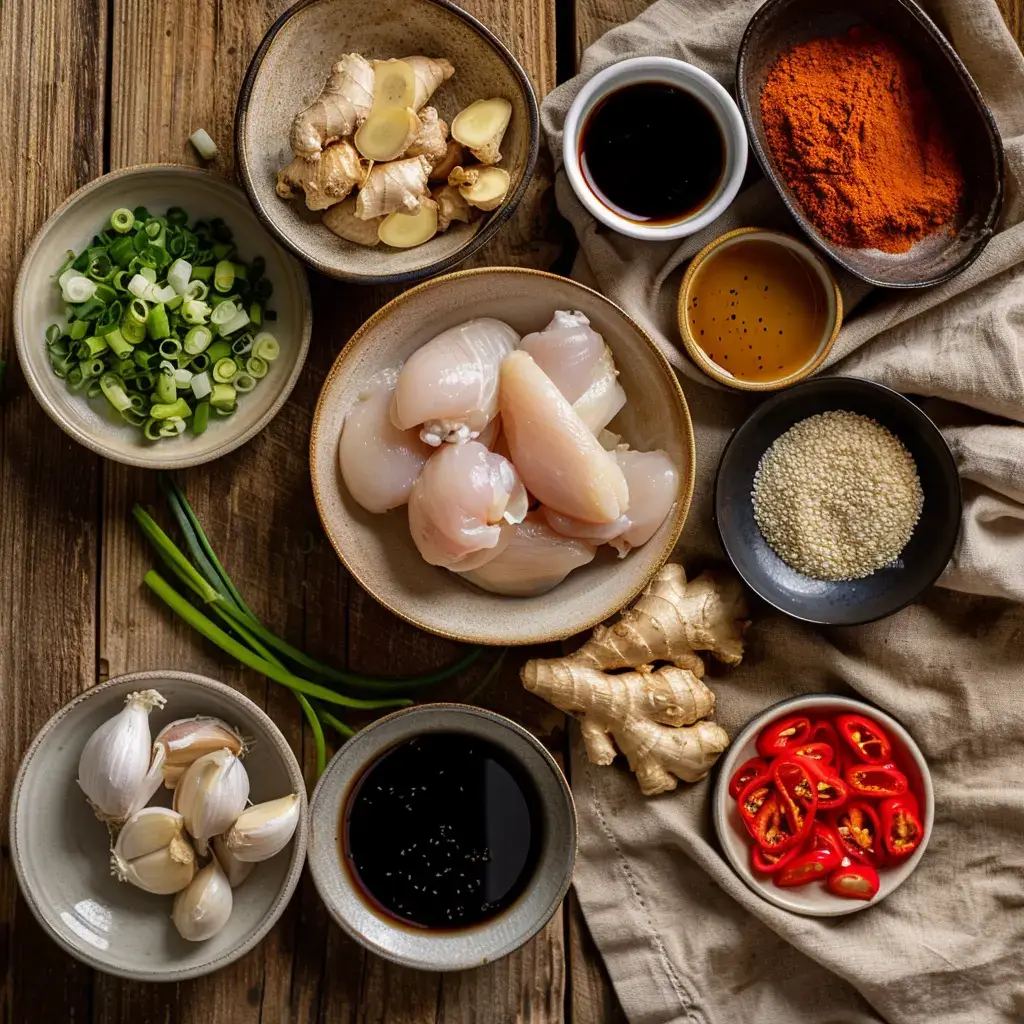
Marinade and Coating
- 2 tablespoons cornstarch
This is the secret to getting that golden crispy crust without deep frying. - 1 tablespoon dark soy sauce
Adds depth and rich color to the chicken. - 1.5 tablespoons minced garlic
Split between the marinade and sauce for bold flavor. - 1 teaspoon fresh ginger, minced
Lends warmth and sharpness to balance the sweetness. - 1/2 teaspoon black pepper
Simple seasoning that brings it all together.
Sauce Ingredients
- 2 tablespoons soy sauce
Light soy adds saltiness and that classic umami punch. - 1/4 cup chicken broth
Builds out the body of the sauce without overpowering. - 2 teaspoons rice vinegar
Provides acidity to cut through the richness. - 1 tablespoon light brown sugar
Balances the heat and acidity with a bit of sweetness. - 1 teaspoon sesame oil
Gives a deep, nutty aroma. - 1 teaspoon Sriracha
Adds just enough heat to wake things up. - 1/4 cup water
Helps thin the sauce just enough for tossing.
Stir Fry Add-ins
- 1 red bell pepper, sliced
Bright and crisp, this adds color and subtle sweetness. - 1/3 cup green onion, chopped
Tossed in at the end for freshness and crunch. - 1/3 cup oil for frying
Use a neutral oil like canola or vegetable for best results.
This ingredient list keeps things simple while delivering layers of flavor. Just like in our Thai Shrimp Roll with Noodles or Beef and Pepper Rice Bowl, every ingredient here plays a role in balancing bold and satisfying flavor.
Step-by-Step Instructions
Step 1: Marinate the Chicken
In a mixing bowl, combine the chicken thighs with dark soy sauce, half of the minced garlic, ginger, black pepper, and cornstarch. Toss well to coat every piece evenly.
Let the mixture sit for 10 to 15 minutes. This not only flavors the chicken but also helps the starch bind for crispier results when frying.
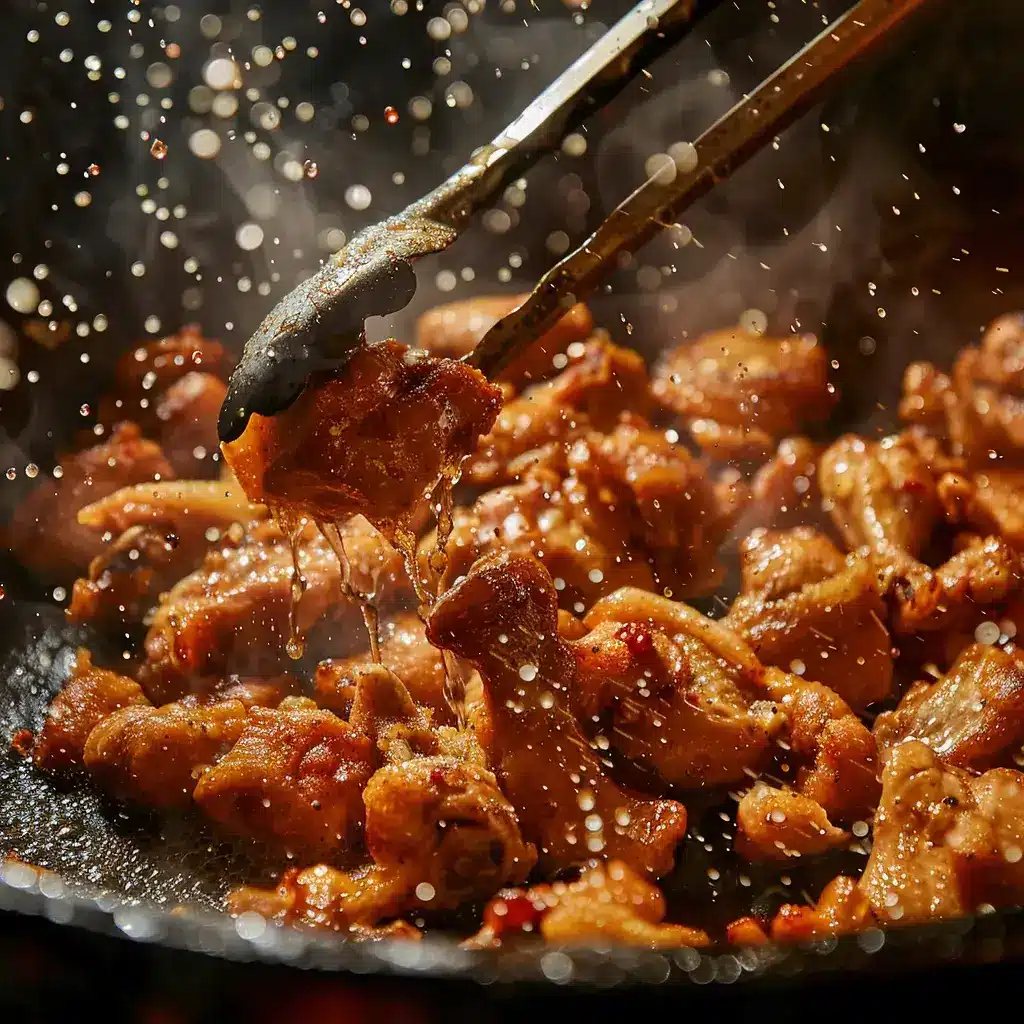
Pro tip: While it marinates, go ahead and mix your sauce.
Step 2: Make the Garlic Sauce
In a small bowl, whisk together:
- Soy sauce
- Chicken broth
- Rice vinegar
- Light brown sugar
- Sesame oil
- Sriracha
- Remaining garlic
- Water
This sauce hits every note sweet, salty, tangy, and just enough heat. It’s similar to what we use in our Shrimp and Sausage Foil Packet Dinner simple but deeply flavorful.
Step 3: Fry the Chicken Until Crispy
Heat 1/3 cup of oil in a large skillet or wok over medium-high. Once hot, carefully place the marinated chicken in a single layer.
Fry for 3–5 minutes per side, turning until golden brown and crisp.
Remove the chicken and transfer to a paper towel-lined plate to drain. This helps keep the texture light and crunchy not greasy.
Step 4: Stir-Fry the Veggies
Pour off excess oil, leaving about 1 tablespoon in the pan. Add in the sliced red bell pepper and stir-fry for 2 minutes, just until it softens slightly.
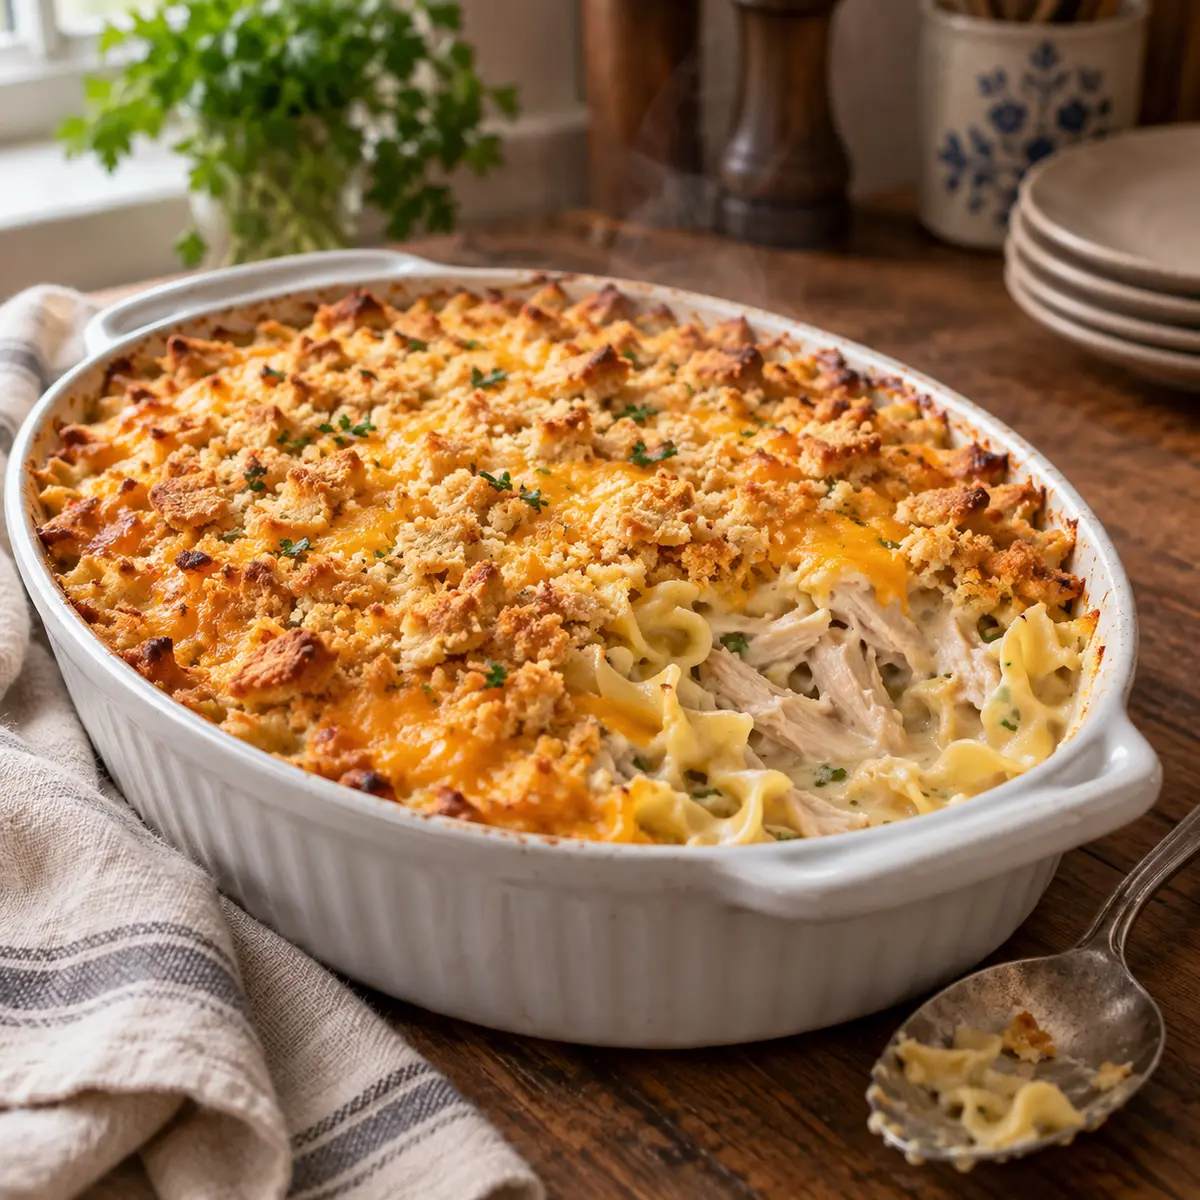
This step adds color and crunch just like we love in dishes like Dolly’s Chicken and Stuffing Casserole where vegetables add balance.
Step 5: Combine Everything
Return the crispy chicken to the pan with the peppers. Give the sauce a quick stir (sugar sometimes settles) and pour it in.
Toss well to coat every piece of chicken.
Let the sauce simmer for 2–3 minutes, just until it thickens slightly and clings to the chicken.
Sprinkle with chopped green onions, give one last toss, and remove from heat.
Serve it hot and fresh for that unbeatable texture.
Serving Suggestions
Make It a Full Meal
This Asian-style crispy garlic chicken is bold enough to stand on its own, but it’s even better with the right sidekicks. Serve it over a bed of steamed jasmine rice or garlic fried rice to soak up every drop of that glossy sauce.
Want a lighter pairing? Toss together a simple cucumber salad or pair it with our refreshing Cucumber and Pineapple Salad, which balances the heat and savoriness perfectly.
For noodle lovers, this chicken also shines when served alongside quick stir-fried noodles or even our flavorful Pastasciutta for a creative East-meets-West twist.
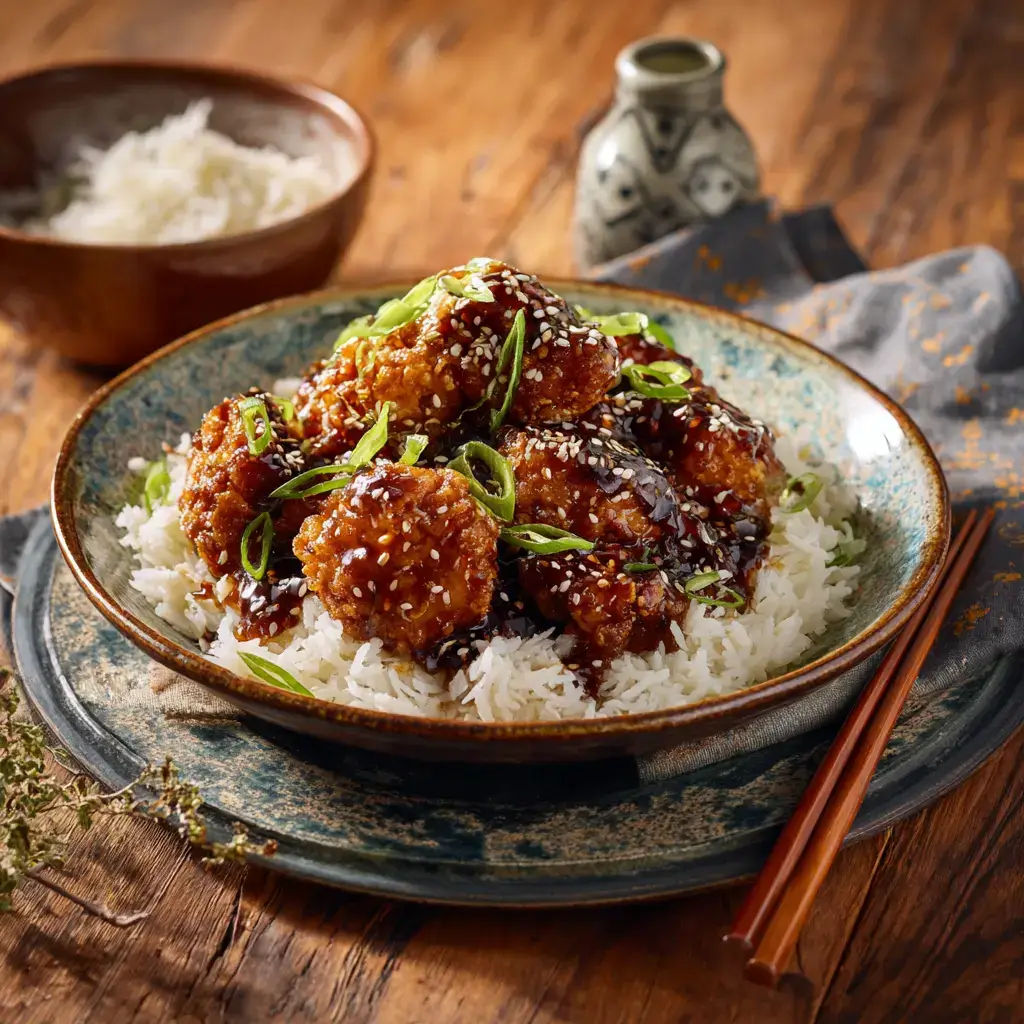
Garnish Like a Pro
Add a final touch to boost flavor and presentation:
- Sprinkle toasted sesame seeds on top
- Add extra chopped green onions for freshness
- A wedge of lime for a citrusy zip
If you love sweet heat, drizzle a little extra Sriracha over the top right before serving.
Quick weeknight or a family dinner -- simple, satisfying, reliable.Pro Tips & Storage
Pro Tips for Maximum Crispiness
Getting that signature crunch isn’t hard but a few smart moves make all the difference:
- Use chicken thighs for juicier, more flavorful bites. They crisp better than breasts.
- Dry the chicken well before marinating to help the cornstarch adhere and form a proper crust.
- Don’t overcrowd the pan. Fry in batches if needed so each piece gets golden and crispy, not steamed.
- Let it rest briefly on paper towels after frying. This step keeps the coating crisp before adding it back to the sauce.
And don’t skip the cornstarch it’s your secret weapon for crisp texture without deep frying, similar to the coating we use in our Garlic Butter Steak Lightning Noodles.
How to Store and Reheat Without Losing Crunch
Have leftovers? Here’s how to keep that crisp magic:
- Cool completely before storing in an airtight container.
- Store in the fridge for up to 3 days.
- For best results, reheat in a skillet over medium-high with a splash of oil.
Avoid the microwave it softens the coating.
Want to prep ahead? You can marinate the chicken and mix the sauce up to a day in advance. Keep them separate in the fridge until ready to cook. Then fry fresh for that unbeatable texture.
And if you’re batch-cooking meals like you might with our Busy Day Soup, this dish fits right in prep ahead, cook fast, and savor later.
FAQs
What cut of chicken is best for crispy garlic chicken?
How do you get the chicken extra crispy and prevent it from getting soggy?
This method is the same one we rely on in quick skillet recipes like our Beef and Pepper Rice Bowl, where texture matters just as much as flavor.
How much garlic should I use, and when should it go in?
Can I prepare the chicken ahead of time without losing the crunch?
Planning meals ahead? This works just like our Natural Mounjaro Recipe where make-ahead elements save time without sacrificing flavor.
This Asian-style crispy garlic chicken hits every note: golden crunch, bold garlic flavor, and a sticky-sweet sauce that clings to every bite. It’s fast, flavorful, and better than takeoutand now that you know the tricks, you can make it anytime.
So grab your wok, marinate that chicken, and let’s get sizzling. Then tag us on Facebook or Pinterest so we can see your masterpiece!
Find your next favorite dish in these simple dinner ideas for two.
Must‑Have Kitchen Equipment for This Recipe:
- Instant Pot Duo Plus 6‑Qt 9‑in‑1 Programmable Pressure Cooker
- Instant Vortex Plus 6‑Qt Air Fryer (ClearCook + OdorErase)
- Aucma 6.5‑Qt 6‑Speed Tilt‑Head Stand Mixer
Some links may be affiliate links. Read our affiliate disclosure.

Ratings & Reviews
Leave a reviewWe'd love to hear how it turned out.