
No-Oven Stovetop Bread
No-oven stovetop bread is a quick, fluffy, golden loaf you cook entirely in a skillet no oven needed. Perfect for small kitchens and quick cravings.

By Ella FrostUpdated June 13, 2026

- Prep Time
- 15 min
- Cook Time
- 15 min
- Total Time
- 30 min
- Servings
- 1 loaf

5-Ingredient Dump & Go Crockpot Meals
101 effortless slow cooker recipes for busy families.
View on AmazonAvailable on AmazonNo-oven stovetop bread is a quick, comforting way to enjoy fresh bread without turning on the oven. With just a skillet, a few pantry staples, and 30 minutes, you can make fluffy, golden bread that’s perfect with butter or jam. If you’ve ever wondered how to cook bread on the stove, this is the recipe you’ve been waiting for.
Table of Contents
Table of Contents
Intro & Personal Story
What is No-Oven Stovetop Bread?
Let us tell you a secret we grew up watching our grandma flip rounds of soft, fluffy bread right on the stovetop, no oven in sight. That’s where this no-oven stovetop bread recipe began. It’s bread in its simplest form crisped on the outside, pillowy on the inside, and entirely cooked on the stove. If you’re looking for bread that doesn’t need an oven, this is your go-to.
No-oven stovetop bread is essentially a yeasted dough that’s pan-cooked instead of baked. Think of it as a fusion between flatbread and classic sandwich bread. It rises like traditional loaves but cooks like a thick pancake. No Dutch oven or bread machine needed just a mixing bowl and a non-stick skillet.
We’ve tested this recipe countless times to make sure it works beautifully for first-timers and bread lovers alike.Summer cookout, picnic, or a casual backyard dinner — fits right in.
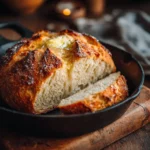
No-Oven Stovetop Bread
- Total Time: 30 min
- Yield: 1 loaf 1x
- Diet: Vegetarian
Description
No-oven stovetop bread is a quick, fluffy, golden loaf you cook entirely in a skillet no oven needed. Perfect for small kitchens and quick cravings.
Ingredients
1 cup all-purpose flour
1 teaspoon baking powder
1/4 teaspoon salt
1/4 cup unsalted butter, melted
1/2 cup milk
1 large egg
1/4 cup warm water
1 teaspoon sugar
1 teaspoon active dry yeast
1 tablespoon olive oil for frying
Instructions
- In a small bowl: In a small bowl, combine warm water, sugar, and yeast. Let sit for 5-10 minutes until foamy.
- In a large bowl: In a large bowl, mix flour, baking powder, and salt.
- Make a well in: Make a well in the center and add yeast mixture, melted butter, milk, and egg. Mix until dough forms.
- Knead on a floured: Knead on a floured surface for 8-10 minutes until smooth.
- Place dough in an: Place dough in an oiled bowl, cover, and let rise for 1–1.5 hours.
- Punch down, shape into: Punch down, shape into loaf, and let rise for 30 minutes.
- Heat olive oil in: Heat olive oil in skillet over medium-low heat.
- Cook covered for 5–7: Cook covered for 5–7 minutes per side, flipping once.
- Let cool slightly before: Let cool slightly before serving.
Notes
Make sure your skillet has a lid to trap steam.
Use medium-low heat to avoid burning.
Best enjoyed fresh but stores well up to 5 days.
- Prep Time: 15 min
- Cook Time: 15 min
- Category: Bread
- Method: Skillet
- Cuisine: American
Nutrition
- Serving Size: 1 slice
- Calories: 250
- Sugar: 2g
- Sodium: 180mg
- Fat: 10g
- Saturated Fat: 5g
- Unsaturated Fat: 4g
- Trans Fat: 0g
- Carbohydrates: 30g
- Fiber: 1g
- Protein: 6g
- Cholesterol: 40mg
And since you’re already here, if you love unique twists on comforting carbs, you might want to check out our applesauce bread or this creative cinnamon roll zucchini bread.
Why You’ll Love It
No-oven stovetop bread is:
- Fast: Just 30 minutes total, including cooking.
- Soft and golden: Perfect texture inside and out.
- Oven-free: Great for dorms, RVs, or summer heatwaves.
- Simple: Basic pantry ingredients do the trick.
- Versatile: Use it for sandwiches, dips, or even breakfast toast.
It also feels nostalgic something about that gentle sizzle in the skillet brings back cozy memories. And hey, there’s nothing wrong with taking the old-school route when it’s this good.
You’ll also appreciate that you don’t need any fancy equipment. If you can flip a pancake, you can make this bread. Just like we did with our baby lemon impossible pies or the ever-popular lazy day lemon cream pie bars, we’ve kept this process chill, easy, and totally beginner-friendly.
Quick Overview
This no-oven stovetop bread is a game-changer if you’re craving homemade bread but don’t want to deal with ovens, proofing baskets, or Dutch ovens. You’ll only need one bowl and a skillet. In just 30 minutes total time, you’ll have a fluffy loaf that’s golden outside and tender inside.
Here’s a snapshot of what you need to know before diving in:
| Category | Details |
|---|---|
| Prep Time | 15 minutes |
| Cook Time | 15 minutes |
| Total Time | 30 minutes |
| Yield | 1 loaf |
| Equipment | Mixing bowl, non-stick skillet |
| Cuisine | American |
You don’t need a professional kitchen or oven to get bakery-level results. Just simple tools and simple steps the same way we made our blueberry biscuits and cheap homemade blueberry muffins.
Ingredients
This stovetop bread is made with pantry staples no fancy flour blends or hard-to-find ingredients. We’ve split them into Dry and Wet Ingredients so you can prep like a pro.
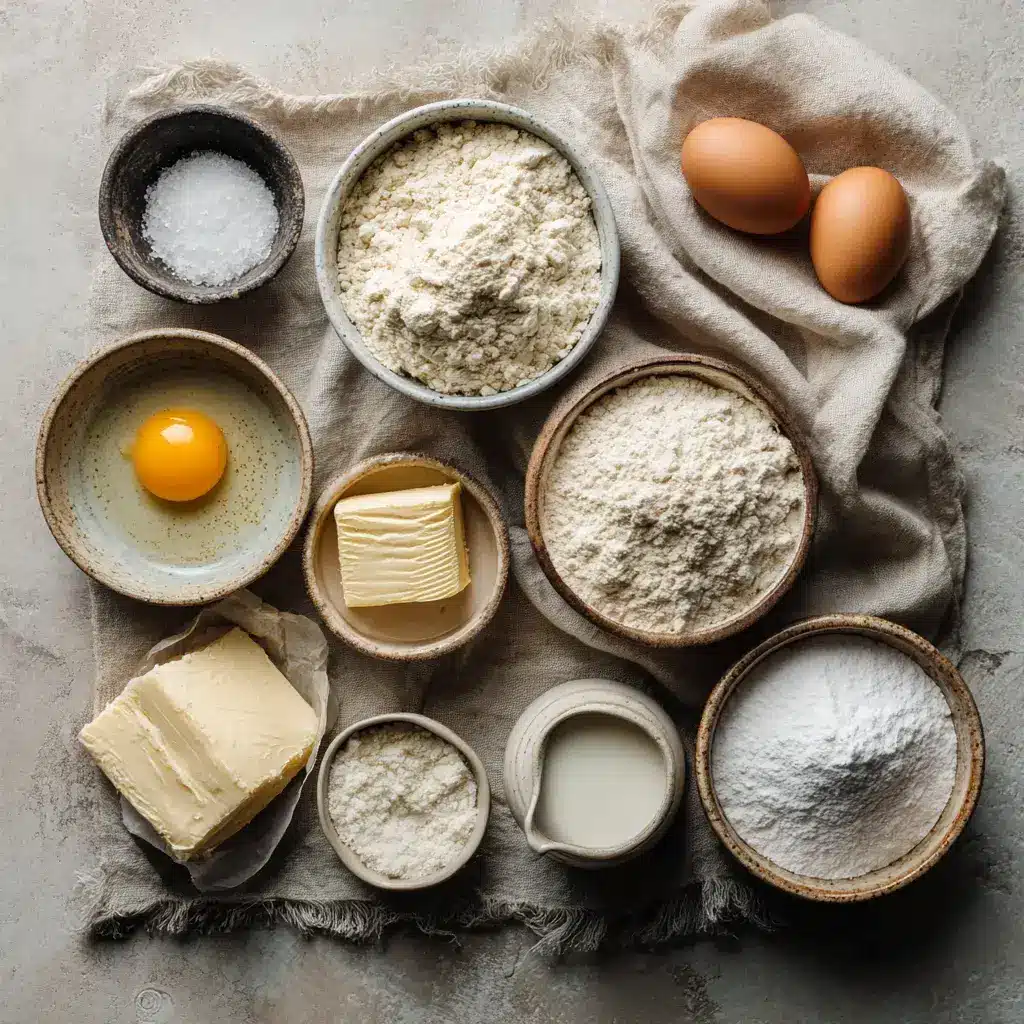
Dry Ingredients
- 1 cup all-purpose flour – Gives structure to your bread. You can also try a 50/50 mix with whole wheat for added fiber.
- 1 teaspoon baking powder – Boosts rise and adds fluffiness, especially since we’re skipping the oven.
- 1/4 teaspoon salt – Enhances flavor and balances sweetness.
Wet Ingredients
- 1/4 cup unsalted butter, melted – Richness and soft crumb.
- 1/2 cup milk – Adds moisture and tenderness.
- 1 large egg – Binds the dough and gives it richness.
- 1/4 cup warm water – Activates the yeast.
- 1 teaspoon sugar – Feeds the yeast and adds subtle sweetness.
- 1 teaspoon active dry yeast – Helps the bread rise beautifully without baking.
- 1 tablespoon olive oil (for frying) – Prevents sticking and crisps the crust.
If you’re short on milk, try this recipe with almond or oat milk just like we suggested in our no-bake coconut cream pie where we used coconut milk with amazing results.
And for those of you experimenting in smaller kitchens, this recipe is just as approachable as our brownie in a mug, which also requires zero baking.
Step-by-Step Instructions
This no-oven stovetop bread comes together in just a few straightforward steps. Grab your skillet, and let’s do this!
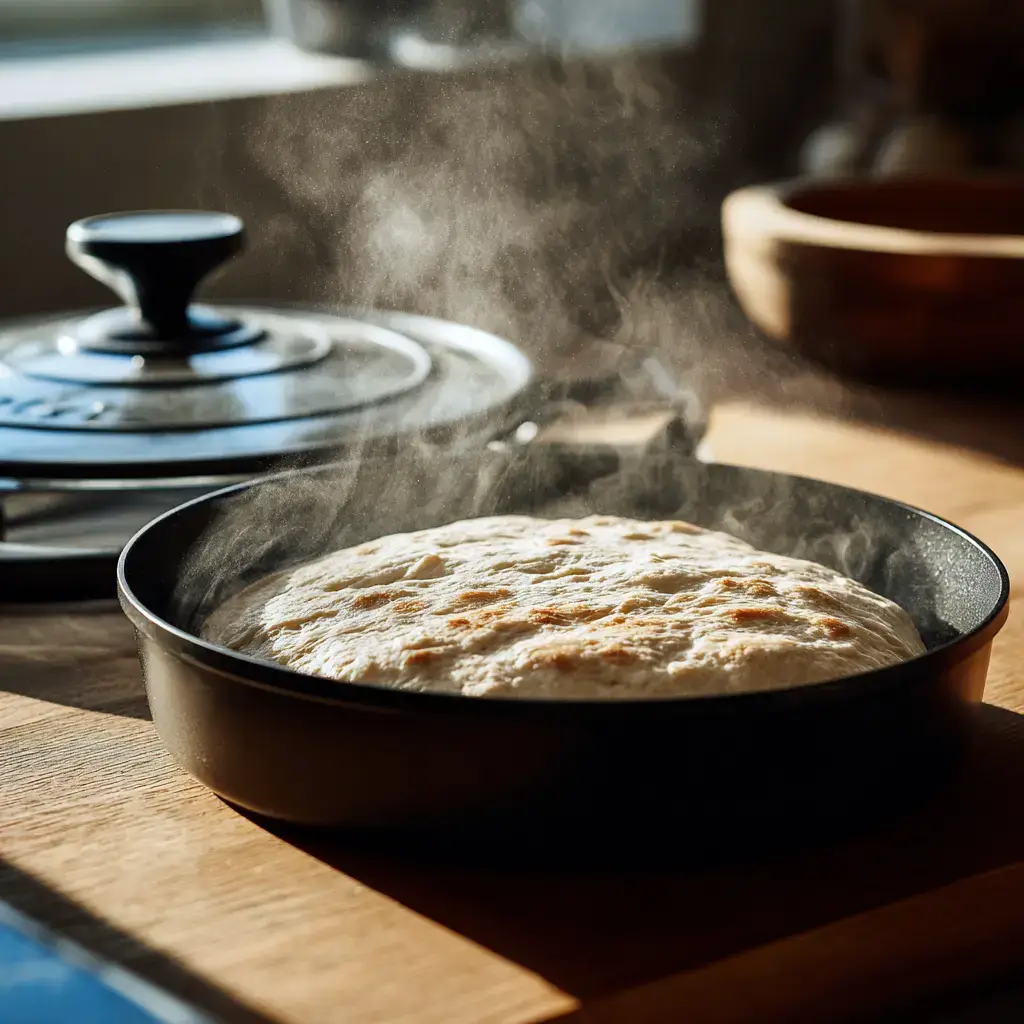
1. Activate the Yeast
In a small bowl, mix 1/4 cup warm water, 1 teaspoon sugar, and 1 teaspoon active dry yeast. Let it sit for 5–10 minutes until the surface becomes foamy. This means your yeast is active and ready to rise.
Tip: Water should be warm to the touch, not hot around 100–110°F. Too hot and it can kill the yeast.
2. Mix the Dry Ingredients
In a large mixing bowl, whisk together:
- 1 cup all-purpose flour
- 1 teaspoon baking powder
- 1/4 teaspoon salt
Make a well in the center.
3. Combine and Form Dough
Into the well, pour your foamy yeast mixture along with:
- 1/4 cup melted butter
- 1/2 cup milk
- 1 large egg
Mix everything until a soft dough forms. It should be slightly tacky but not sticky.
4. Knead
Turn the dough onto a lightly floured surface. Knead for 8–10 minutes until smooth and elastic. If the dough sticks too much, dust lightly with more flour.
This step gives your stovetop bread that perfect structure similar to what we achieve with our marble rye bread.
5. First Rise
Place the dough in a lightly oiled bowl, cover it with a damp towel or plastic wrap, and let it rise for 1 to 1.5 hours. It should double in size.
Need a warm spot? Try placing it near a window or inside your (off) microwave with a mug of hot water beside it.
6. Shape and Second Rise
Punch down the dough gently to release air. Shape it into a round or oval loaf and let it rest for 30 more minutes under a towel.
7. Cook on the Stovetop
Heat 1 tablespoon olive oil in a non-stick skillet over medium-low heat. Add your dough and cover with a lid or foil.
Cook for 5–7 minutes per side, flipping once. It should be golden brown and sound hollow when tapped.
If you’re into clever stovetop methods, this technique is just as satisfying as how we crisped the edges in our pizza grilled cheese sandwiches.
8. Cool and Serve
Remove from the skillet and let it cool slightly before slicing. Serve warm with butter, honey, or your favorite jam.
Serving Suggestions
No-oven stovetop bread is endlessly versatile.Sweet craving or a special treat — this one delivers every time.– /wp:paragraph –>
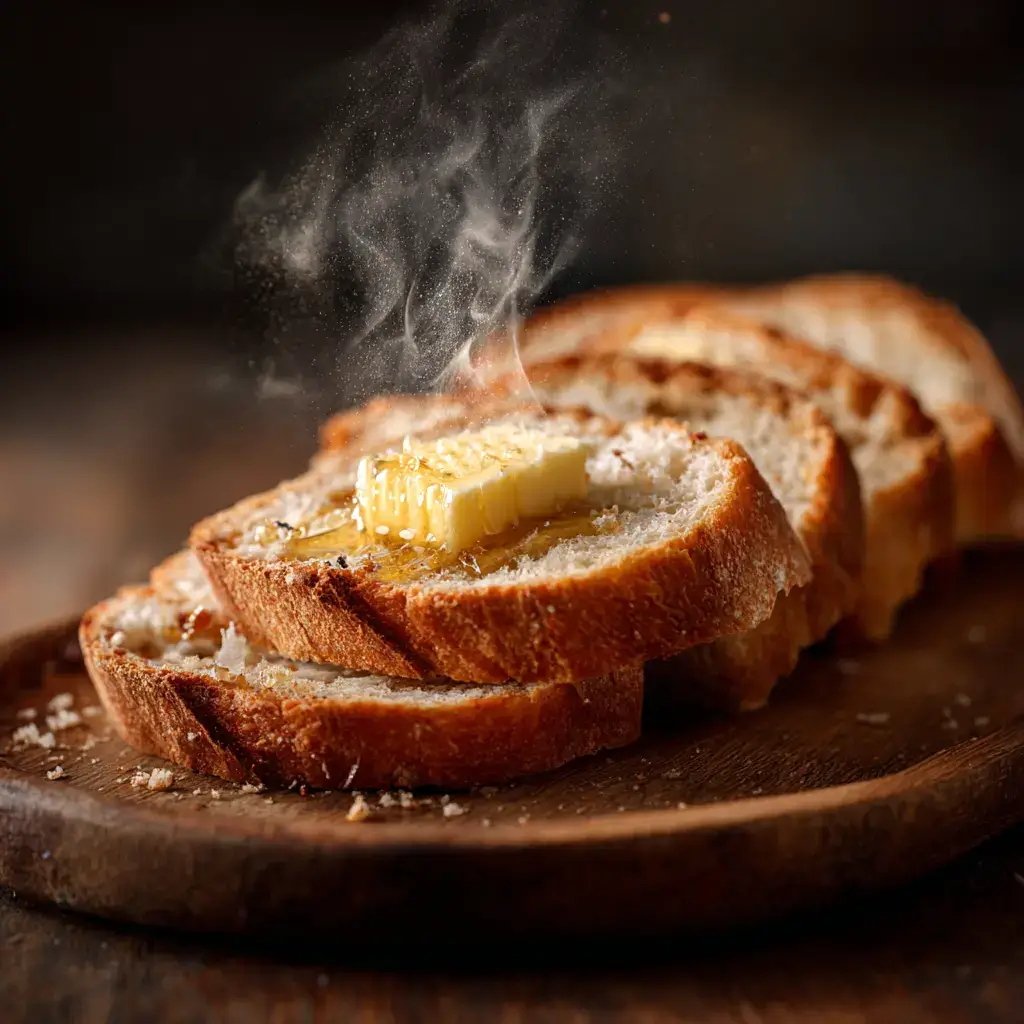
Sweet Ways to Serve
- Slather with butter and honey – Classic and comforting. Try it warm and let the butter melt right in.
- Jam or fruit compote – Strawberry, blueberry, or peach preserves all shine on this soft bread.
- Nut butter & banana – Add a sprinkle of cinnamon or a drizzle of maple syrup for extra warmth.
- Powdered sugar & cream cheese spread – A sweet brunch favorite, just like we topped our no-bake orange creamsicle cheesecake.
Savory Ways to Serve
- As a sandwich base – Slice and layer with turkey, avocado, or grilled veggies.
- With soup or stew – Great with hearty dishes like our busy day soup or chili.
- Garlic bread style – Brush slices with garlic butter and toast lightly in the skillet.
- As a dipping bread – Pair with olive oil and balsamic vinegar or a creamy spinach dip.
This stovetop bread can also be used for rustic French toast, croutons, or even grilled cheese much like our ultra-melty ultimate patty melt.
Pro Tips & Storage
Pro Tips for Success
- Let the yeast proof fully
Foamy yeast = active yeast. If there’s no foam after 10 minutes, start again with fresh yeast and properly warmed water. - Use a lid while cooking
Trapping steam helps the bread cook evenly and stay soft inside, much like baking it in a Dutch oven no oven needed! - Flip gently and only once
This ensures even browning without deflating the dough. A wide spatula or two hands works best. - Cook low and slow
Medium-low heat is ideal. High heat might burn the crust before the inside cooks through. - Rest before slicing
Let it cool for at least 5 minutes before cutting. It continues cooking and sets up as it rests just like with our lemon poppy seed sheet cake.
Bonus: Want extra softness? Wrap the warm loaf in a clean dish towel while it cools.
How to Store Your Stovetop Bread
- Room Temperature:
Store in an airtight container or wrapped in foil for up to 2 days. Reheat slices in a skillet for best texture. - Fridge:
Keeps for up to 5 days in a sealed bag. Slightly toast to bring back softness. - Freezer:
Slice and wrap individually, then freeze for up to 1 month. Thaw on the counter or in a skillet.
Just like we recommend with our cheesecake and brownie cake, freezing in portions makes for super easy treats later.
FAQs
Can I bake bread on a stove top?
Absolutely. You can bake bread on a stovetop using a non-stick skillet or heavy pan. With yeast, proper kneading, and a lid to trap steam, your stovetop bread turns out fluffy inside and golden outside all without using an oven. It’s one of the easiest ways to enjoy homemade bread, especially in small spaces.
How to bake on stove top without an oven?
To bake bread on a stove without an oven, you’ll need to:
– Use a non-stick or cast iron skillet with a lid.
– Cook your dough over medium-low heat for 5–7 minutes per side.
– Let steam build under the lid to help the bread cook through gently.
– It’s a fantastic alternative to baking and perfect for recipes like our no-oven stovetop bread.
Can you cook bread without an oven?
Yes, and you’ll love the results. Cooking bread without an oven just requires a stovetop, yeast dough, and a bit of patience. The result is a tender, skillet-baked loaf ideal for sandwiches, toast, or dipping. It’s the same method we use in recipes like our navajo cornbread when oven space is limited.
What is a poor man’s Dutch oven?
A “poor man’s Dutch oven” is any pan with a tight-fitting lid that mimics the steam-trapping environment of a traditional Dutch oven. For stovetop bread, a deep skillet or heavy saucepan with a lid works great. It helps retain moisture and ensures even cooking without baking.
No-oven stovetop bread is everything you want in homemade bread fast, soft, golden, and no oven required.A reliable recipe worth keeping in the rotation.
Ready to flip your first loaf? Grab that skillet and make magic happen. Don’t forget to tag us on Pinterest or Facebook we’d love to see your creations!
Must‑Have Kitchen Equipment for This Recipe:
- Instant Pot Duo Plus 6‑Qt 9‑in‑1 Programmable Pressure Cooker
- Instant Vortex Plus 6‑Qt Air Fryer (ClearCook + OdorErase)
- Aucma 6.5‑Qt 6‑Speed Tilt‑Head Stand Mixer
Some links may be affiliate links. Read our affiliate disclosure.

Ratings & Reviews
Leave a reviewWe'd love to hear how it turned out.