
Thanksgiving Oven Schedule: Build a Plan Around Your Menu
A flexible, menu-first worksheet for planning oven space, make-ahead tasks and serving hand-offs without guessing new cooking times.

By Emma & Ella FrostUpdated November 4, 2026

5-Ingredient Dump & Go Crockpot Meals
101 effortless slow cooker recipes for busy families.
View on AmazonAvailable on AmazonA Thanksgiving oven schedule works best when it is built around your actual dishes, not somebody else's serving time. Start with the meal time, identify the dish that controls the oven, and give every other hot dish a specific slot or a different appliance. Put cold dishes and make-ahead desserts on a separate list so they do not compete for oven space.
Use the worksheet as a planning framework alongside each recipe's own preparation, baking, resting and food-safety instructions. Do not shorten those instructions to make a schedule fit.
Build a dish list before a clock-based timeline
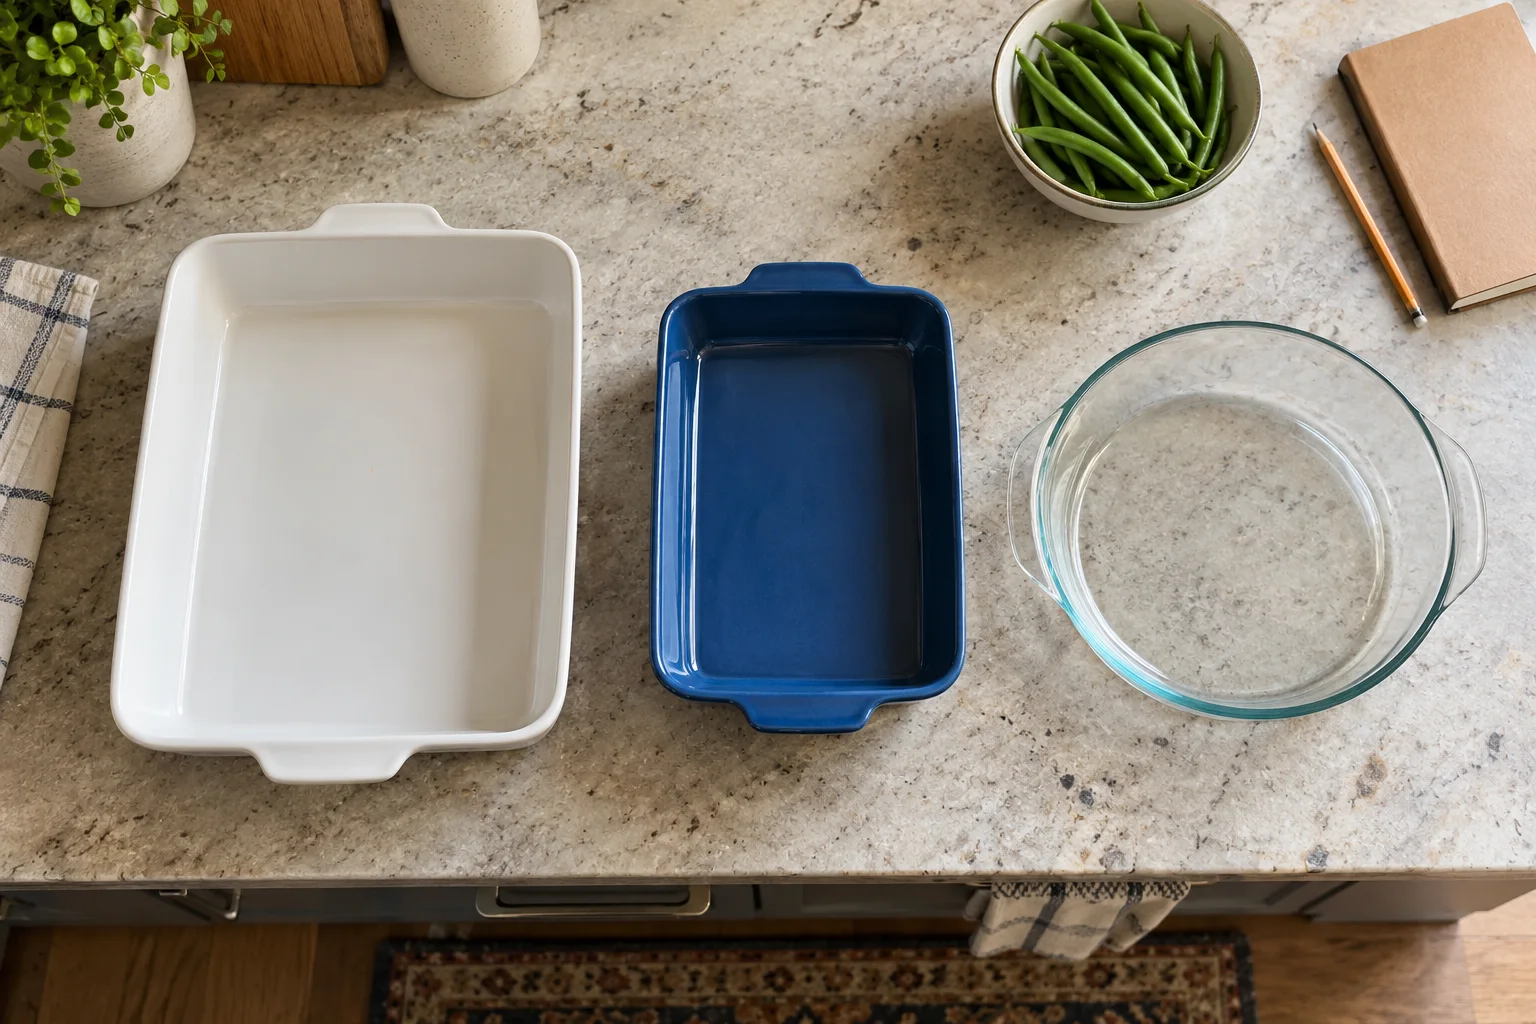
Write down the exact menu you intend to serve. Then give each dish five pieces of information: its cooking appliance, required temperature, recipe time, dish footprint and the last step that needs your attention. This catches conflicts that a simple list of oven temperatures misses.
| Dish | Appliance and temperature | Space needed | Finish and hand-off |
|---|---|---|---|
| Main dish | Copy from its recipe | Roasting pan and rack position | Recipe's doneness check, then its stated resting step |
| Baked side | Copy from its recipe | Actual casserole dish | Any uncovered finishing step and serving transfer |
| Vegetable side | Oven, stovetop or another suitable method | Actual tray, pan or pot | Last-minute dressing or garnish, if the recipe includes it |
| Cold dish or dessert | Refrigerator or completed advance preparation | Refrigerator shelf and serving dish | When to take it out and who serves it |
Measure and arrange the empty cookware before the holiday. Two pans that look compatible on the counter may not fit together with handles, rack spacing and the clearance your oven manufacturer requires. Do that check with a cold, empty oven, not while moving hot food.
Choose the dish that controls the oven
The controlling dish is the one with the least flexible combination of space, temperature and finishing requirements. It is often the main dish, but it can also be a large casserole or several dishes that all need the same final window. Give that dish the first place in the plan.
For every other recipe, ask whether it truly needs the oven at the same moment. A roasted side such as butternut squash with Gorgonzola and cranberry-balsamic glaze belongs on the oven list. A separate soup course, such as slow-cooker butternut soup, changes the appliance mix. These are different menu choices, not interchangeable cooking instructions: check each complete recipe before deciding.
If your menu includes both soup and roasted squash, consider whether you want two squash dishes at all. Reducing one overlapping menu item can solve a space problem more cleanly than squeezing another tray into the oven.
Work backward through dependencies
Pick the serving time and work backward through each dish's last required steps. Include the time needed to transfer food, find serving utensils and finish any recipe-specific topping. Then reserve the relevant oven period before those steps. Do not count a required resting step as spare cooking time for that same dish.
Use this sequence for each recipe:
- Write its serving target.
- List everything that must happen after it leaves the oven.
- Place its stated baking period before those tasks.
- Check whether its pan, rack and temperature conflict with the controlling dish.
- If they conflict, change the menu, appliance or serving plan rather than inventing a new baking temperature.
An organizational buffer can absorb a missing spoon or a delayed table setting. It cannot replace a food-safety check or guarantee that a crowded oven will finish food on time. Keep the schedule adjustable until the recipes, cookware and appliance constraints agree.
Use three lanes instead of one long to-do list
Separate the plan into oven work, non-oven work and cold/advance work. The point is not to make every lane equally busy. It is to stop a small finishing task from getting lost behind the main roasting schedule.
- Oven lane: roasting, baking and recipe-specific finishing periods, each with a named pan and rack.
- Non-oven lane: stovetop or other appliance work only when the chosen recipe supports that method.
- Cold and advance lane: refrigerator space, completed desserts, serving dishes and tasks the recipes explicitly allow you to do ahead.
A baked dessert such as pecan pie bars still needs an oven period somewhere in the plan, even if it will not be served warm. A no-bake caramel pretzel dessert may move that work away from the oven, but its own chilling and storage requirements still matter. Choose the dessert first, then plan from its actual instructions.
Do not solve an oven conflict by guessing
Matching temperatures on two recipe cards does not prove that two dishes can bake together unchanged. Pan size, rack position, airflow and opening the door all belong in the decision. Follow appliance guidance and the specific recipes; a timetable is not a substitute for checking doneness.
The Alabama Cooperative Extension Thanksgiving planning guide recommends planning ahead and working backward from the meal. Use that principle, but build your own dish-level plan rather than copying a sample clock schedule for a different menu.
If the oven lane still has a collision, pick one clear response: remove a dish, select a recipe designed for another appliance, prepare an allowed component ahead, or change the serving sequence. Do not assume a side can sit on the counter indefinitely while the main dish finishes.
Add a safety and leftovers hand-off
Give one person responsibility for checking the relevant food-safety guidance and making room for leftovers. Keep this separate from the person watching the oven timer if the kitchen will be busy. FDA holiday food-safety guidance covers clean preparation, separation, thermometer checks and prompt refrigeration, including advice on holiday leftovers. Storage requirements differ between foods; check guidance for the particular dish rather than assuming one rule covers the whole menu.
Before guests arrive, set aside suitable storage containers and refrigerator space. Label the leftovers with what they are and when they were cooked. For any unusual ingredient, dietary restriction or storage question, use the product's instructions and an appropriate authoritative source rather than treating a general planning worksheet as a safety ruling.
A final oven-schedule checklist
- The final menu, guest needs and serving time are written down.
- Every hot dish has a specific appliance and cookware assignment.
- The controlling dish has enough room and its complete required process.
- No two incompatible oven slots overlap.
- Advance preparation follows the individual recipes rather than an assumed universal rule.
- Serving utensils, table tasks and leftovers have named owners.
- Food-safety and doneness checks take priority over the clock.
Keep the completed plan beside the recipes, then read it once from the serving time backward and once from the first task forward. Any dish with no clear start, finish or hand-off is the next thing to simplify. A smaller menu that fits your kitchen is more useful than a full timetable built on guesses.
Keep good recipes close
Add The Cooking Twins to your preferred sources on Google for more easy dinners, no-bake desserts and kitchen inspiration.
Emma & Ella Frost
A practical resource from The Cooking Twins.
More from Emma & Ella Frost

Comments
Leave a commentShare your question or planning tip below.