
Butterfinger Caramel Cheesecake Bars
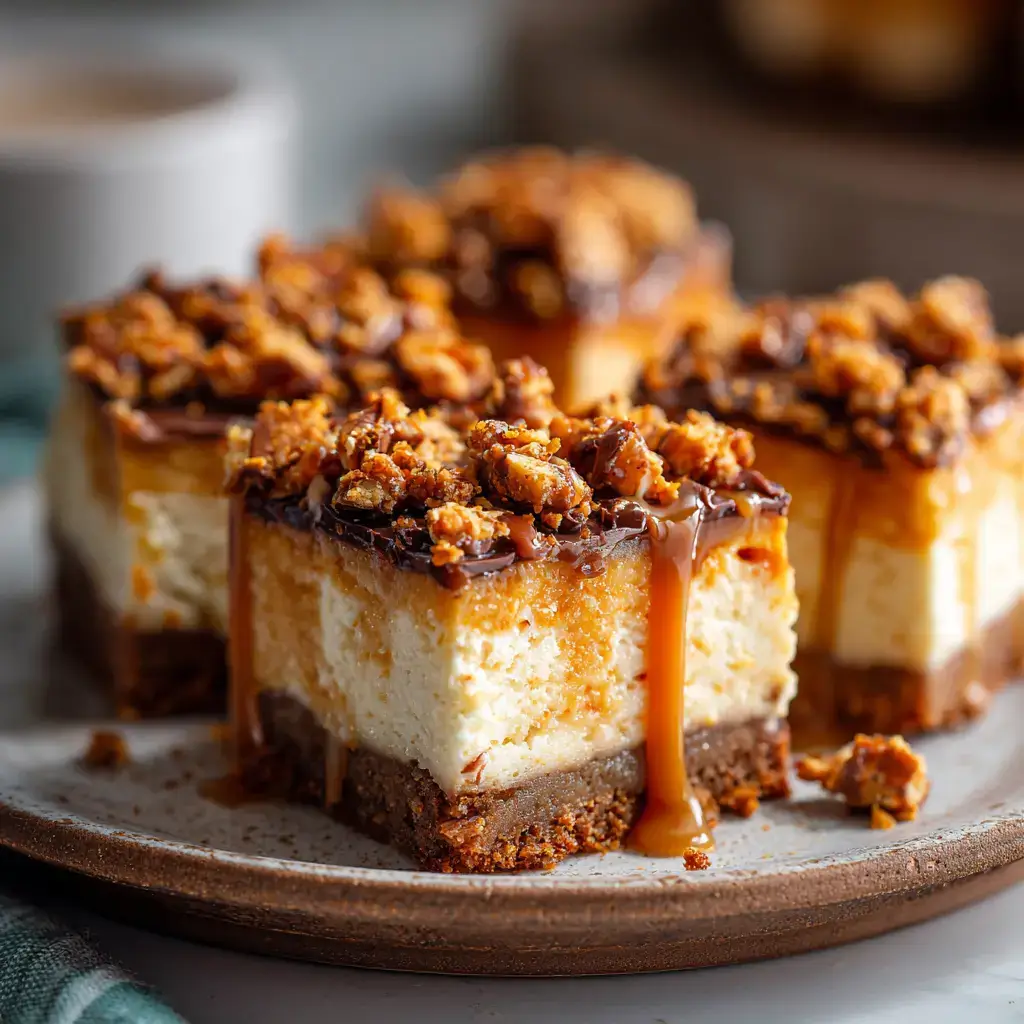
These Butterfinger Caramel Cheesecake Bars are rich, creamy, and packed with candy crunch. A crowd-pleasing chilled dessert layered with chocolate crust, silky cheesecake, crushed Butterfingers, and golden caramel drizzle.

By Ella FrostUpdated June 12, 2026
- Prep Time
- 25 min
- Cook Time
- 60 min
- Total Time
- 360 min
- Servings
- 12 bars

5-Ingredient Dump & Go Crockpot Meals
101 effortless slow cooker recipes for busy families.
View on AmazonAvailable on AmazonButterfinger Caramel Cheesecake Bars combine crunchy candy, creamy cheesecake, and gooey caramel into one chilled, irresistible treat. Perfect for parties or weeknight cravings, this dessert delivers bold texture and flavor in every bite. No fancy steps required just simple ingredients, rich layers, and nostalgic sweetness that everyone loves. Get ready to impress without turning on the oven.
Table of Contents
Table of Contents
What is Butterfinger Caramel Cheesecake Bars
Growing up, one of our favorite things to do was raid the pantry for leftover Halloween candy. Butterfingers were always the prize that crunchy peanut butter middle wrapped in chocolate was magic. Years later, when we started The Cooking Twins blog, we thought, “Why not turn that candy-bar love into a cheesecake?” And not just any cheesecake a chilled, rich, caramel-drizzled dessert that feels nostalgic and over-the-top in the best way. That’s how Butterfinger Caramel Cheesecake Bars were born a mix of smooth, tangy cream cheese, crunchy candy bits, and a chocolate crust that makes every bite unforgettable.
You don’t need a pastry degree or fancy equipment to make these. This recipe keeps things simple a quick cookie crust, an easy cream cheese layer, and crushed Butterfingers folded right in. The best part? That caramel drizzle on top. Every time we bring this to a gathering, it disappears in minutes. It’s one of those treats that looks bakery-made but comes together with ingredients you probably already have on hand.
This is more than just a cheesecake it’s the kind of dessert you make when you want to impress without the stress. Birthday party, movie night, or just a chilled sweet fix — Butterfinger Caramel Cheesecake Bars deliver. They’re right at home next to our Peanut Butter Cup Icebox Cake or crowd-pleasing Strawberry Shortcake Cheesecake Rolls.
Butterfinger Caramel Cheesecake Bars
- Total Time: 360 min
- Yield: 12 bars 1x
- Diet: Vegetarian
Description
These Butterfinger Caramel Cheesecake Bars are rich, creamy, and packed with candy crunch. A crowd-pleasing chilled dessert layered with chocolate crust, silky cheesecake, crushed Butterfingers, and golden caramel drizzle.
Ingredients
2 ½ cups fudge cookie crumbs
3 tbsp unsalted butter, melted
32 oz cream cheese, softened
¾ cup heavy cream
1 ⅓ cups granulated sugar
1 tbsp vanilla extract
4 large eggs, lightly beaten
4 Butterfinger bars (3 chopped for filling, 1 for topping)
½ cup caramel sauce
Instructions
- Preheat oven to 350ºF: Preheat oven to 350ºF. Wrap a 9-inch springform pan in foil.
- Mix cookie crumbs and: Mix cookie crumbs and butter. Press into pan bottom and sides. Bake 10 minutes.
- Reduce oven to 300ºF: Reduce oven to 300ºF.
- Beat cream cheese until: Beat cream cheese until smooth. Add sugar, cream, vanilla. Mix until combined.
- Fold in eggs gently: Fold in eggs gently, then chopped Butterfingers.
- Pour into crust. Place: Pour into crust. Place pan in a roasting pan. Fill with hot water halfway.
- Bake 1 hour. Let: Bake 1 hour. Let rest in oven for another hour.
- Cool fully, then chill: Cool fully, then chill 4+ hours or overnight.
- Top with extra Butterfingers: Top with extra Butterfingers and caramel before serving.
Notes
Chill overnight for cleanest cuts.
Use softened cream cheese for smooth filling.
Freeze Butterfingers before chopping for better texture.
- Prep Time: 25 min
- Cook Time: 60 min
- Category: Dessert
- Method: Bake
- Cuisine: American
Nutrition
- Serving Size: 1 slice
- Calories: 358
- Sugar: 27g
- Sodium: 235mg
- Fat: 23g
- Saturated Fat: 12g
- Unsaturated Fat: 9g
- Trans Fat: 0.1g
- Carbohydrates: 35g
- Fiber: 1g
- Protein: 5g
- Cholesterol: 78mg
Why You’ll Love This
There’s a reason this recipe has become one of our top reader favorites. First, the texture is unreal. You’ve got a thick, chocolatey cookie crust as the base, a super-smooth and creamy cheesecake center, and crispy, peanut-buttery Butterfinger pieces in every bite. That’s a triple threat of flavor and texture right there.
It also checks all the boxes for a make-ahead dessert. You can prep it the day before, let it chill overnight, and it’ll slice like a dream the next day. It’s the kind of treat that holds up well at room temperature too, making it perfect for events where refrigeration isn’t always guaranteed like potlucks, bake sales, and game nights.
What we love most is how adaptable it is. Swap in different candy bars if you want to change things up (hello, Reese’s or Twix). Add a peanut butter swirl or go double chocolate. And if you love layered bars like we do, you’ll definitely want to check out our Brownie Refrigerator Cake or creamy No-Bake Orange Creamsicle Cheesecake for more ideas.
How to Make Butterfinger Caramel Cheesecake Bars
Quick Overview
Making Butterfinger Caramel Cheesecake Bars is easier than you think. It breaks into three simple parts: a chocolate cookie crust, a rich cheesecake layer packed with crushed candy bars, and a caramel-drizzled topping for that bakery-style finish. Here’s what to expect:
- Prep Time: 25 minutes
- Bake Time: 1 hour
- Chill Time: Minimum 4 hours (overnight best)
- Total Time: About 6 hours
- Skill Level: Beginner-friendly
- Servings: 12 to 14 bars
This cheesecake bar recipe is baked low and slow with a water bath, giving you a creamy center without cracks. It’s the same technique we use in our Lazy Day Lemon Cream Pie Bars, but here, we’re going bold with Butterfinger candy and buttery caramel sauce.
Ingredients
Here’s everything you’ll need to make your Butterfinger Caramel Cheesecake Bars:
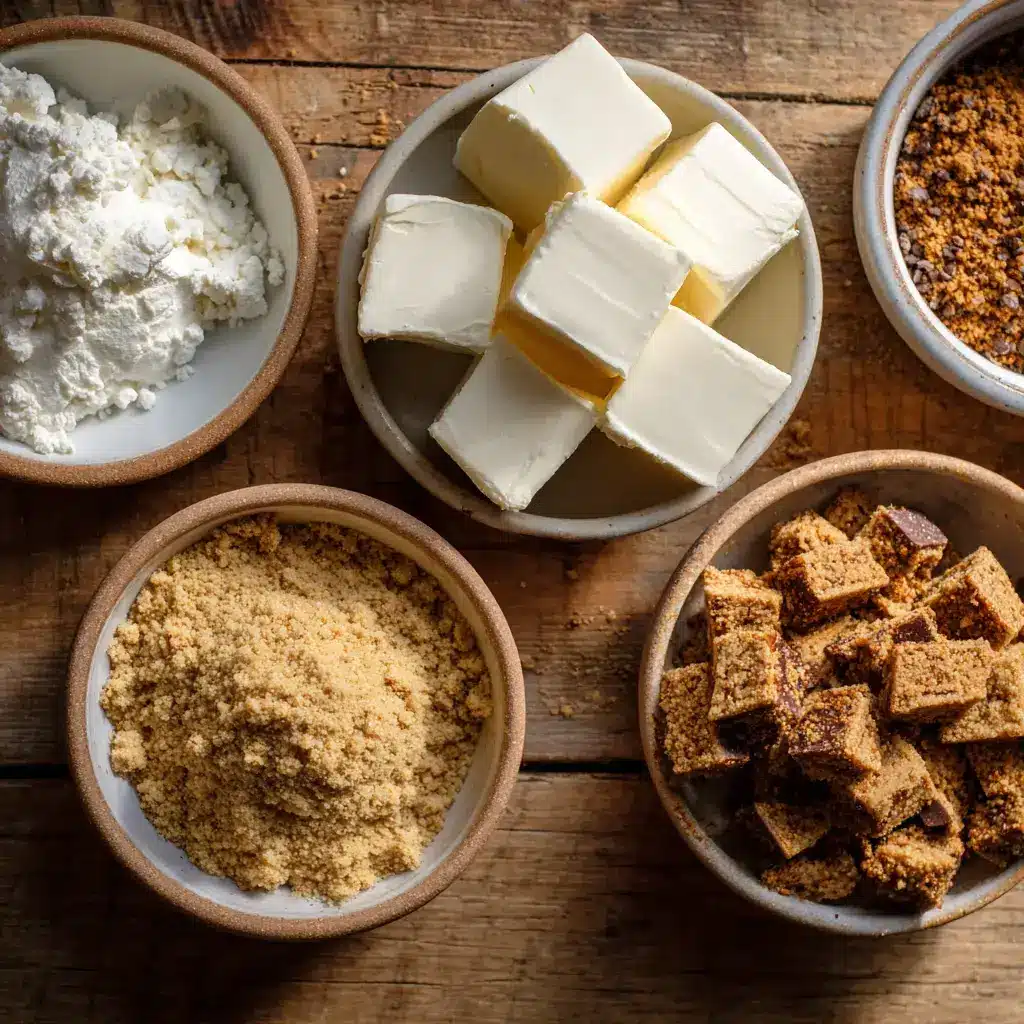
For the crust:
- 2 ½ cups (265 g) fudge-filled sandwich cookie crumbs (about 30 cookies)
- 3 tablespoons unsalted butter, melted
For the cheesecake layer:
- 32 ounces (904 g) cream cheese, softened
- ¾ cup (180 ml) heavy cream, room temperature
- 1 ⅓ cups (267 g) granulated sugar
- 1 tablespoon vanilla extract
- 4 large eggs, room temperature and lightly beaten
- 3 Butterfinger candy bars, coarsely chopped
For the topping:
- 1 Butterfinger candy bar, coarsely chopped
- ½ cup caramel sauce (store-bought or homemade)
If you’re looking for a slightly tangier twist, try swapping the vanilla for lemon extract like we do in our 4-Ingredients Lemon Cream Cheese Dump Cake.
Step-by-Step Instructions
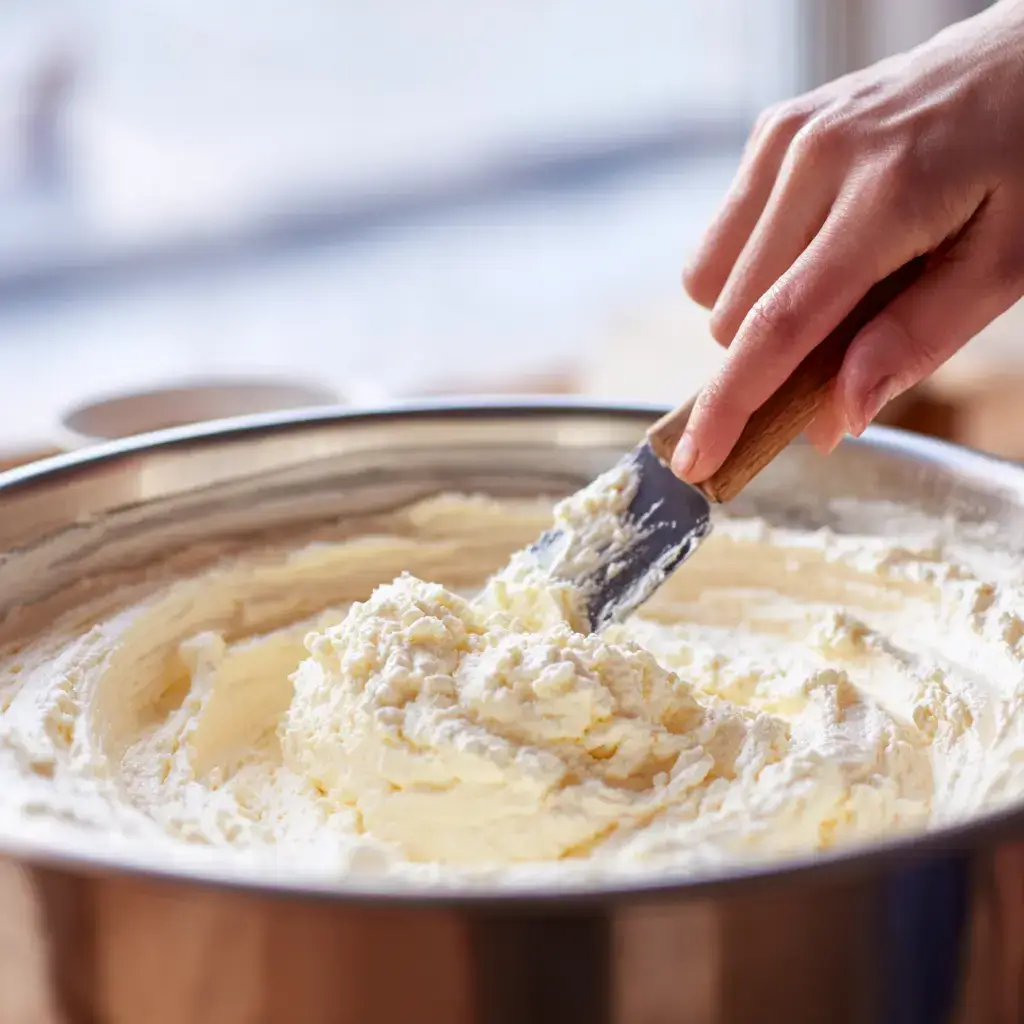
1. Prep your pan and crust
Preheat your oven to 350ºF and adjust the rack to the lower third. Wrap the outside of a 9-inch springform pan with aluminum foil to prevent leaks. Mix cookie crumbs and melted butter in a bowl until well combined. Press the crust into the bottom and 2 inches up the sides of the pan. Bake for 10 minutes, then set aside to cool.
2. Lower the oven & mix filling
Reduce oven temp to 300ºF. In a large bowl, beat softened cream cheese with an electric mixer until smooth. Add sugar and heavy cream, mixing until blended. Beat in vanilla. Gently fold in the eggs using a spatula, being careful not to overmix. Stir in chopped Butterfinger bars.
3. Build the water bath
Pour the cheesecake filling into the cooled crust. Place your springform pan inside a larger roasting pan. Fill the roasting pan with hot water until it reaches halfway up the cheesecake pan’s sides.
4. Bake & cool
Bake for 60 minutes. The edges should be set but the center slightly jiggly. Turn off the oven and let the cheesecake rest inside the water bath for 1 more hour. This slow cooling step helps prevent cracks.
5. Chill completely
Remove the cheesecake from the oven and water bath. Run a knife around the edge to loosen it. Let it cool completely on the counter, then cover and refrigerate for at least 4 hours, preferably overnight.
6. Finish with topping
Once chilled, remove the springform ring. Top with more chopped Butterfinger and a generous drizzle of caramel sauce. Slice into bars and serve.
You can also freeze them like we do with our No-Bake Coconut Cream Pie just wrap each piece tightly for easy grab-and-go indulgence.
What to Serve Butterfinger Caramel Cheesecake Bars With
Butterfinger Caramel Cheesecake Bars are rich, creamy, and packed with candy-bar flavor. That makes them perfect as a standalone dessert but even better when paired with the right sides, drinks, or party platters. Birthday, holiday spread, or a cozy night in — here are our favorite ways to serve these bars.
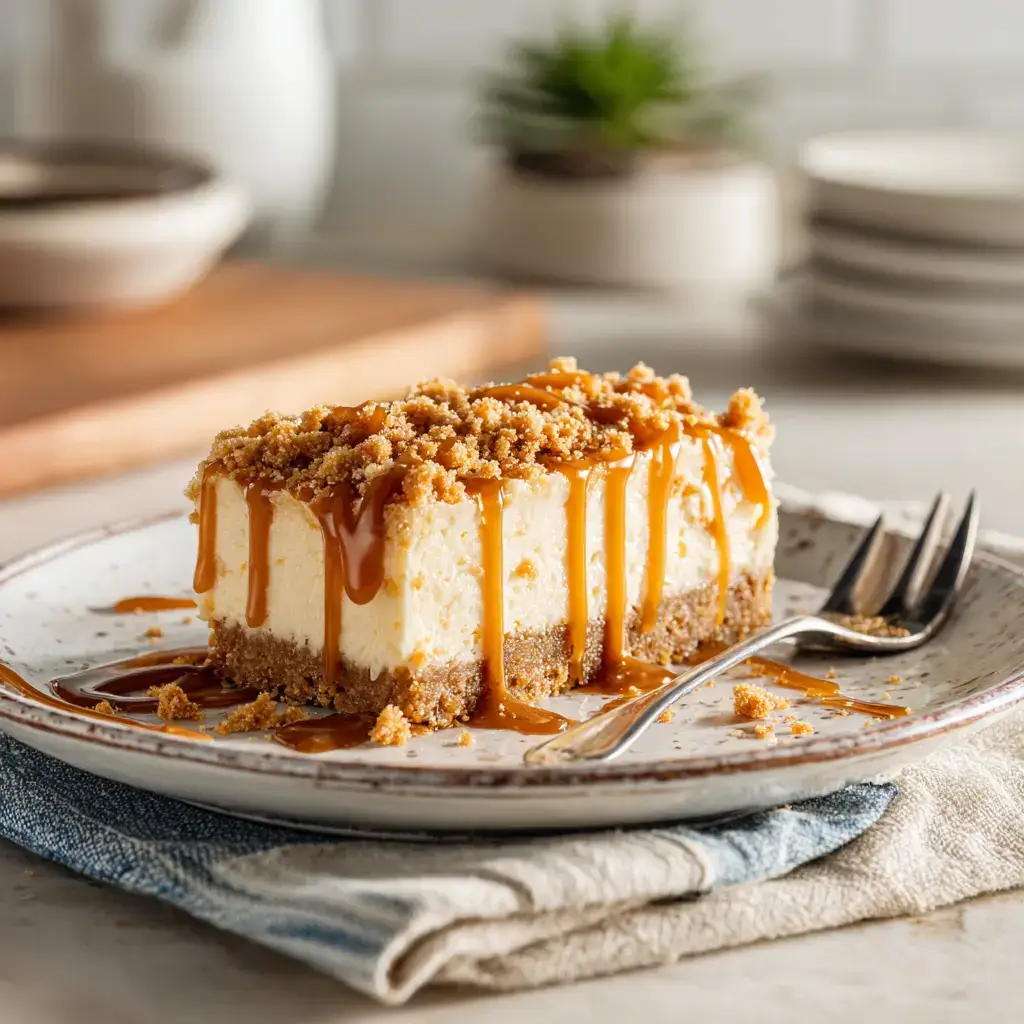
Pair with Light & Fresh Additions
These cheesecake bars are decadent, so pairing them with something fresh balances the bite. Try serving with a fruit tray of sliced strawberries, apple wedges, or grapes. The crisp and juicy contrast cuts through the richness and makes every bite feel lighter. For spring or summer gatherings, add a bowl of whipped topping or a citrusy fruit dip right next to your bars.
You can also go for bite-sized variety on a dessert board. Think chocolate-covered pretzels, mini cookies, and our Cheesecake and Brownie Cake to build a candy-shop vibe. These kinds of dessert boards are not only fun but visually stunning for entertaining.
Drinks That Complement the Creaminess
Creamy bars like these pair beautifully with drinks that are cold, bold, or creamy in their own right. Here are some of our favorites:
- Iced coffee or cold brew: The bitterness balances the sweetness.
- Vanilla or caramel milkshake: A double dessert moment.
- Sparkling wine or sweet rosé: Great for parties or adult gatherings.
- Peanut butter hot chocolate: In colder months, go indulgent.
And if you’re looking for more chilled treats to serve alongside, our No-Bake Orange Creamsicle Cheesecake adds bright citrus notes to the table.
Casual get-together or something a little fancier — these bars fit either occasion. Keep them front and center on your dessert table and build your flavors around their rich, sweet crunch.
Top Tips for Perfecting Butterfinger Caramel Cheesecake Bars
We’ve made these bars dozens of times, and we’ve picked up some tried-and-true tips along the way. These small changes can make a big difference in texture, appearance, and flavor especially when you’re working with candy and caramel.
Soften the Cream Cheese Fully
Cold cream cheese leads to lumps, and nobody wants a chunky cheesecake. Let it sit out for at least 30–45 minutes before mixing. This ensures the filling turns out smooth and whips together easily.
Freeze Butterfingers Before Chopping
Butterfinger bars have a unique texture that crumbles if they’re too soft. For clean, chunky cuts that won’t melt into your batter, place the bars in the freezer for about 10 minutes before chopping. This tip also works great in our Date Chocolate Bark Recipe.
Don’t Overmix the Eggs
Once you add eggs, mix just until combined. Overbeating can create air bubbles that rise and crack the surface. Use a silicone spatula and fold them in slowly to keep everything silky and stable.
Use a Water Bath for a No-Crack Top
The steam from a water bath bakes the cheesecake gently, preventing cracks and ensuring a creamy center. Wrap your springform pan in foil tightly to keep water out. This same trick keeps our High Protein Cheesecake Jars looking bakery-perfect every time.
Chill Overnight Before Slicing
It’s tempting to slice early, but chilling overnight firms up the bars for those sharp, clean edges. When ready to cut, run a sharp knife under hot water and wipe it between slices.
Storing and Reheating Tips
Butterfinger Caramel Cheesecake Bars store beautifully which makes them a perfect make-ahead dessert. Saving leftovers or prepping ahead for a party — here’s how to keep them just as rich and creamy.
How to Store in the Fridge
After cooling and slicing, place the bars in an airtight container or wrap them individually in plastic wrap. Store them in the refrigerator for up to 5 days. The chilled texture actually improves after the first day, giving the flavors more time to blend and the texture to firm up perfectly.
If you’re adding the caramel drizzle and extra Butterfinger topping, it’s best to wait until just before serving. That keeps the topping crisp and the drizzle glossy instead of sticky or soaked in.
For other easy-to-store desserts like this, our Brownie Refrigerator Cake also gets better with time in the fridge.
Freezing for Later
Butterfinger Caramel Cheesecake Bars freeze well ideal if you like to bake ahead or portion out sweets for quick cravings. Here’s how:
- Slice fully chilled bars.
- Wrap each bar tightly in plastic wrap, then foil.
- Store wrapped bars in a freezer-safe container or zip bag.
- Freeze for up to 2 months.
To serve, let bars thaw in the fridge overnight or on the counter for 30–45 minutes. Add the caramel topping and chopped candy just before eating.
This method is also how we store extras from our No-Bake Coconut Cream Pie another favorite that’s freezer-friendly and crowd-approved.
Do You Reheat Cheesecake Bars?
Nope these bars are meant to be served chilled. Reheating could break the structure of the cheesecake and melt the topping. Just thaw and serve cold for best results.
FAQs
Can I make these cheesecake bars without baking?
Yes, but you’ll need to make a few swaps. For a true no-bake version of Butterfinger Caramel Cheesecake Bars, use a no-bake crust (like graham cracker or cookie crumbs with more butter), and replace the eggs with extra cream and a bit of gelatin to help the filling set. Chill overnight to firm up. You can follow the no-bake method we use in our No-Bake Orange Creamsicle Cheesecake for guidance.
What can I use instead of Butterfinger?
You can substitute with any crunchy candy bar like Reese’s Sticks, Twix, or even chopped peanut brittle. Just aim for something with a mix of texture: crispy, nutty, and a little chocolatey. It’s a great way to adapt this dessert to what you have on hand or personalize it to your favorite candy.
How do I prevent cracks in my cheesecake layer?
A few key steps help here: always use softened cream cheese, don’t overmix once the eggs are added, and bake low and slow in a water bath. Also, let the cheesecake cool gradually in the oven before removing it. These tricks give you the ultra-smooth, no-crack finish every time just like we do in our Cheesecake and Brownie Cake.
Can I use a different crust base?
Definitely. While the fudge-filled cookie crust is rich and chocolatey, you can switch it up with graham crackers, vanilla wafers, or even pretzels for a salty-sweet twist. Just adjust the butter amount to bind the crumbs together well.
There’s something incredibly satisfying about a dessert that blends smooth cheesecake, crunchy candy, and a drizzle of golden caramel and Butterfinger Caramel Cheesecake Bars hit every note. They’re rich without being overcomplicated, nostalgic yet elegant, and the kind of treat that turns a regular day into something memorable.
Slice them for a party, wrap leftovers for the freezer, or sneak one with your morning coffee — no judgment here. From that buttery crust to the candy-loaded topping, it’s proof that dessert doesn’t have to be fussy to be impressive.
If you loved this, be sure to visit us on Facebook or Pinterest and check out other chilled treats like our Lazy Day Lemon Cream Pie Bars and Peanut Butter Cup Icebox Cake. Now go grab those Butterfingers and make dessert magic we can’t wait to hear how it turns out.
Must‑Have Kitchen Equipment for This Recipe:
- Instant Pot Duo Plus 6‑Qt 9‑in‑1 Programmable Pressure Cooker
- Instant Vortex Plus 6‑Qt Air Fryer (ClearCook + OdorErase)
- Aucma 6.5‑Qt 6‑Speed Tilt‑Head Stand Mixer
Some links may be affiliate links. Read our affiliate disclosure.
Keep good recipes close
Add The Cooking Twins to your preferred sources on Google for more easy dinners, no-bake desserts and kitchen inspiration.




Ratings & Reviews
Leave a reviewWe'd love to hear how it turned out.