
DIY Wedding Table Number Ideas: Three Paper-Based Displays
Make DIY wedding table numbers with folded cards, existing frames or replaceable holder cards, then check the identifiers against your seating plan.

By Emma & Ella FrostUpdated November 17, 2026

5-Ingredient Dump & Go Crockpot Meals
101 effortless slow cooker recipes for busy families.
View on AmazonAvailable on AmazonThe best starting point for DIY wedding table numbers is not a decorative material. It is the exact list of table identifiers guests will be looking for. Once that list is settled, you can turn plain card, existing frames or suitable card holders into a coordinated set without inventing a different design for every table.
Below are three paper-based approaches with different practical advantages. They are original project ideas, not a tested kit, a printable download or a claim that one size works in every venue. Make one complete sample before buying or preparing the remaining pieces.
Make a master list before making the first number
Ask the person managing the seating plan for the approved identifiers. Copy them exactly, including whether the plan uses numbers, names or a combination. If the chart says Garden and the table displays 7, guests need another explanation that the decoration should not require.
Create a short production list with an identifier, display format, finished status and packing location for each table. Include any separate signs the setup team needs, but do not assign a guest-table number to the dessert station merely to complete a numerical sequence.
For a fictional ten-table reception using numbers, the production list would contain one entry each for 1 through 10. That example is an inventory method, not a suggested reception size or a seating-capacity calculation. Your confirmed layout determines the actual set.
Option one: use a folded card with a small repeated border
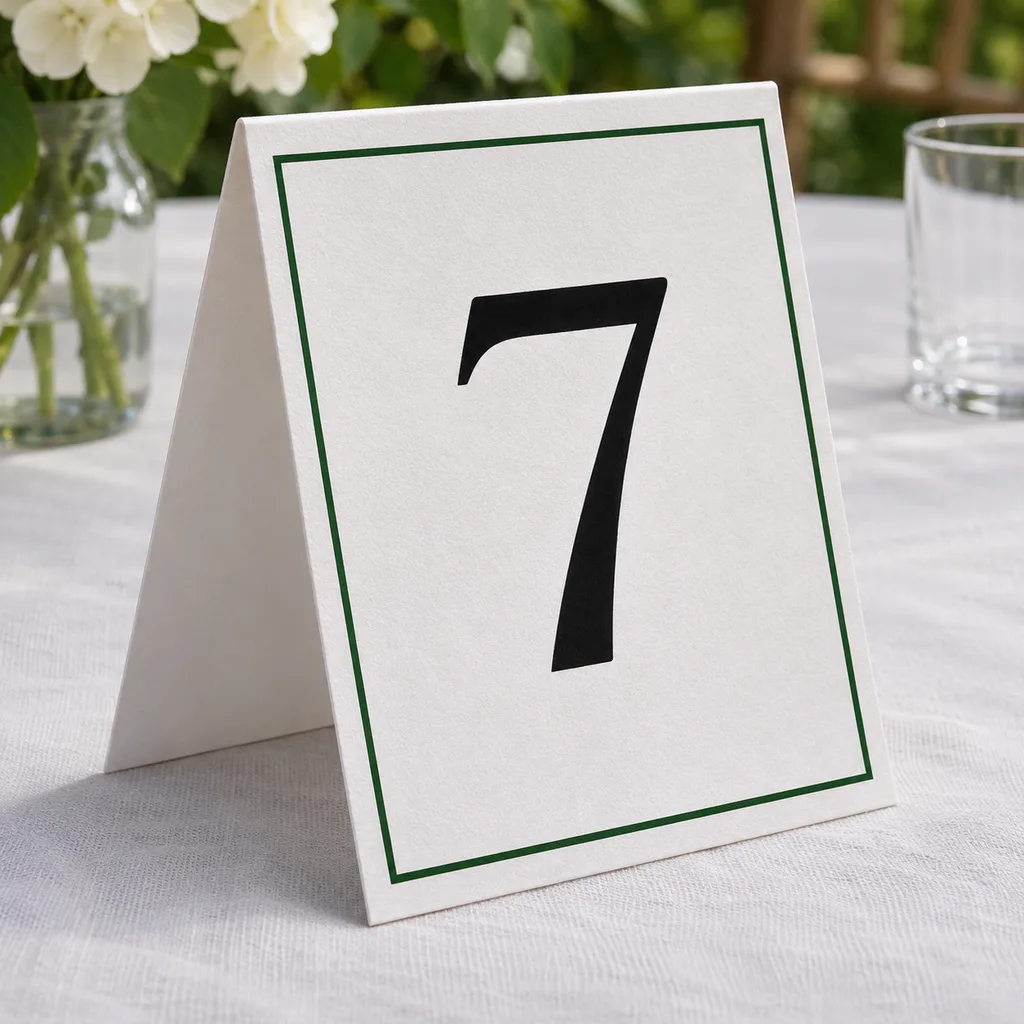
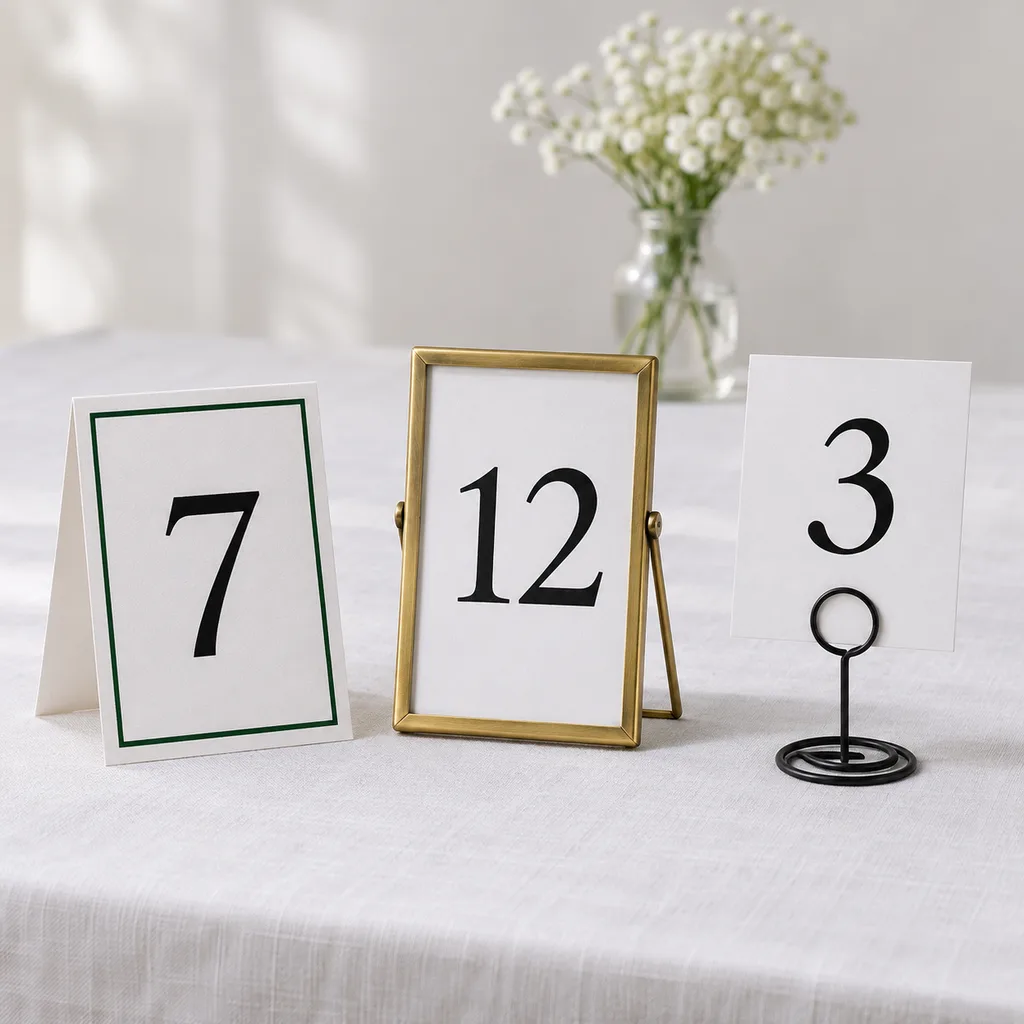
Choose pre-scored tent cards intended to stand on a table. Follow their supplied folding and printing instructions, using a compatible printer if you print rather than write the number. A ready-made fold avoids guessing where a particular card stock should bend.
Keep the identifier as the largest element. Add a narrow colored border or a small corner motif rather than filling the reading area with a pattern. Leave out a long quotation if it makes the number compete for attention.
Decide which sides need the identifier before finishing the card. A table approached from opposite directions may need a readable face on each side. Check the actual folded sample: a design that looked upright on a flat sheet can end up upside down after folding.
This approach keeps the paper and stand together. Its tradeoff is that the card's suitability depends on the actual surface and setting. Do not describe a lightweight tent card as wind-resistant or stable outdoors without establishing that for the real arrangement.
Option two: put a plain number inside an existing frame
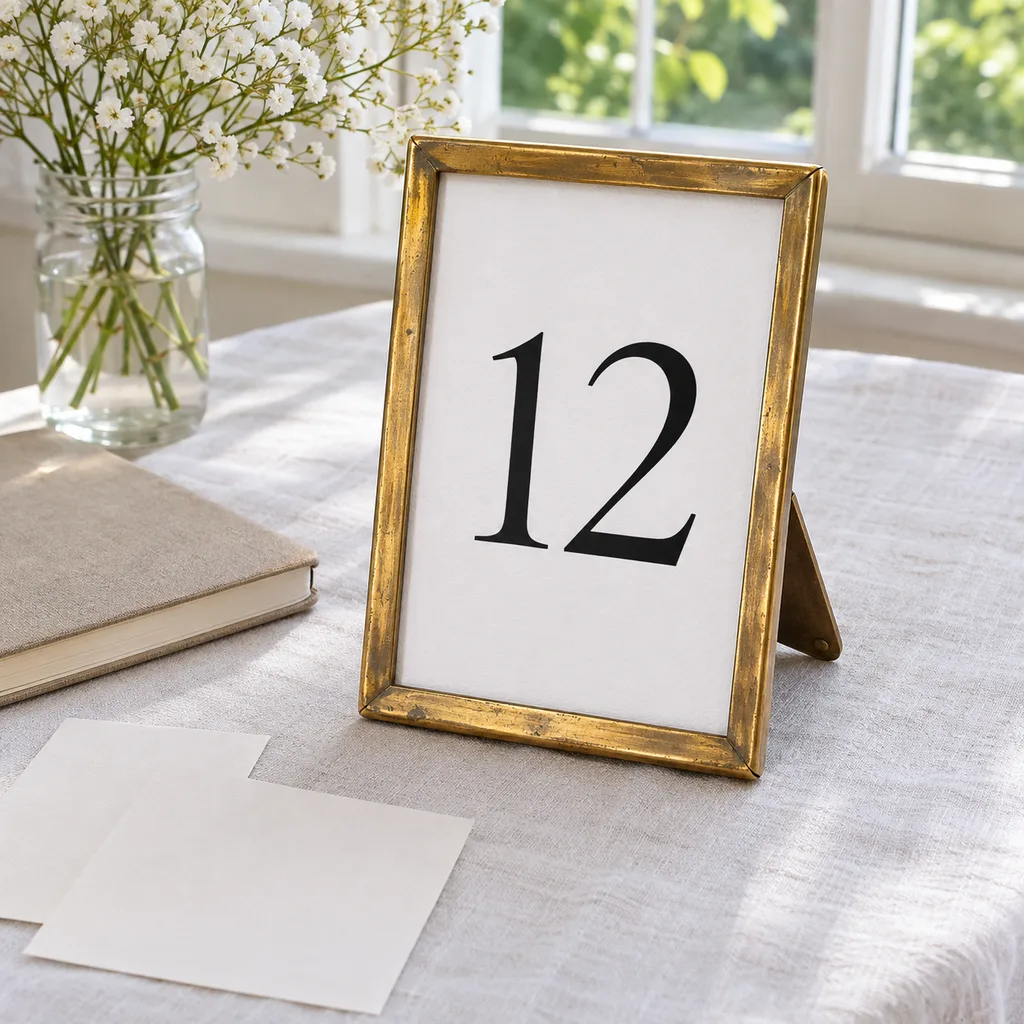
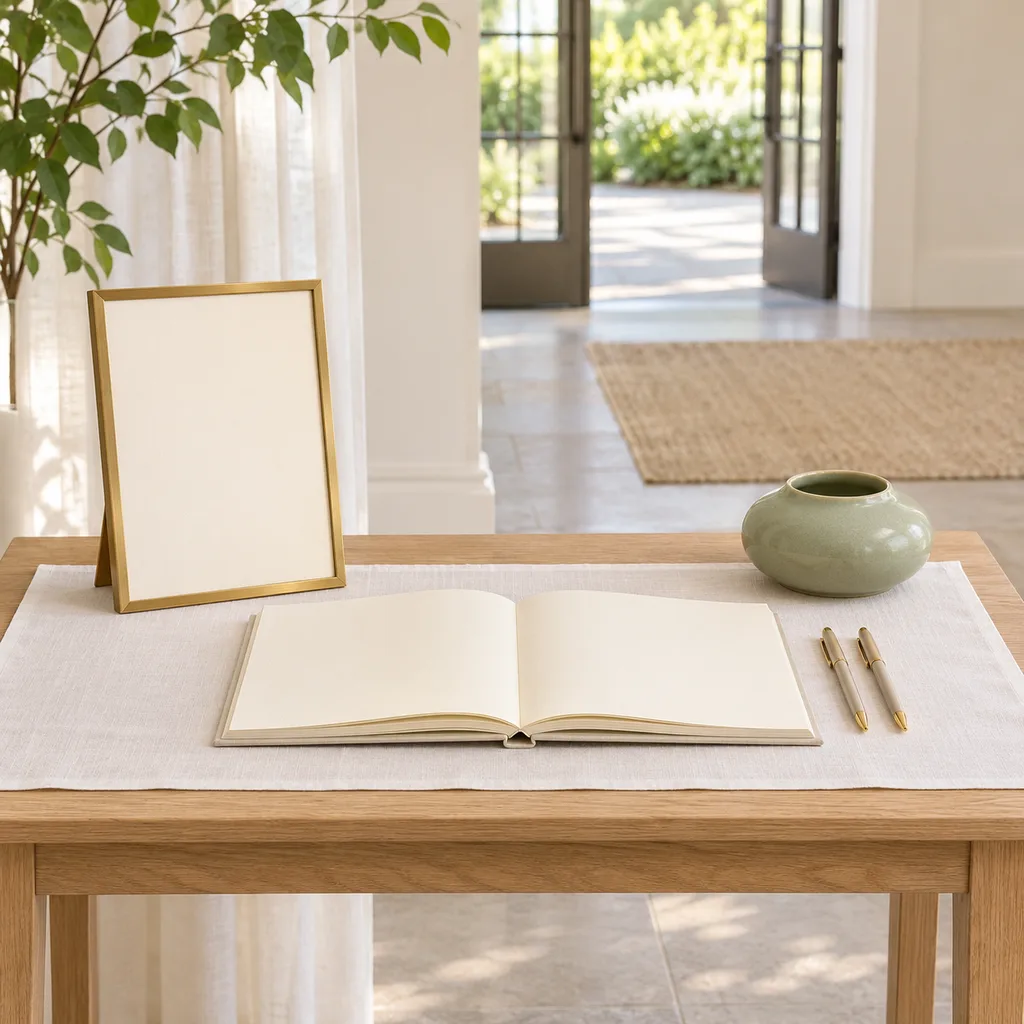
Gather the frames you already have permission to use and check their usable insert areas. They do not have to be identical. A shared paper color and lettering style can connect different frames while leaving their shapes visible.
Make an insert for each actual opening, keeping the number clear of the frame edge. Use the frame's normal backing and support according to its instructions. Do not turn the project into a wall-mounting or improvised glass-cutting task.
Set the finished sample under lighting similar to the reception. Look for glare over the identifier, a support that intrudes into the place setting or a frame that requires guests to move other pieces to read it. Change the position or format if necessary rather than covering the problem with more decoration.
Frames suit a design where an existing object provides most of the visual detail. They also add packing and return responsibilities. Note who owns each one and keep that information on the private production list, not on the guest-facing insert.
Option three: use a replaceable card in a suitable holder
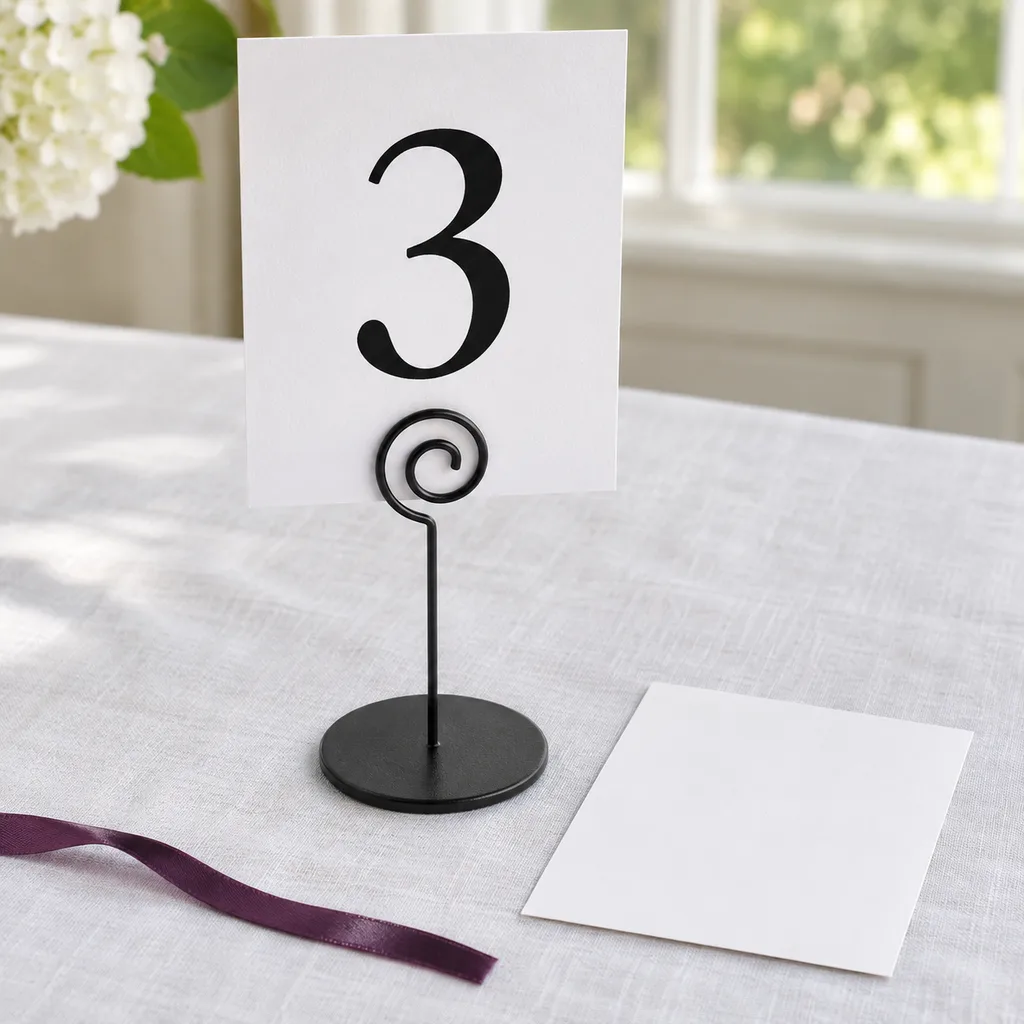
A separate card and holder can make a late correction simpler: replace the affected card while keeping the rest of the set. Choose holders intended for the actual card size and thickness. Check their instructions and the assembled sample before preparing the full set.
Use the same identifier layout as the other options, with strong contrast between number and background. Carry the wedding colors in the holder or a small accent so that the number does not have to do all the decorative work.
Keep loose ribbons and attachments out of the reading area and away from eating surfaces. Do not assume a craft item is appropriate for food contact or for children handling it. A simple removable paper accent is optional; the table number still needs to function without it.
Check a sample from the route guests will use
Put the complete sample where a table identifier would actually sit, together with the planned dishes and centerpiece. Ask someone who did not make it to identify the table from the expected approach. Do not coach them by pointing at the number.
If they cannot read it, identify the cause before adding another layer: lettering, contrast, glare, position or an object blocking the view. There is no universal font size or display height that resolves every room. Review placement with the venue, including service and circulation needs.
The seating-chart guide addresses finding a guest's assigned table at arrival. These numbers complete the next step: recognizing that same identifier in the room. Keep the two systems visually related, but do not turn the small table display into another guest list.
Finish, count and pack against the approved list
Compare every finished identifier with the master list. Look for a missing table, an accidental duplicate, an upside-down face and a correction made on only one side. If the floor plan changes, update the list first and mark which physical pieces need attention.
Pack each sign with its matching holder or frame and a clear placement note for the setup person. Keep an editable copy or a way to remake an insert available to the designated helper. Count the assembled pieces rather than assuming a stack of paper contains every table.
A successful DIY set gives each table one clear identity, repeats a manageable design and reaches the room with the right supports. The decorative detail can stay modest when the information is dependable.
Keep good recipes close
Add The Cooking Twins to your preferred sources on Google for more easy dinners, no-bake desserts and kitchen inspiration.
Emma & Ella Frost
A practical resource from The Cooking Twins.
More from Emma & Ella Frost
Comments
Leave a commentShare your question or planning tip below.