
Gift Wrapping Party Setup Ideas With Room for Everyone's Projects
Plan a gift wrapping party with clear workspaces, shared supplies, separate finished gifts and a reuse sort. Keep the setup useful without crowding the table.

By Emma & Ella FrostUpdated November 16, 2026

5-Ingredient Dump & Go Crockpot Meals
101 effortless slow cooker recipes for busy families.
View on AmazonAvailable on AmazonA gift wrapping party is easier to enjoy when the table has room for the gifts, not just the supplies. Plan a shared work surface, a visible place for tools, and somewhere for finished packages before adding seasonal decoration. Guests can bring different papers and boxes without needing an elaborate matching station.
These gift wrapping party setup ideas concern the shared workspace and hosting routine. They are not a professional wrapping tutorial or a guide to packing fragile gifts for shipping. Keep the plan small enough that everyone can work comfortably.
Agree on what guests should bring
Let guests know whether they should bring their gifts, wrapping materials, labels and tools, or whether you are providing a shared selection. A simple arrangement is for each person to bring their own gifts and favorite paper while the host provides a few common supplies. State that plan clearly rather than assuming everyone means the same thing by wrapping party.
Ask people to bring only as much as the workspace can accommodate. A large collection of boxes can fill a dining table before anyone starts. If someone has an unusually large item, discuss whether it can be handled separately instead of promising that every package will fit.
Keep the recipient information with each person's gifts. Guests do not need to share addresses or private message details with the group. A personal tote can hold the gifts and their own notes together while shared supplies stay in a separate area.
Give each person a clear work area
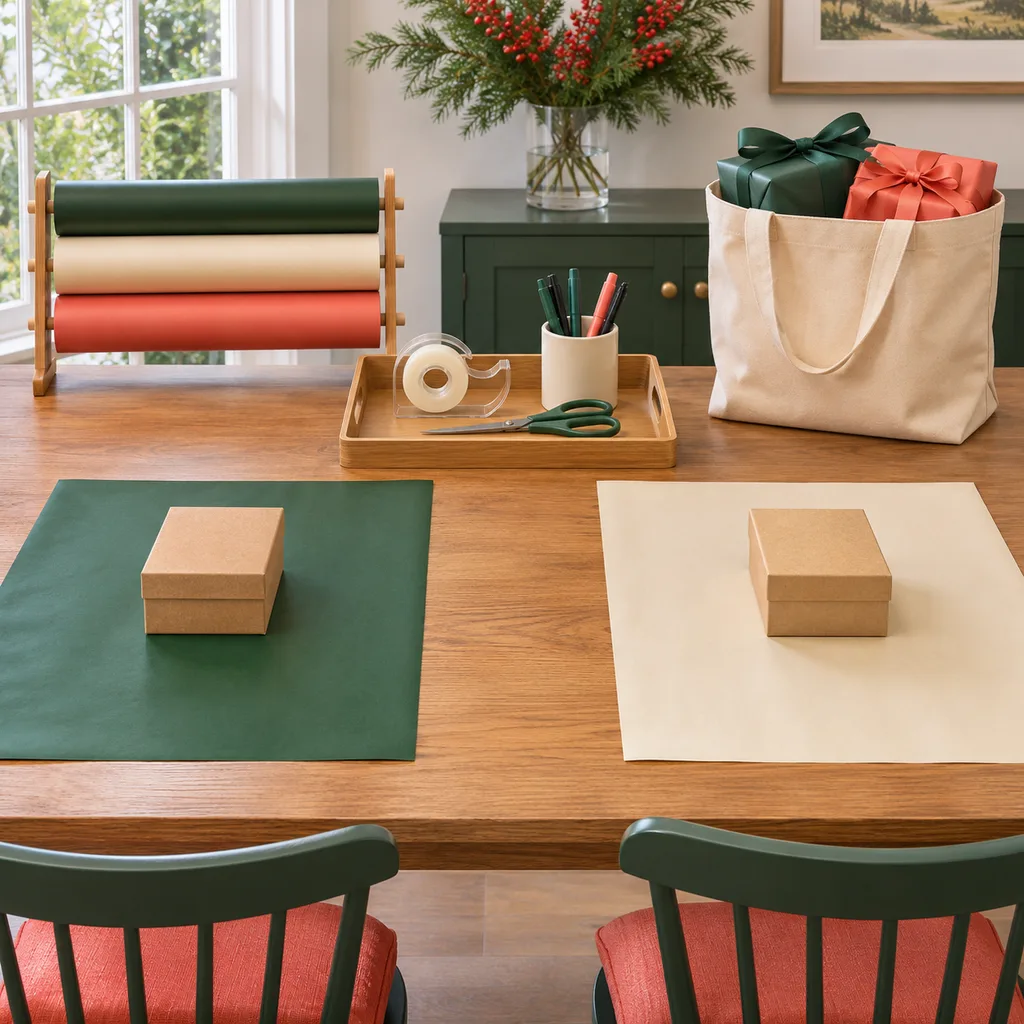
Start with the table empty and place an ordinary gift box where each person will work. Allow room for the paper to unfold and for tools to rest without balancing at the edge. Judge the fit with the actual objects instead of choosing a guest count from a photograph.
If the table cannot support several wrapping tasks at once, make the activity smaller or take turns. A cutting area and a finishing area can be useful when the room supports them, but do not create a complicated route that sends people carrying tools through a crowded space.
Choose a work surface appropriate for the materials and tools you intend to use. Protect it according to the table and tool instructions rather than assuming a decorative tablecloth is a cutting mat. Keep entrances and walking routes clear of rolls, bags and finished packages.
Keep shared tools visible and easy to return
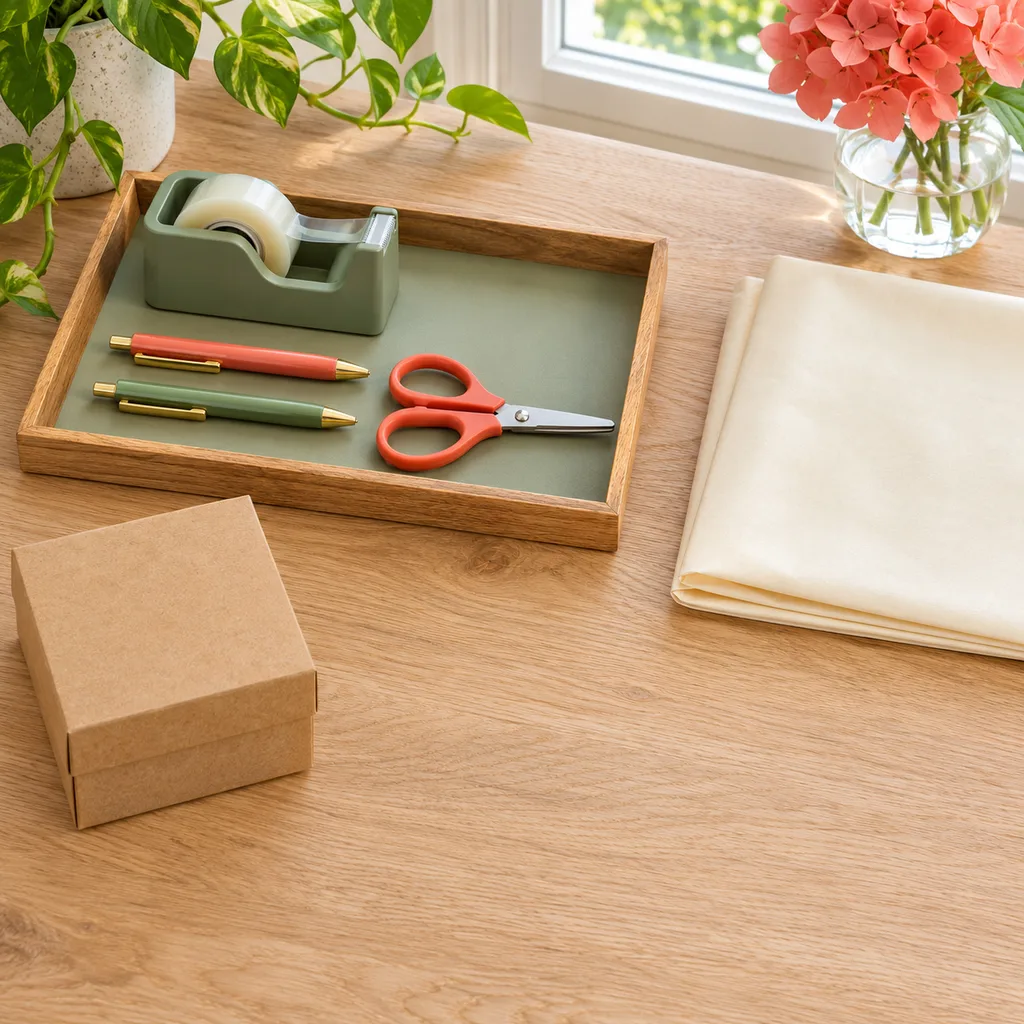
Use a shallow tray or a defined central spot for tape, pens and other shared items. Put tools down in the same place when finished instead of hiding them beneath paper. Use scissors and other tools as intended, with their ordinary handling precautions.
Keep private supplies separate if someone does not want them shared. A small container beside that person's workspace is enough; the entire table does not need personalized organizers. Check before using another guest's specialty paper or ribbon.
Avoid buying duplicates until you know what people are bringing. The goal is fewer interruptions, not a collection of identical accessories. If only one person needs a particular tool, it may work better in their own area than in a crowded shared tray.
Sort paper and decorations before spreading them out
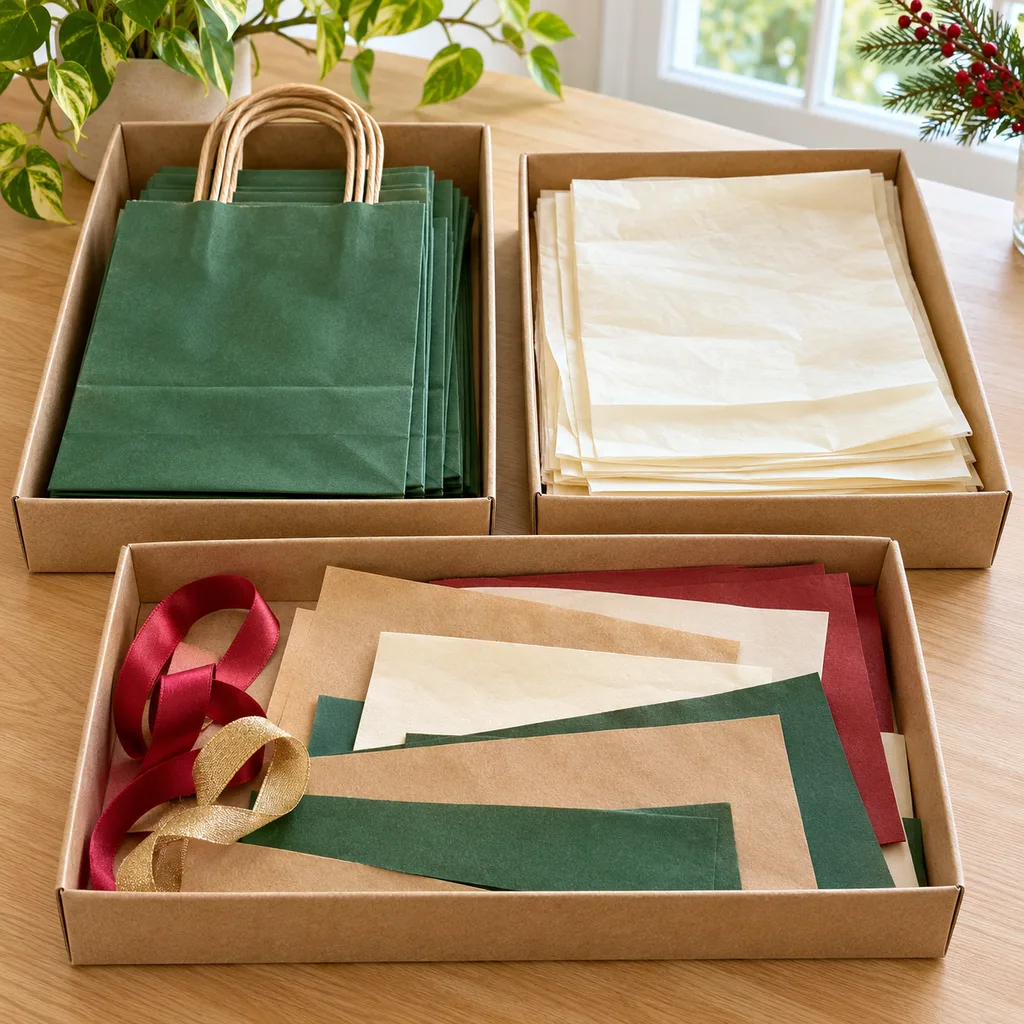
Group full rolls, usable offcuts, bags, tissue paper and ribbons separately. Let people see the available choices without unrolling every paper at once. Keep the active sheet at the work area and the rest in a nearby location that does not obstruct movement.
Start with materials you already have. The EPA's recycling guidance encourages reusing gift bags and tissue paper rather than discarding them after one use. A reusable-materials group can be part of the setup without requiring every guest to use the same wrapping style.
Do not label a material recyclable simply because it looks like paper. Coatings and local collection rules can affect acceptance. Keep the packaging information where available and check the local provider rather than placing every decorative scrap in one recycling container.
Separate unfinished gifts from completed packages
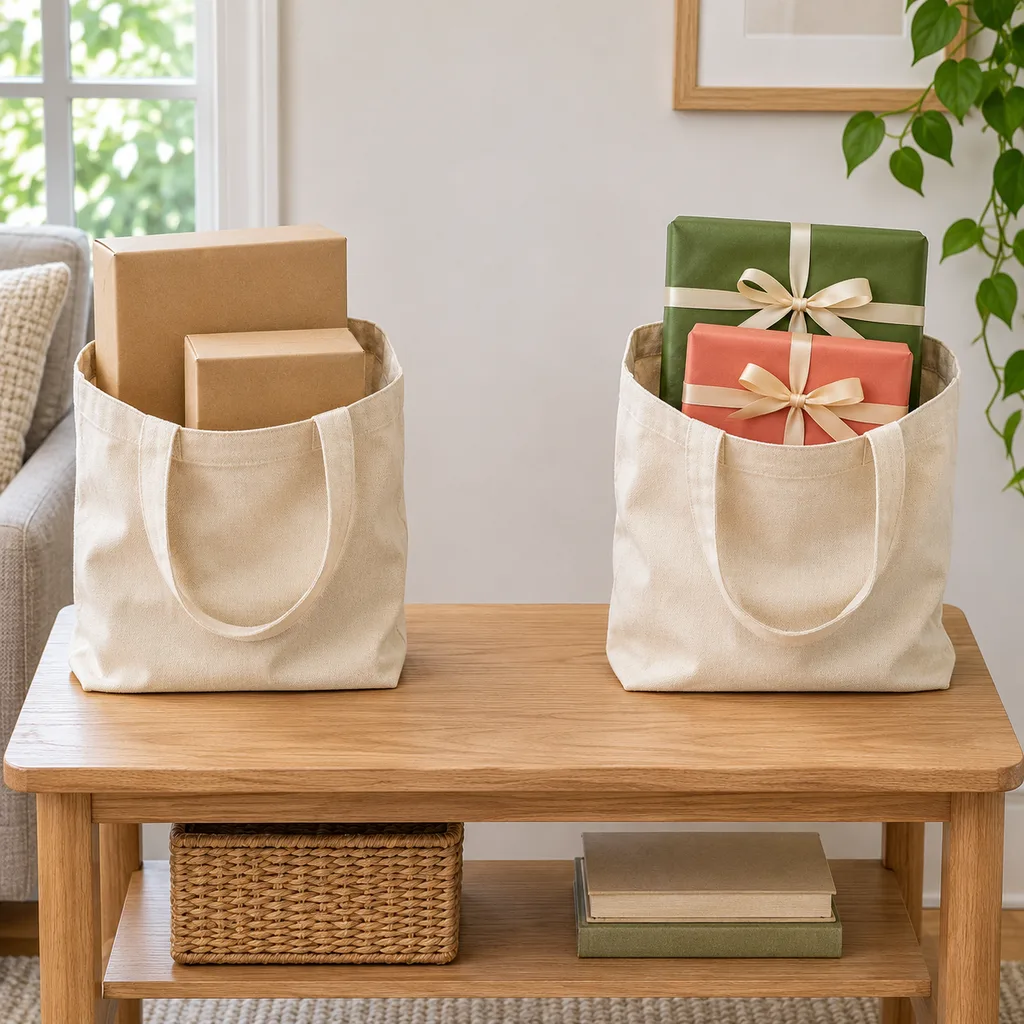
Give each person somewhere to put a wrapped gift before starting the next one. A personal tote or clearly assigned side space can help prevent packages from being mixed together. Keep finished gifts away from the current cutting and taping area.
Add the intended gift label before setting a package aside. An anonymous stack of similarly wrapped boxes is difficult to sort afterward. Keep any private recipient notes with their owner rather than displaying a household's gift list to the room.
If a gift needs a box, protective packaging or a different method, leave that decision unresolved until the appropriate materials are available. Decorative wrapping does not establish protection for transport. Do not improvise a shipping claim from a package that merely looks finished.
Put refreshments away from the paper workspace
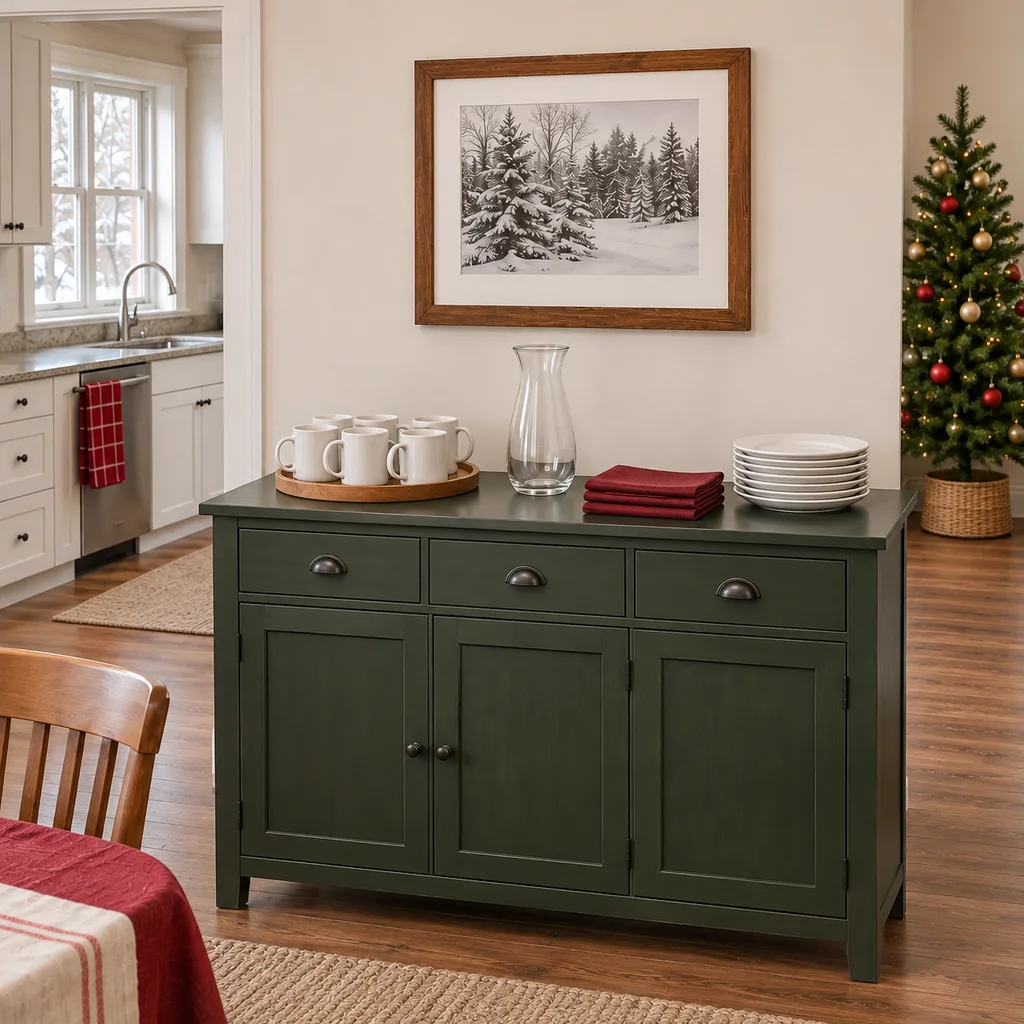
If you serve drinks or snacks, give them a separate place instead of squeezing them between rolls and gift boxes. A spilled drink can interrupt the work and affect someone's present. Make it easy to step away for a break without moving another guest's supplies.
Choose the refreshments independently from the wrapping plan and follow their own preparation and storage instructions. This article does not provide a food-holding schedule. A decorative tray or party theme does not change the requirements of the food you serve.
Keep seasonal styling restrained around the activity. A small accent away from the tools can set the mood without taking over the tabletop. Leave open flames and elaborate installations out of this simple workspace plan.
Reset the table before everyone packs up
Leave time to return tools and sort remaining materials before guests collect their gifts. Separate usable offcuts and reusable bags from discarded items. Ask the owner before throwing away a specialty material or taking a leftover ribbon home.
Follow the local recycling provider's rules for paper, coated wrap and other materials. A separate keep-for-reuse bag can be more helpful than trying to make a disposal decision about every scrap while people are leaving. Do not promise that the event will create no waste.
Check that every guest has their own completed gifts, unfinished items, private notes and borrowed tools. A successful wrapping party ends with the shared table clear and the packages going home with the right people. Keep that practical outcome at the center of the setup.
Keep good recipes close
Add The Cooking Twins to your preferred sources on Google for more easy dinners, no-bake desserts and kitchen inspiration.
Emma & Ella Frost
A practical resource from The Cooking Twins.
More from Emma & Ella Frost
Comments
Leave a commentShare your question or planning tip below.