
Christmas Hosting Checklist for Beginners
Plan a first Christmas dinner with a manageable menu, guest handoffs, shopping checks, table setup, and food-safe cleanup priorities.

By Emma & Ella FrostUpdated November 16, 2026

5-Ingredient Dump & Go Crockpot Meals
101 effortless slow cooker recipes for busy families.
View on AmazonAvailable on AmazonFor a first Christmas gathering, plan one event you can comfortably host rather than trying to reproduce every holiday tradition at once. Decide who is coming, when they will arrive, and how you will serve the food. Then work backward from that meal.
This checklist is built around a small dinner at home. Adapt the dates to your calendar, and use your actual recipes for cooking, cooling, and thawing instructions. The timeline organizes responsibilities; it does not supply cooking times for an unspecified menu.
Two to three weeks before: define the gathering
Choose a date, arrival time, approximate meal time, and guest list. Count seats rather than relying on how spacious the room looks without people. Decide whether this is a seated dinner, a buffet, or a casual afternoon gathering before planning decorations.
- Confirm the number of adults and children.
- Ask about dietary needs, allergies, and accessibility needs.
- Choose the service style and where guests will sit.
- Set a spending limit for food, drinks, supplies, and decoration.
- Decide which traditions matter most and which can wait.
Be specific when inviting help. Please bring a ready-to-serve salad and its serving spoon is easier to coordinate than bring anything. Ask whether a contributed dish requires refrigerator space, reheating, or final assembly so it does not unexpectedly compete with your own menu.
If you cannot meet a guest's dietary need safely, discuss that early and make a clear plan together. Do not promise an allergen-free meal based only on removing a visible ingredient.
Ten days before: build a menu that fits the kitchen
Choose a manageable main dish, a small number of sides, and a dessert. Write the cooking appliance, temperature, recipe time, serving dish, and final task beside each item. Use the recipe's directions, not a general holiday timing estimate.
A hypothetical menu might include one oven main, one stovetop side, a cold salad, and a dessert that does not need the oven at dinner time. That arrangement illustrates appliance planning; it does not verify any particular recipe combination.
The existing menu-first oven schedule guide can help you think through shared oven space. Keep this Christmas plan focused on the whole gathering, including arrivals, drinks, seating, and cleanup, instead of writing another oven-only worksheet.
Choose a fallback before you need it: drop one side, simplify dessert, or serve a store-bought item that meets the agreed needs. Simplifying the menu is more useful than adding another last-minute cooking task.
One week before: make one consolidated shopping list
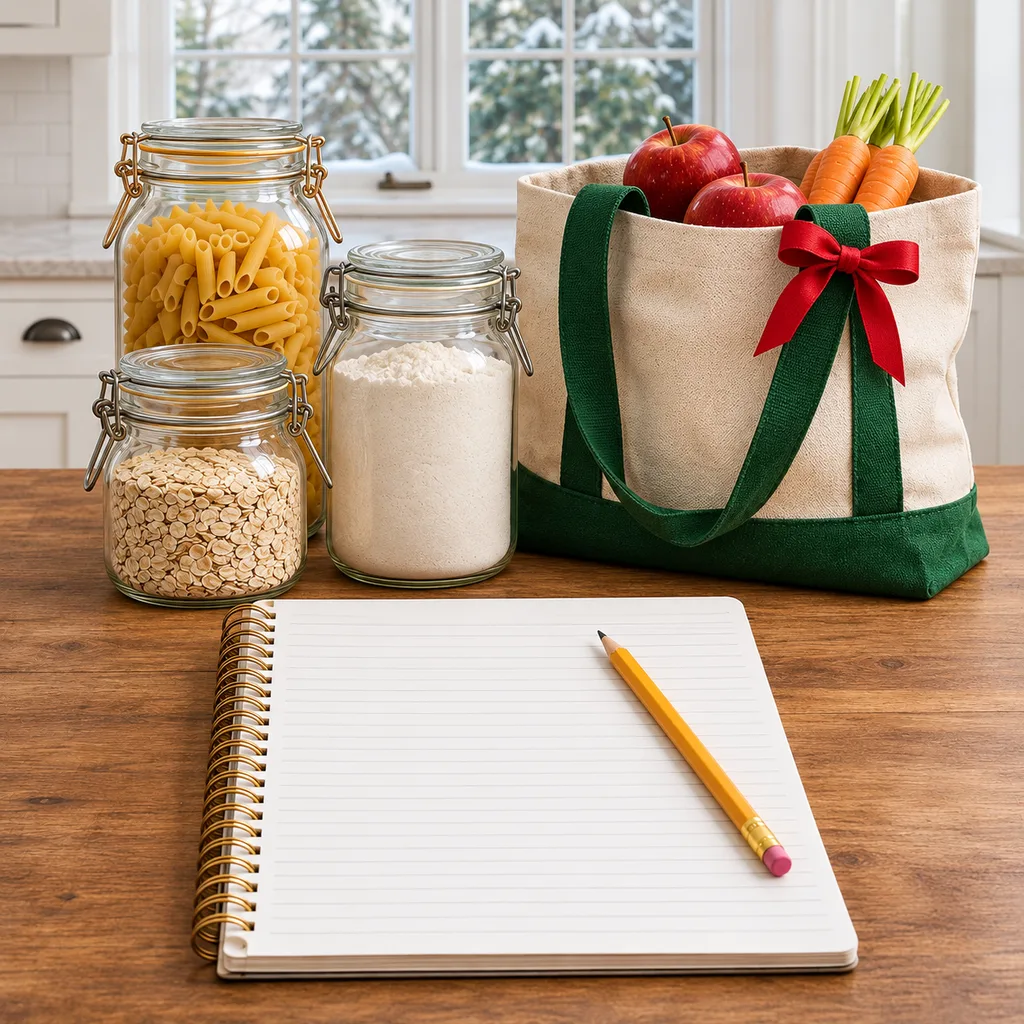
Read every recipe and write the required ingredient form and amount. Check what you already have, then combine overlapping ingredients. Keep food, beverages, household supplies, and table items in separate list sections.
Include often-forgotten practical items: enough hand soap, a clean hand towel, trash bags, food-storage containers, labels, ice if needed, and serving utensils. Check actual stock instead of automatically buying another pack of everything.
Inventory refrigerator and freezer space before planning make-ahead dishes. Shelf-stable purchases can happen earlier; buy perishables according to their storage directions and your meal plan. Do not use this checklist as permission to hold every fresh ingredient for a week.
Confirm guest contributions in one message with the dish, arrival time, and storage or reheating needs. The potluck handoff guide offers a related framework for coordinating a dish without duplicating responsibility.
Three days before: prepare the room and equipment
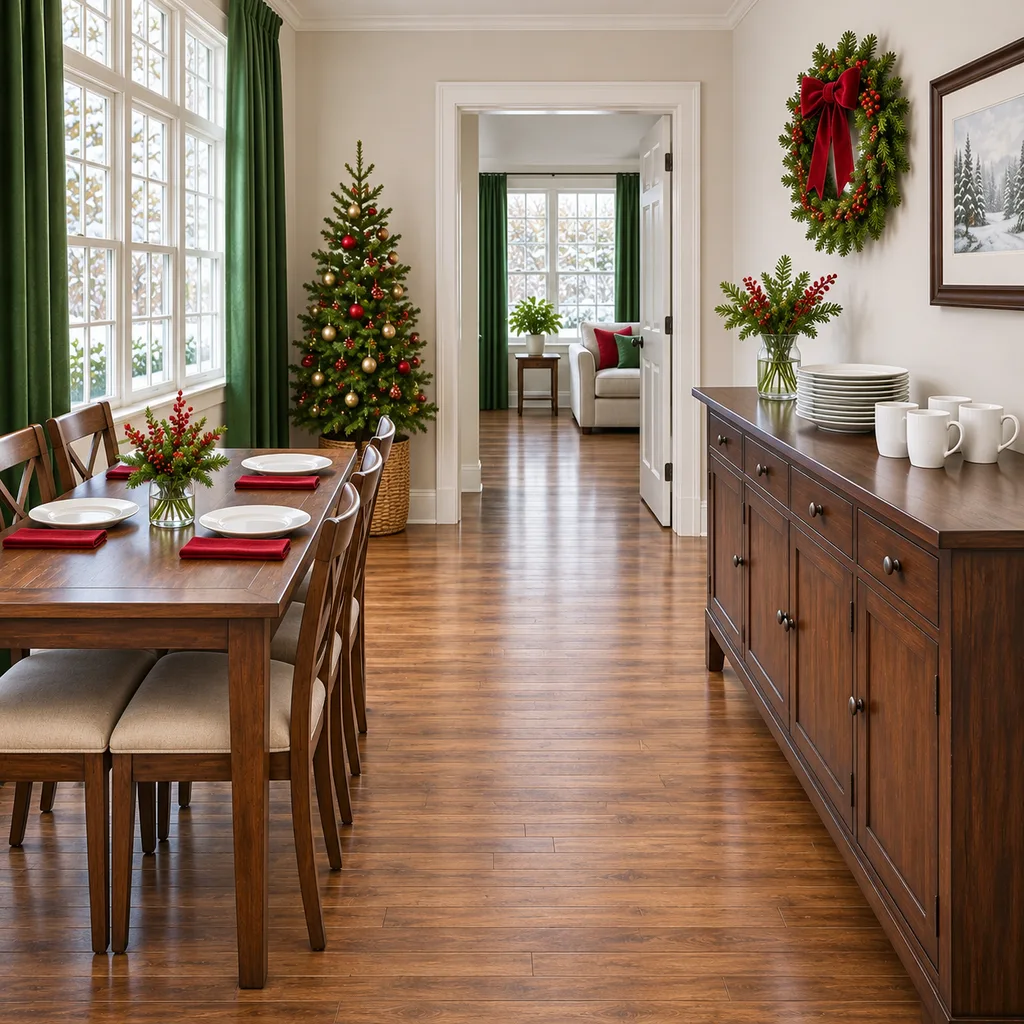
Clear a place for coats and bags, make the bathroom usable, and check the route between the kitchen and table. Put drinks where guests can reach them without standing in the main cooking area. Leave exits and walking paths unobstructed.
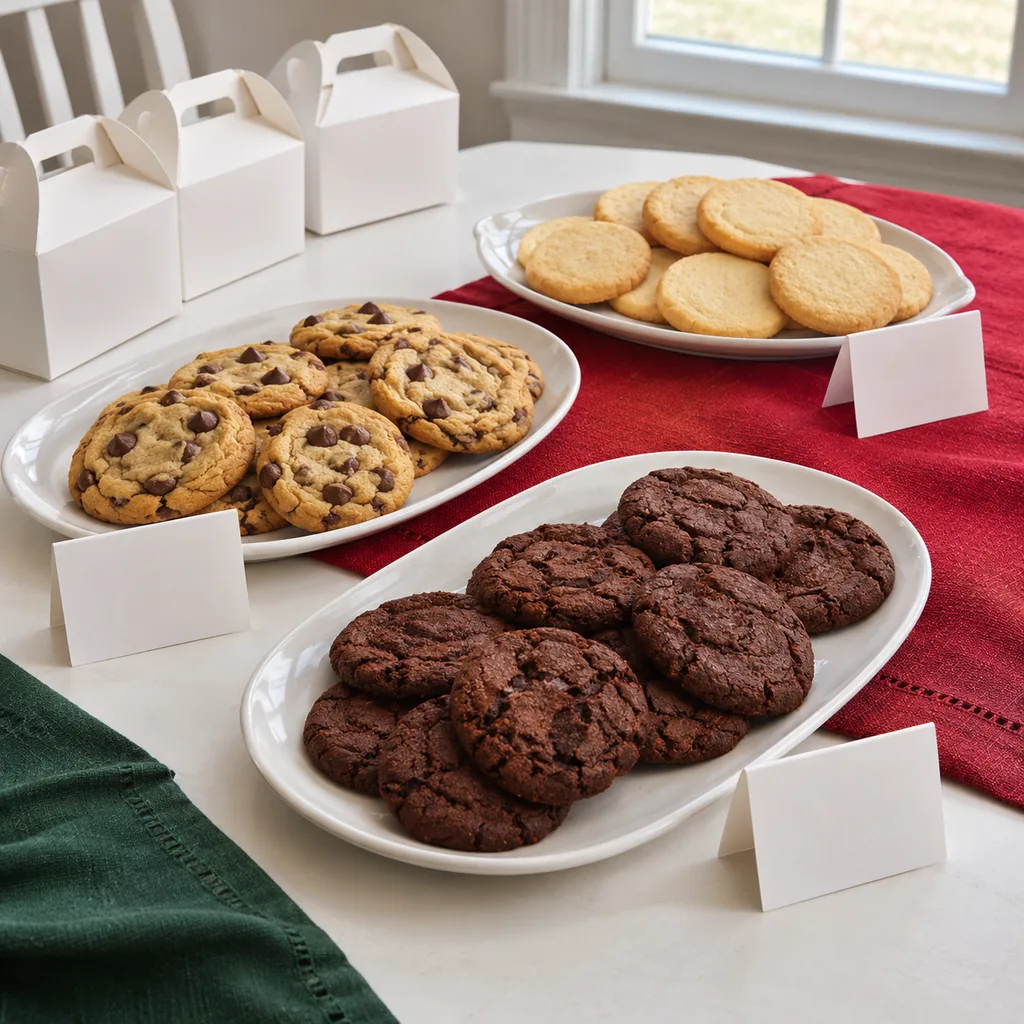
Match each dish to a platter or bowl and place its serving utensil beside it. Small paper notes can identify the intended dish until setup is complete. Count glasses and cutlery, including anything needed for dessert.
Use a restrained Christmas palette, such as green napkins with white dishes and red place cards. One compact centerpiece is enough when serving space is limited. Battery-operated decorative lights avoid an open flame, but still require the product's handling instructions and secure battery compartments.
The day before: finish tasks that genuinely keep
Set the table if the space can remain undisturbed. Prepare only the foods your recipes permit making ahead and store them as directed. Write a short next-day task list so you do not have to reconstruct the plan while cooking.
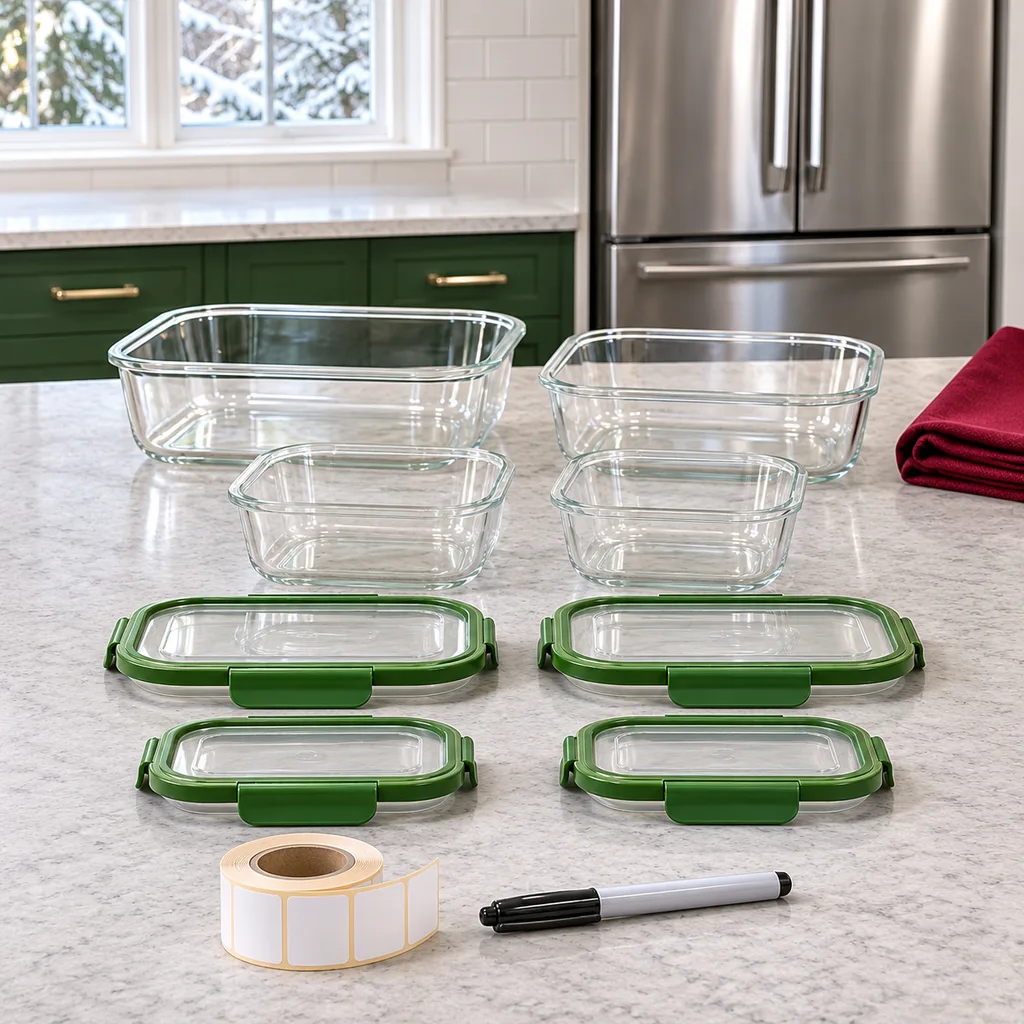
FDA advises refrigerating perishable leftovers promptly, using shallow containers, and keeping the refrigerator at 40 F or below. The two-hour limit becomes one hour when air temperature exceeds 90 F. Label prepared food clearly so another helper knows what it is and when it was made.
Check that your food thermometer is available. The existing thermometer check guide addresses equipment preparation; use verified recipe and food-safety directions for the actual food you cook.
Hosting day: separate cooking from guest care
Write arrival, meal, and cleanup responsibilities beside a person's name. A helper can handle coats, refill water, or clear plates without needing access to the stove. Ask before assigning work; guests should not discover a job they never agreed to do.
For a fictional 6 p.m. dinner with 5 p.m. arrivals, reserve the final pre-arrival period for checking the room and setting out nonperishable service items. Schedule actual cooking from the recipes and verified holding requirements, not from this example's clock.
FDA's buffet guidance calls for holding hot perishable food at 140 F or above, checked with a food thermometer. If a dish needs reheating, FDA lists 165 F for leftovers. Reheat food before holding it hot and verify its temperature; a warming device alone does not establish that food reached a safe reheating temperature.
After dinner: put food away before finishing the room
Keep track of time out of temperature control; moving food to a different platter does not restart the clock. Package and refrigerate appropriate leftovers promptly, then handle dishes and decorations. Do not leave perishable food out through an extended gift exchange.
Note three things for next time: what ran short, what went unused, and which task felt rushed. Keep the traditions people enjoyed and simplify the rest. A useful first-hosting checklist should make the next gathering easier, not longer.
Keep good recipes close
Add The Cooking Twins to your preferred sources on Google for more easy dinners, no-bake desserts and kitchen inspiration.
Emma & Ella Frost
A practical resource from The Cooking Twins.
More from Emma & Ella Frost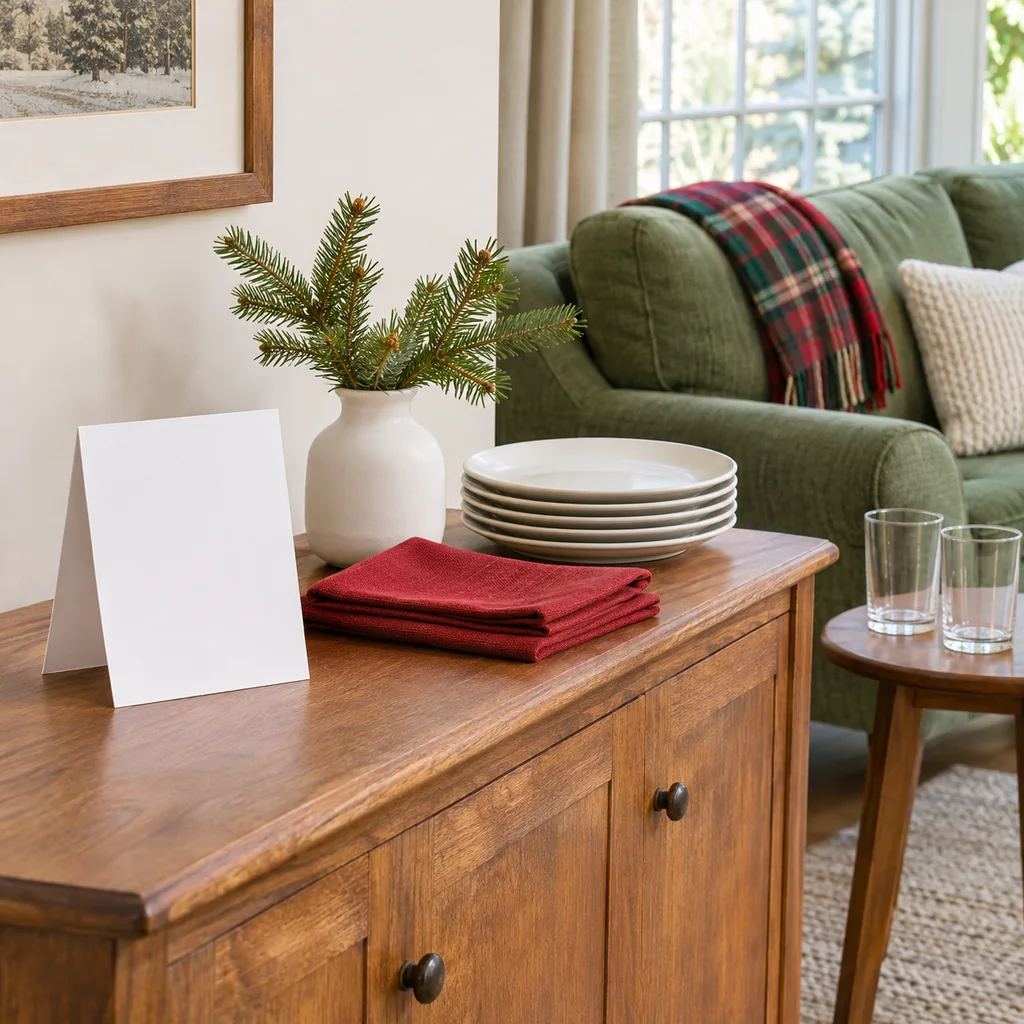
Comments
Leave a commentShare your question or planning tip below.