
Kitchen Utensil Storage Ideas: Give Different Tool Shapes Their Own Space
Compare drawer sections and a small utensil crock for spoons, turners, whisks and ladles, with practical checks for finding and returning tools.

By Emma & Ella FrostUpdated November 17, 2026

5-Ingredient Dump & Go Crockpot Meals
101 effortless slow cooker recipes for busy families.
View on AmazonAvailable on AmazonThe best kitchen utensil storage ideas start with the shape of your tools and the way you cook. A deep ladle, a broad turner and a balloon whisk do not fit a drawer in the same way. Give the tools you actually reach for a place where you can identify, remove and return them without untangling the entire collection.
This guide covers ordinary nonsharp hand utensils such as spoons, turners, whisks and ladles. Knives, blades and other sharp equipment need their own appropriate storage, outside this general arrangement. Do not mix them into a loose utensil crock or an open catchall drawer.
Sort by the tool head before choosing dividers
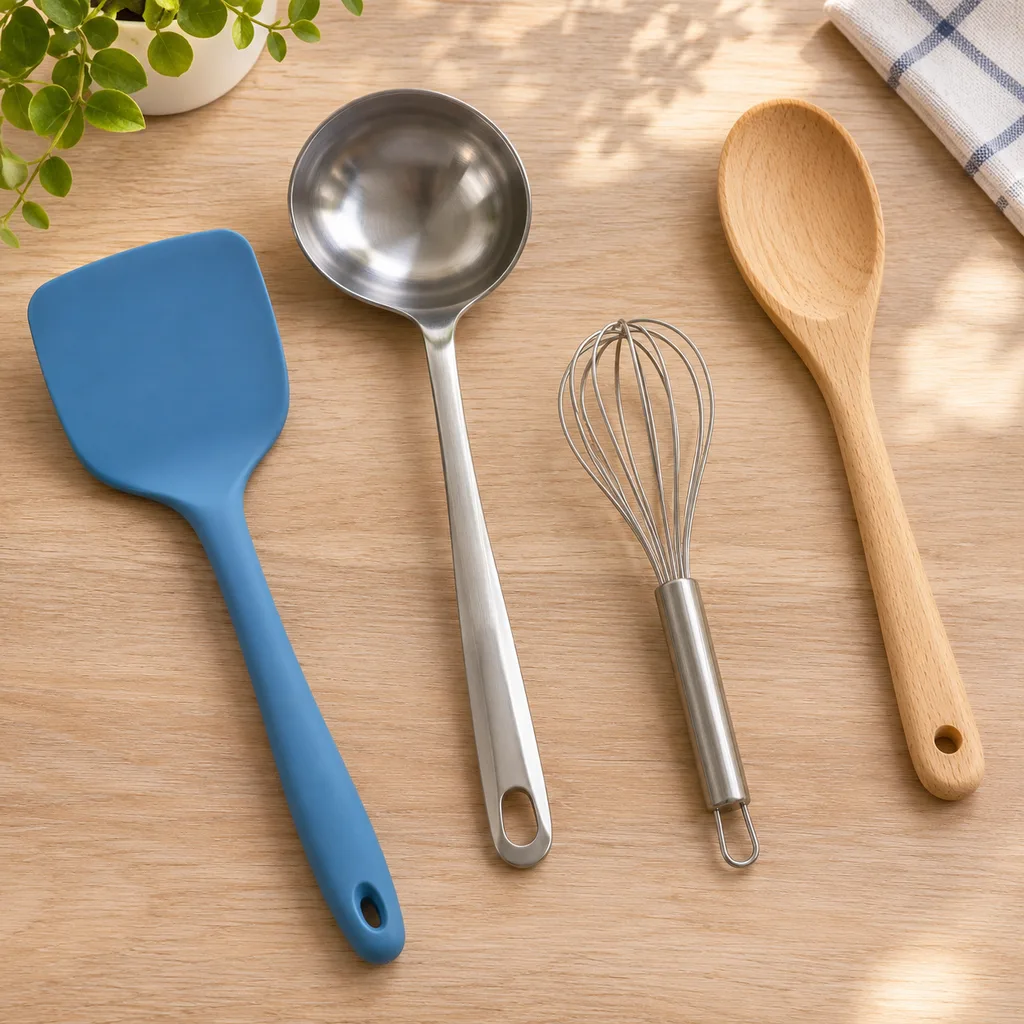
Lay the clean utensils on a suitable clear surface and compare their shapes. Separate broad flat heads, deep scoops, open wire heads and longer straight handles. Then identify which pieces you actually use together.
A whisk can catch on neighboring handles while a ladle may prevent a shallow drawer from closing. Those are different fit problems. Test the full tool rather than measuring only its handle or buying compartments from a photograph.
Keep a specialty tool you still need even if it is not used daily, but give it a less prominent suitable location. Frequency helps assign space; it is not a reason to discard equipment simply because it did not appear in this week's meals.
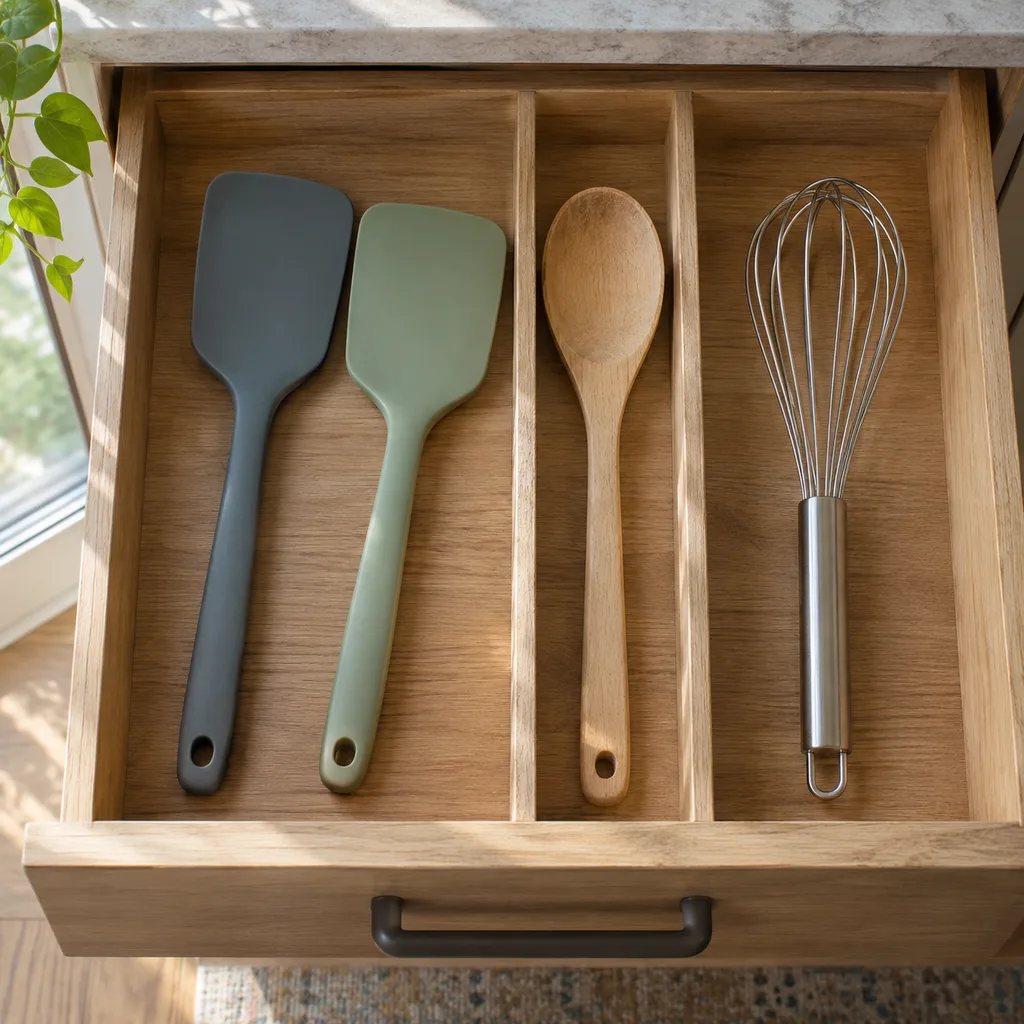
Try a flat drawer for broad, shallow tools
Turners and some spoons can work in a flat drawer when their heads and handles remain visible. Lay out a sample arrangement before adding dividers. Open and close the drawer slowly with the actual pieces in place and check that nothing catches above or behind it.
A long compartment can suit several similarly shaped pieces, but stop adding utensils when finding one means lifting the rest. Place the most frequently used tool where you can recognize it, not beneath a layer of matching handles.
Keep dividers appropriate to the drawer and items. Do not force a mechanism closed around a tool that is too tall. If the tool head determines the depth, change its storage location rather than hiding the problem under a deeper organizer.
Use a crock for a small, deliberate selection
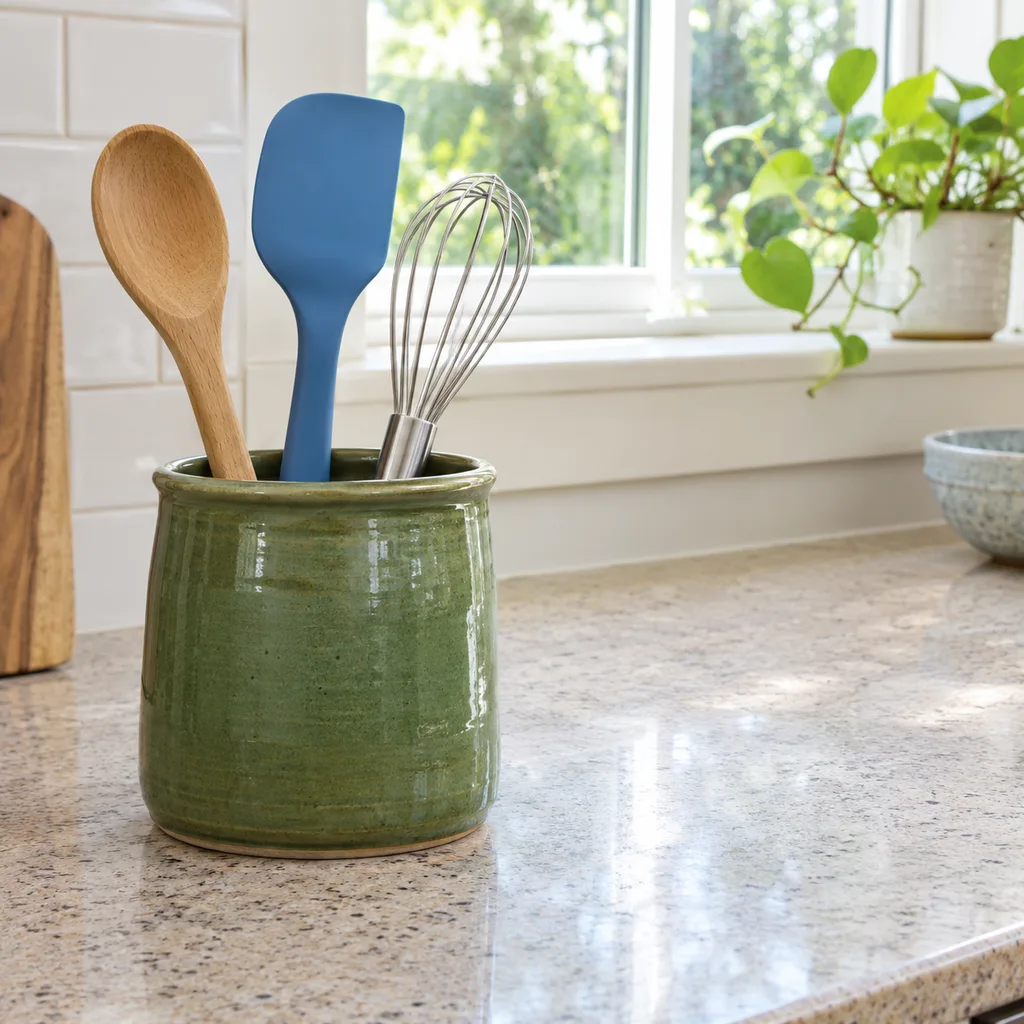
A suitable upright holder can be convenient for long nonsharp utensils when it stands securely and individual pieces are easy to remove. Start with a few tools, not the whole drawer. Check that retrieving one does not tip the holder or pull several others with it.
Choose the location before choosing the container's color. Preserve the preparation area, and do not crowd the stove with a wooden utensil display. The U.S. Fire Administration's cooking guidance emphasizes keeping combustible items away from the stovetop.
Follow the holder's and utensils' care instructions. Return them after their appropriate cleaning and drying routine, not immediately from a wet sink. A decorative vessel is not automatically suitable for the tools or the intended location.
Give awkward heads room instead of nesting everything
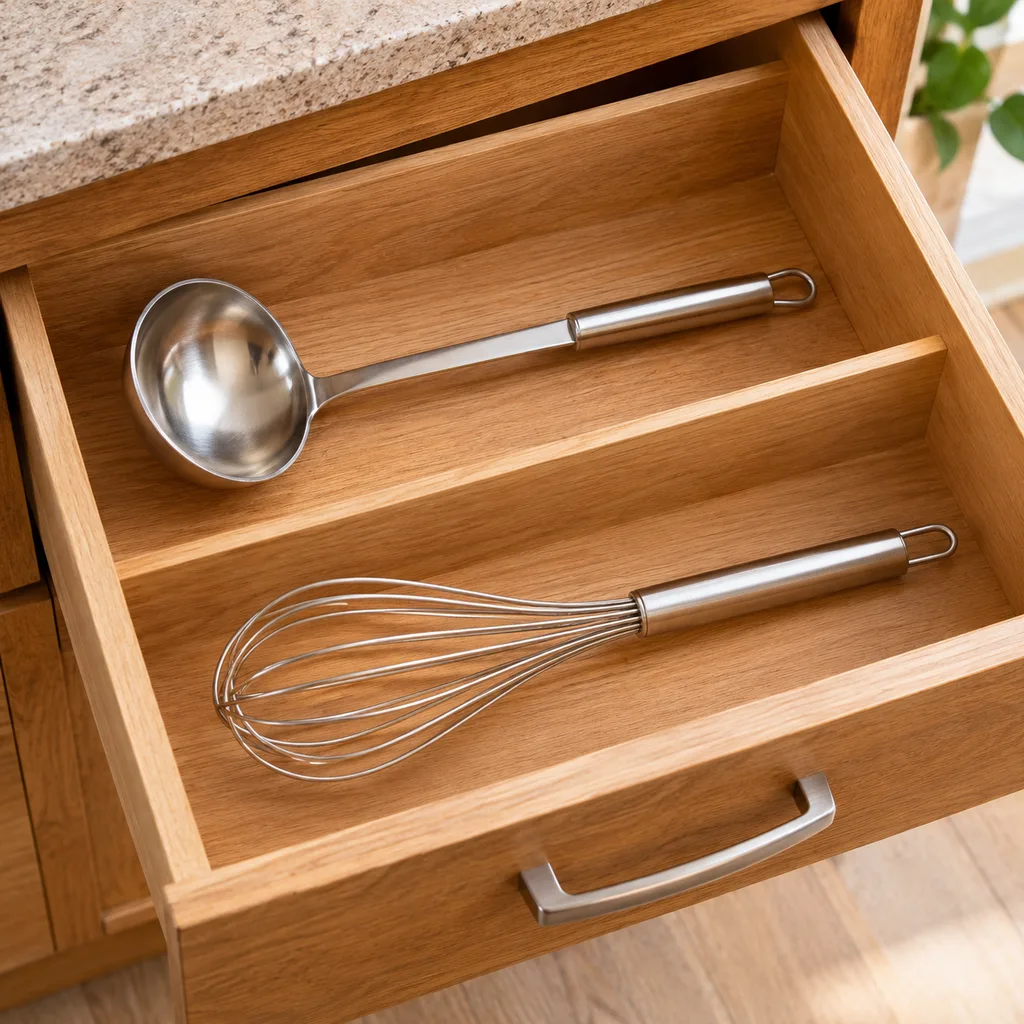
Deep ladles and broad pasta servers may work better in a different drawer section from flat turners. Try the actual removal movement. If one tool hooks another every time, separate them rather than relying on a careful arrangement that is difficult to repeat.
Wire whisks can have a dedicated shallow area where their shape remains visible. Nest only pieces that are intended to nest and still come apart conveniently. Protect coatings and delicate parts according to the actual maker's guidance.
Do not bend a utensil to make it fit a compartment. Replace the storage decision, not the tool's intended shape. A useful organizer accommodates the collection instead of demanding that everything behave like a straight spoon.
Separate everyday cooking from occasional serving
A large serving spoon used for gatherings does not necessarily need the same location as the turner used for dinner. Group occasional serving tools where they can be retrieved for their task without occupying the most convenient daily drawer.
Keep a simple note if a piece belongs to a particular serving set. Avoid creating so many tiny categories that returning tools requires checking a chart. Two clear destinations can be more useful than several unlabeled bins.
For utensils that remain on the counter, our kitchen countertop organization guide helps preserve the surrounding preparation surface. Choose the utensils first, then decide whether a tray or crock actually earns that space.
Review the arrangement during ordinary cooking
Notice what happens when you need a tool with one hand already occupied. Can you recognize the right head, retrieve it without touching sharp equipment and put neighboring pieces back easily? Change the location or reduce crowding where the answer is no.
After cleaning and drying, follow the return journey too. A drawer that looks tidy only when every handle is placed at a special angle may be asking too much. Keep the arrangement simple enough that another household member can understand it without recreating a display.
Make the next purchase only after identifying an actual storage problem. A different divider may help a broad turner; an additional crock will not solve a drawer full of occasional serving tools. Let the tool shapes and repeated tasks decide what changes.
Keep good recipes close
Add The Cooking Twins to your preferred sources on Google for more easy dinners, no-bake desserts and kitchen inspiration.
Emma & Ella Frost
A practical resource from The Cooking Twins.
More from Emma & Ella Frost
Comments
Leave a commentShare your question or planning tip below.