
Kitchen Countertop Organization Ideas That Leave Room to Cook
Organize kitchen countertops around a clear prep area, useful appliance locations, small trays, and a practical routine for keeping mail and bags elsewhere.

By Emma & Ella FrostUpdated November 16, 2026

5-Ingredient Dump & Go Crockpot Meals
101 effortless slow cooker recipes for busy families.
View on AmazonAvailable on AmazonThe most useful kitchen countertop organization starts with a place to work, not a collection of matching containers. Choose the surface where you actually prepare meals, keep that area available, and give everything competing for it a specific destination.
A counter can look tidy while still being awkward: a tray may hold every bottle neatly but leave nowhere to set a mixing bowl. Use the decisions below to separate permanent equipment, temporary cooking supplies, and things that do not belong in the kitchen. There is no required number of appliances or decorative items; your routine and the available space determine what stays.
Choose a working rectangle before choosing organizers
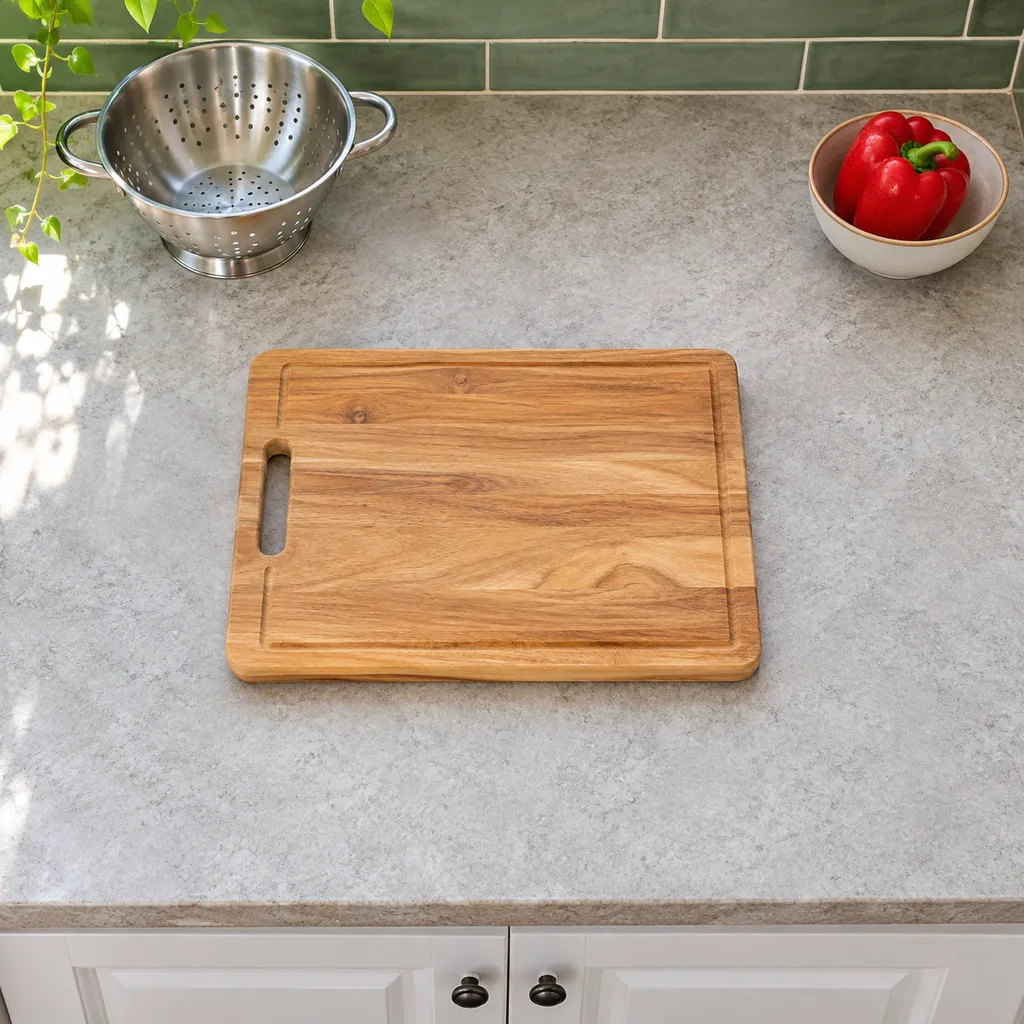
Put your usual cutting board on the counter where you prefer to chop. Add an empty bowl or colander beside it. Check whether you can comfortably move ingredients between them without balancing anything on the sink edge or stovetop. This is a fit exercise using your equipment, not a universal kitchen measurement.
Keep that rectangle available between meals. If two people regularly prepare food together, try the arrangement with both people present before assigning the remaining space. A counter that works for one person may become a bottleneck when someone opens a drawer beside it.
In an L-shaped kitchen, the inside corner may be convenient for storing something but uncomfortable for chopping. Do not assume every inch needs the same job. Reserve the surface you can comfortably stand in front of for the work you repeat most often.
Sort counter items into four destinations
Rather than asking whether an object looks good on display, decide which of these destinations fits its actual use:
- Working space: leave it clear until you begin preparing a meal. A cutting board can come out for use and return to its storage location afterward.
- Permanent equipment: consider appliances you use routinely and can operate safely in that location. Convenient storage does not establish safe operating clearance.
- Temporary staging: bring out ingredients, serving pieces, or baking tools for a particular task, then put them away when the task is finished.
- Another room: give mail, shopping bags, charging accessories, and unrelated paperwork a home outside food-preparation space.
Apply the same decision to an organizer itself. A large turntable that mostly holds objects you rarely touch belongs in the temporary or stored group, even if it matches the kitchen. Keeping it on display should solve a repeated task, not create another obstacle to move before dinner.
Give mail and bags a landing place outside the kitchen
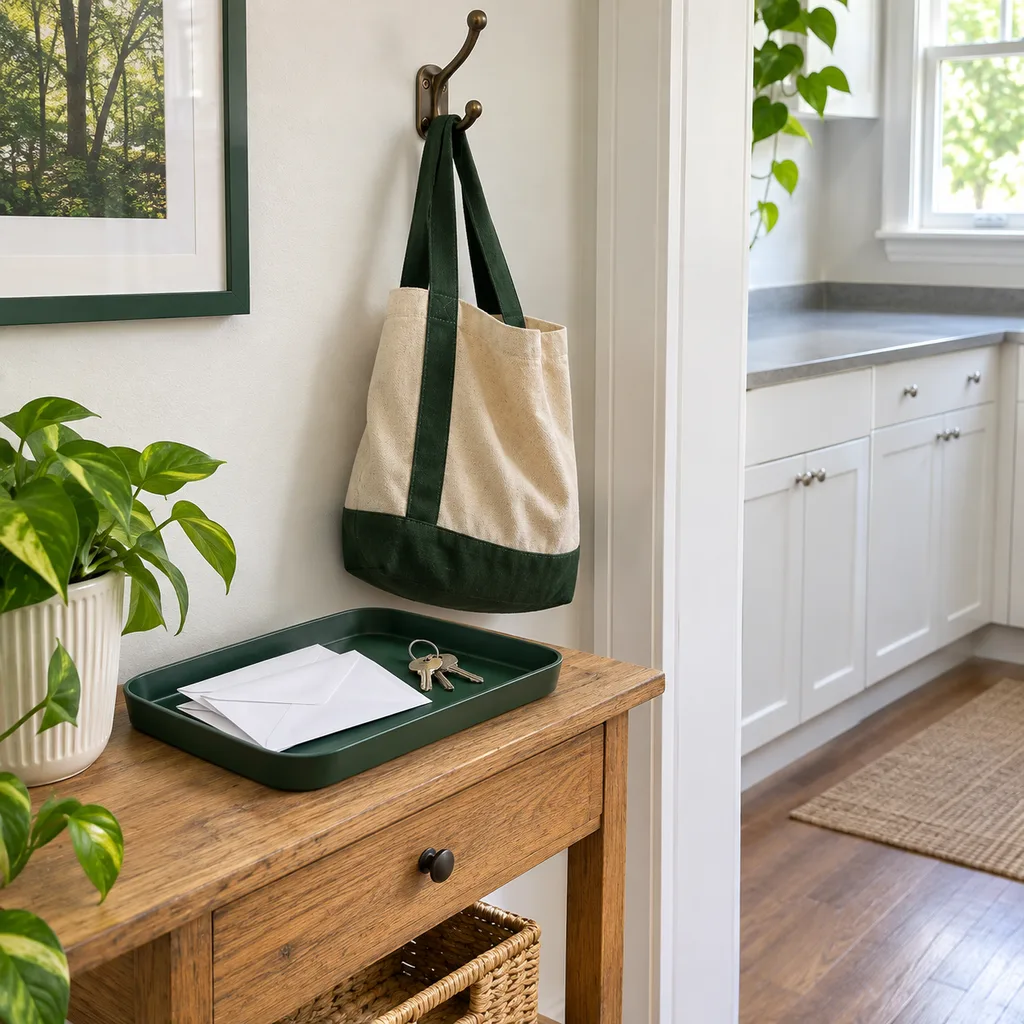
If the counter is the first empty surface you pass when arriving home, clutter may be following a route rather than a lack of discipline. Choose a shallow tray on an existing entryway shelf, a usable drawer, or another suitable surface for keys and incoming mail. Keep the route through the room unobstructed.
A grocery tote needs a destination after unpacking, too. A hook suitable for the bag and wall surface, or an accessible cupboard elsewhere, can keep it from becoming a permanent fixture beside the cutting board. Do not hang a loaded bag from a cabinet handle or block a door simply to move it off the counter.
The landing place should have an exit routine: paperwork gets sorted, keys stay accessible, and bags return to their normal storage. Moving an unsorted pile into a decorative basket is useful only if you can still find and process what is inside.
Use a tray as a boundary, not an invitation to add more
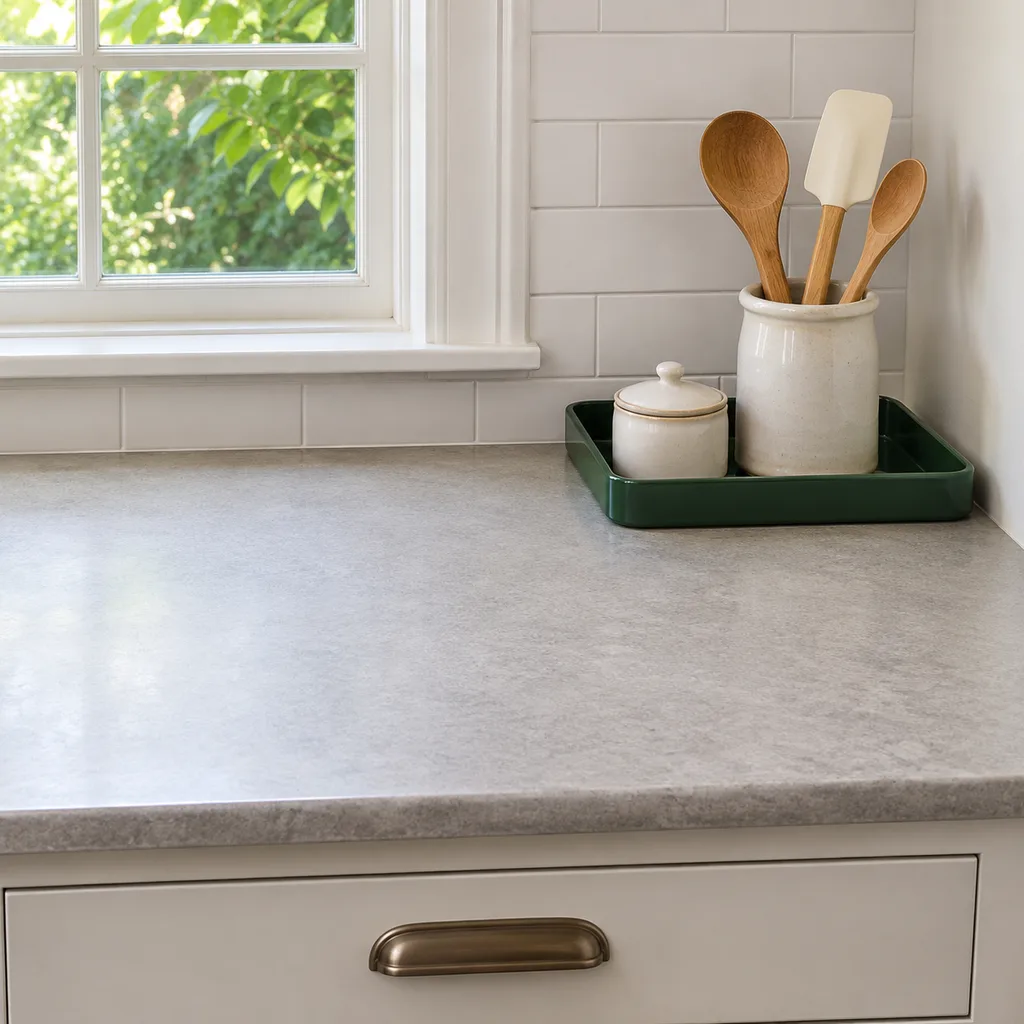
A small, washable tray can define one compact group, such as a utensil crock and a lidded salt container. Choose the tray after selecting the items. Leave enough surrounding surface to lift the whole group and clean beneath it without moving several unrelated objects.
Try the arrangement with a tray you already own before buying a replacement. Put it at the end of a run of counter rather than across the working rectangle. If removing one utensil pulls other items over, use fewer pieces or change the container.
Do not collect combustible packaging, cloth, or decorative storage beside a burner. The U.S. Fire Administration's cooking guidance emphasizes keeping things that can catch fire away from the stovetop. An attractive tray does not make an unsuitable location safe.
Separate appliance storage from appliance operation
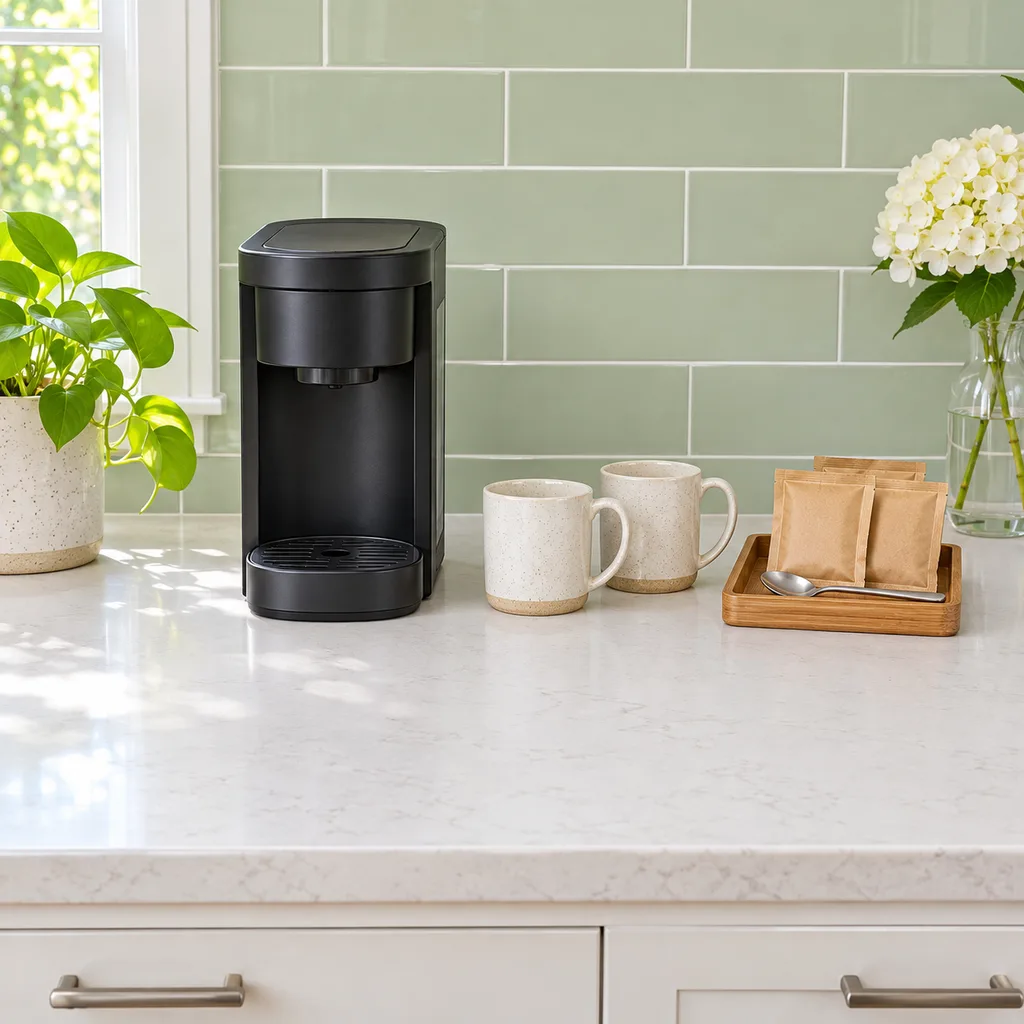
A coffee maker, toaster, mixer, or air fryer may be easy to store at the back of a counter but need a different position during operation. Read the instructions for your particular model, including ventilation, surrounding materials, cord placement, and any requirements concerning cabinets above it.
Before choosing a permanent location, check whether the controls, lid, water reservoir, basket, or mixing bowl remain accessible. An appliance that requires moving several other objects every time you use it has not necessarily earned the most convenient spot.
For equipment used less often, choose storage you can reach and lift from comfortably. Do not trade a clear counter for an awkward overhead lift. Avoid suggesting a universal clearance distance or cord arrangement: those details depend on the appliance and its instructions.
Do not turn food storage into countertop decoration
A matching jar is optional; the food's storage instructions are not. Keep foods that need refrigeration in appropriate cold storage rather than leaving them out to complete a display. Retain the information needed to identify a product, its storage directions, and any relevant dates when changing containers.
Keep cleaning products separate from food, not together on a multipurpose styling tray. The FDA's food-storage advice specifically separates nonperishable food from household cleaners and chemicals. This guide does not set a display life for produce, baked goods, or opened ingredients; follow suitable guidance for the particular food.
For shopping-day clutter, unpack and put away the food before arranging the empty bags. The recipe-by-recipe grocery checklist offers a separate way to organize a large holiday shop without treating the counter as overflow pantry storage.
Reset the surface by following the task backward
After preparing a meal, reverse the route you took: food returns to suitable storage, used equipment goes through its cleaning routine, clean tools return to their assigned places, and unrelated items leave the room. Then clean the work surface with a method appropriate to its material and the task.
If the same object repeatedly stays out, solve that one return journey. Its shelf may be too full, its lid may be elsewhere, or the storage location may require several awkward movements. Change the destination before adding another countertop container.
Check the result during an ordinary meal, not just when the kitchen is arranged for a picture. Can you set down a board and bowl, reach what you need, and restore the space afterward? When those actions are straightforward, the counter is organized for cooking rather than merely cleared for display.
Keep good recipes close
Add The Cooking Twins to your preferred sources on Google for more easy dinners, no-bake desserts and kitchen inspiration.
Emma & Ella Frost
A practical resource from The Cooking Twins.
More from Emma & Ella Frost
Comments
Leave a commentShare your question or planning tip below.