
Coffee Station Organization Ideas for a Clear, Usable Counter
Organize a home coffee station around a clear preparation space, accessible cups, everyday supplies and an easy cleanup route, without buying a matching set.

By Emma & Ella FrostUpdated November 16, 2026

5-Ingredient Dump & Go Crockpot Meals
101 effortless slow cooker recipes for busy families.
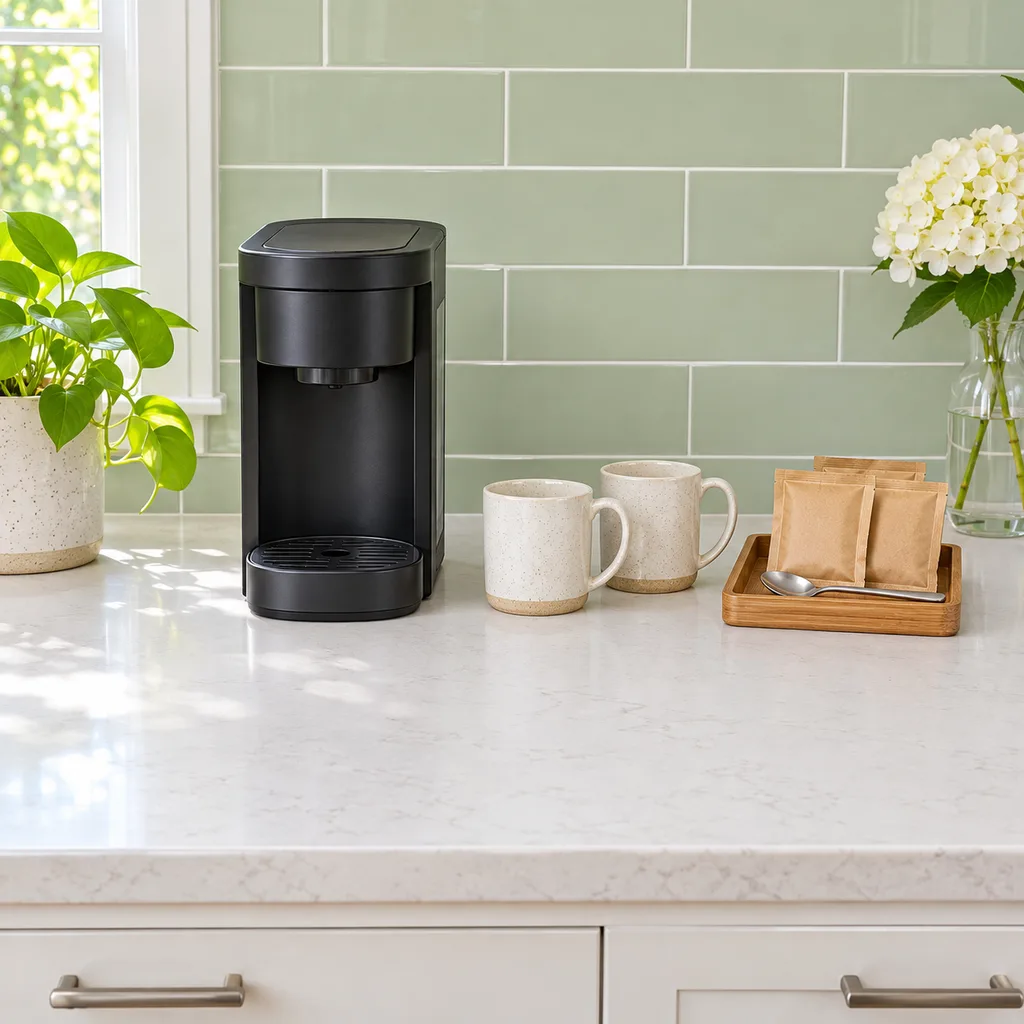
View on AmazonAvailable on AmazonA useful coffee station gives each part of making a drink somewhere to happen: choosing a cup, reaching for coffee, preparing the drink, and clearing away afterward. Start with that sequence rather than a shopping list of matching jars. A small arrangement that leaves room to work is more useful than a crowded display.
These coffee station organization ideas focus on the everyday setup, not on choosing a brewer or changing a coffee recipe. Keep the equipment you actually use, reserve space for the actions it needs, and give the supplies that accumulate beside it a defined home.
Choose the location around the appliance instructions
Read your own brewer's manual before deciding where it belongs. Access to its reservoir, lid, removable parts and controls matters as much as its closed dimensions. A shelf above the machine may look tidy while making refilling awkward. Do not assume that a photograph of an enclosed coffee nook proves your appliance can operate there.
For example, Nespresso's published safety instructions specify a stable, hard, level surface and precautions around heat, liquids and the power cord. That is a model-family example, not a substitute for the instructions supplied with your machine. Follow its placement, electrical and cleaning requirements; decorative organizers must not override them.
Choose a location where the appliance can stay supported while you use it as instructed. Avoid creating a setup that depends on dragging a heavy machine around each morning. Keep controls and the plug accessible as required, and do not hide a cord by pinching it behind an organizer. If the available location cannot meet the manual, change the location rather than improvising an electrical solution.
Leave a clear landing space beside the brewer
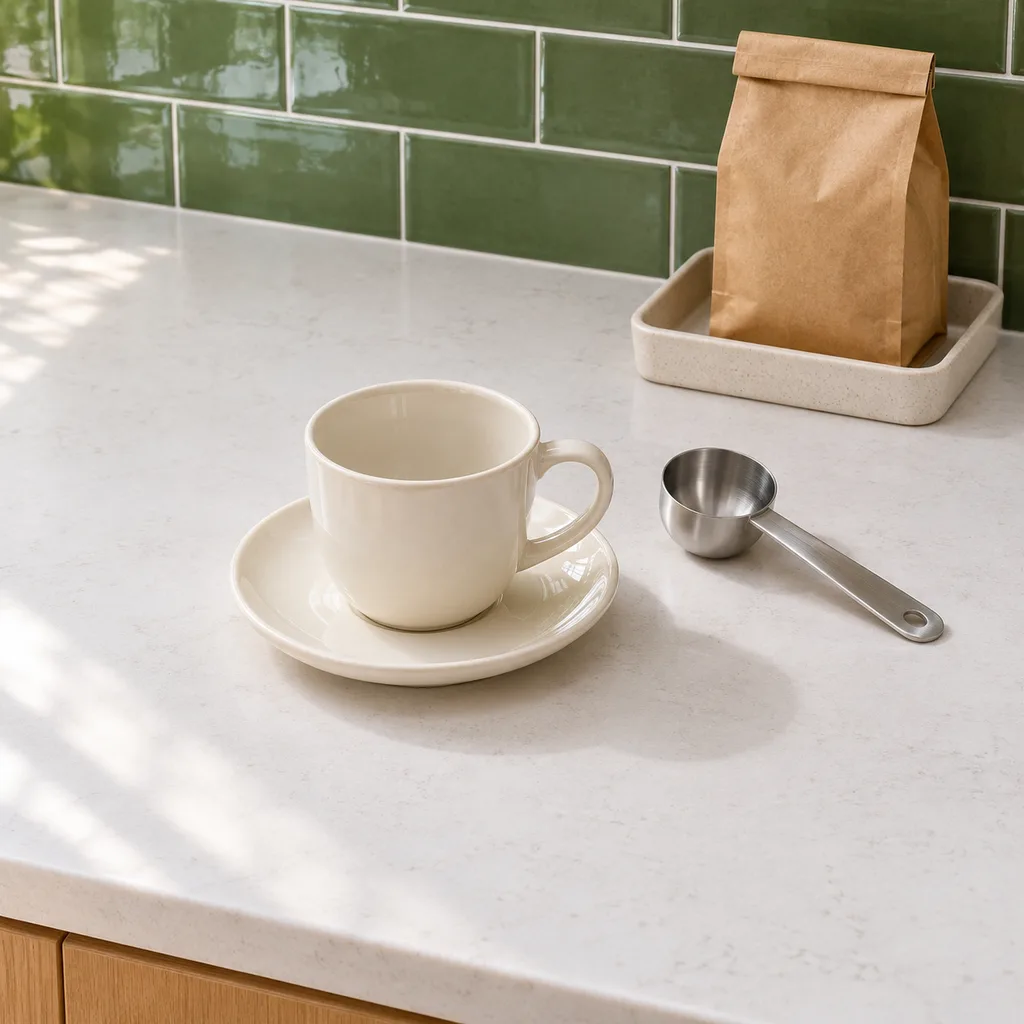
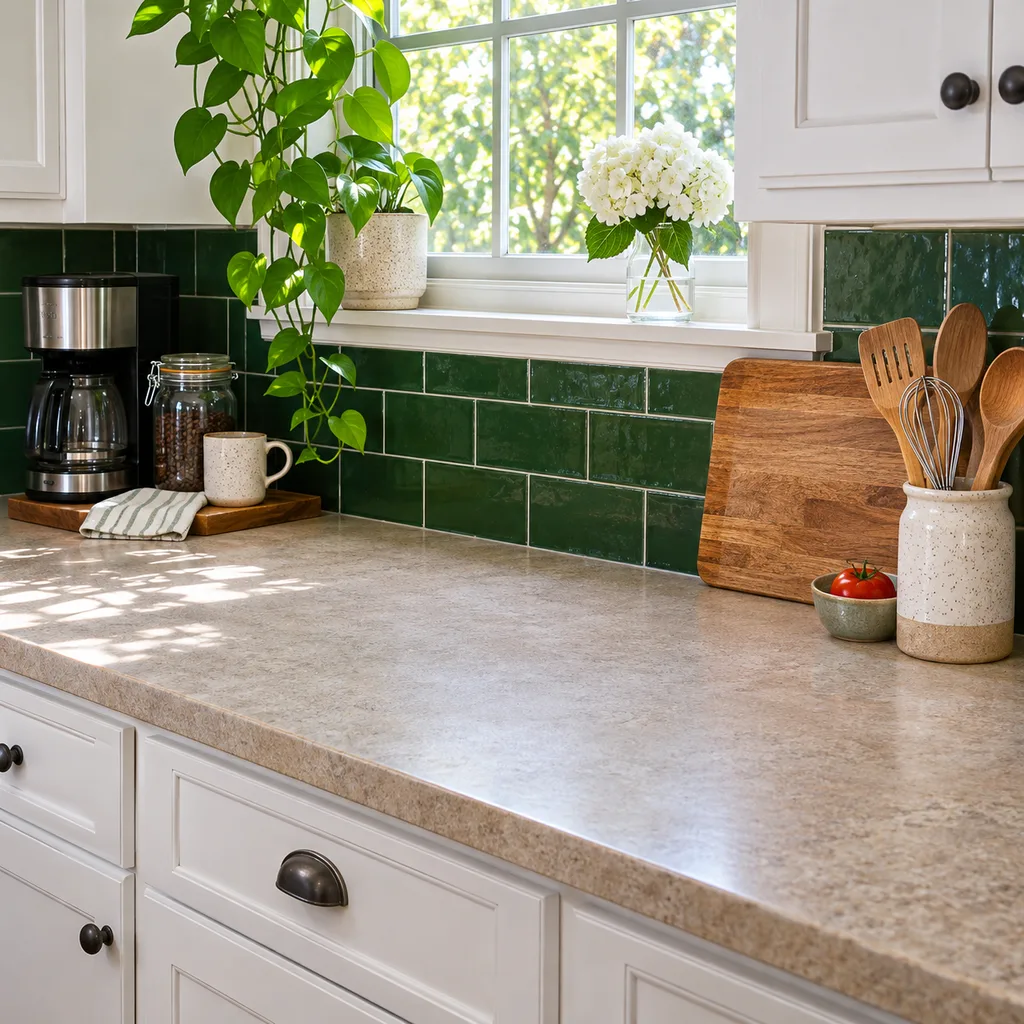
Before adding accessories, put an empty cup where you would set it while preparing a drink. Leave somewhere for a scoop or spoon and somewhere to handle the supplies. If every available inch holds a decoration, there is no working space left.
Try the arrangement with the appliance off: open the parts you normally access, pick up a cup, reach for coffee, and return everything. Notice which object has to move before another can be reached. A layout that requires lifting a basket out of the way every time is asking that basket to do the wrong job.
Keep the brewer on a surface permitted by its manufacturer. A tray can group small accessories nearby, but it is not automatically a suitable appliance base. A raised rim, flexible mat or decorative cloth can change support and collect liquid. Use only arrangements consistent with the equipment and surface instructions.
Keep everyday supplies together and back stock elsewhere
Choose a small group for the counter: the coffee you are using, the cups you reach for, and the tools required by your brewing method. A household using one capsule machine needs a different set from one using a manual brewer and grinder. Do not add equipment merely because it appears in other coffee bars.
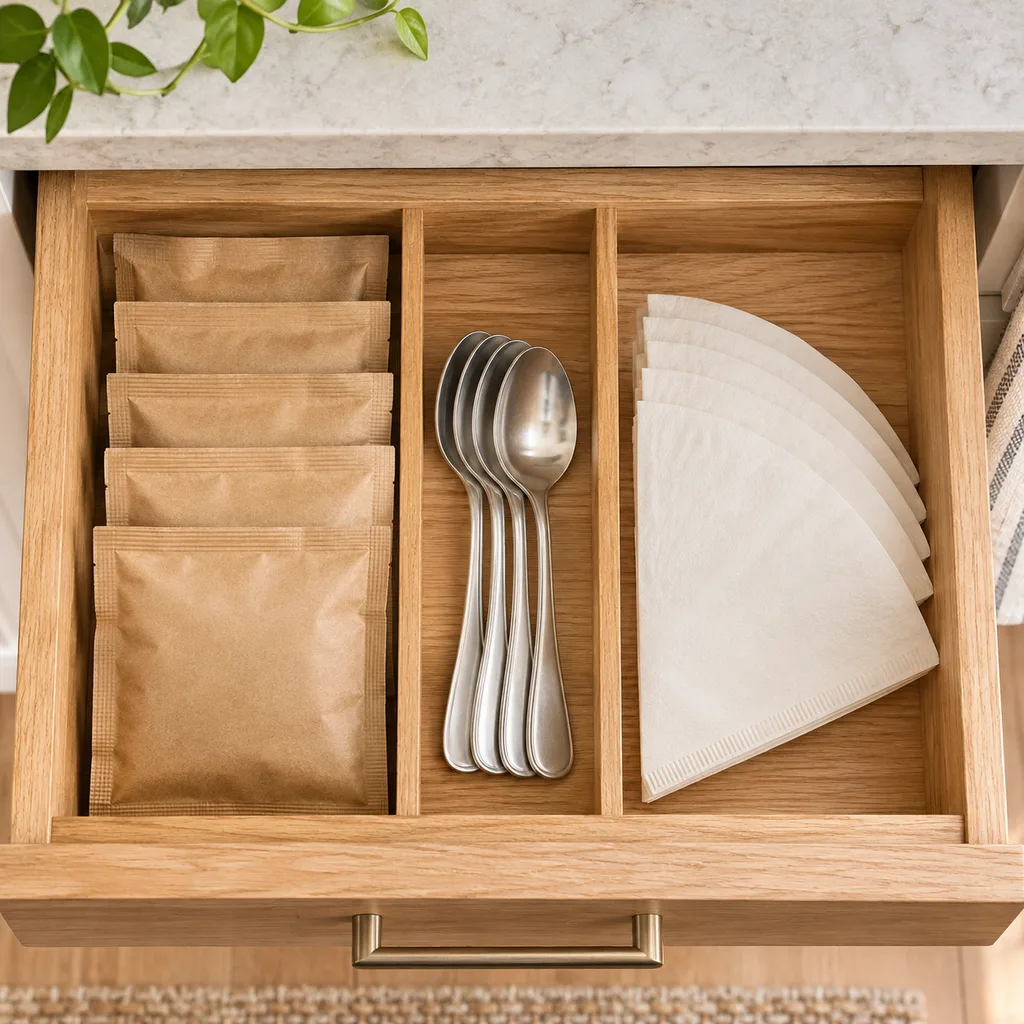
Use a shallow drawer divider or a small open organizer for separate, closed packets. Keep the contents easy to see instead of building several layers. Where original packaging carries preparation, allergen or storage information, keep that information available rather than replacing it with a decorative label alone.
Store extra packages in a defined cupboard or pantry location and replenish the station when needed. Follow the product's storage directions; this layout does not establish a shelf life or make an open display appropriate for every ingredient. Milk and other items requiring refrigeration do not become countertop supplies because they match the display.
Choose cup storage that does not interrupt preparation
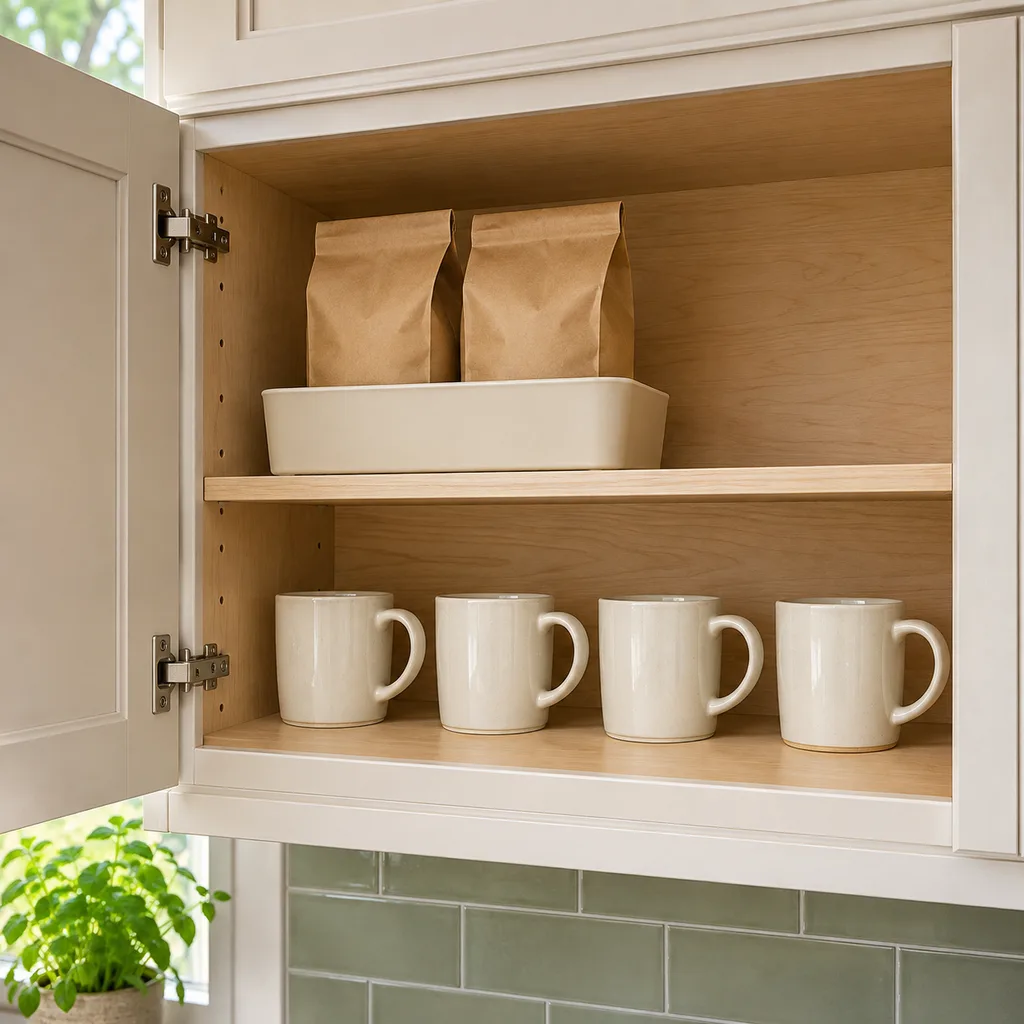
Set out the cups used most often rather than the entire collection. A nearby cupboard may work better than a crowded mug tree. Check that a cup can be removed without brushing the appliance controls or knocking another cup toward the counter edge.
For a shared station, give different cup sizes visible places. Keep the largest size compatible with your actual brewer within reach if it is used regularly, but do not assume every travel mug fits beneath every spout. Check the machine's intended cup support and operating instructions.
If you want wall-mounted storage, treat installation as its own project. Wall type, fixings, weight limits and the product's instructions determine whether it is appropriate. An attractive hook arrangement is not evidence of a safe installation. You can start with an existing shelf or cupboard instead of drilling for a display.
Make cleanup part of the station
Plan the return journey as carefully as the first cup. Used tools need to reach the appropriate washing area, and disposable items need an appropriate waste destination. Do not let a decorative bowl become an indefinite collection point for wet used supplies.
Keep cleaning products in their proper separate storage, not alongside edible supplies in a matching basket. Follow the brewer's manual for cooling, disconnecting, cleaning and maintenance. This organization plan does not prescribe a cleaning solution, descaling interval or repair procedure.
Choose accessory organizers you can lift and clean according to their instructions. Leave their underside accessible rather than wedging them between heavy items. A narrow, manageable grouping is easier to move out of the way than one large tray carrying every cup and supply.
Add decoration only after the working layout fits
Repeat one or two existing materials or colors through the cups and accessories if you want a coordinated look. There is no need to replace functional items to create a matching set. A single small accent can provide a focal point without occupying the cup landing area.
Keep loose decorations, textiles and trailing foliage away from the appliance's working area and follow its clearance requirements. Avoid placing anything where it can fall into supplies or interfere with access. Skip the decorative piece if there is no appropriate space left.
For a small counter, the most useful finishing touch may be the empty space you kept. Let the station look like a place where a drink can actually be prepared rather than a shelf that must be dismantled first.
Reset the arrangement after a normal morning
Use the setup through your ordinary routine before buying more organizers. Note what stays untouched, what repeatedly ends up elsewhere, and which supplies are difficult to put back. Remove the unused accessory before adding another container.
For a household with several coffee drinkers, ask each person to return supplies to the same places. A visible group labeled by its contents can be more useful than a clever arrangement only one person understands. Keep labels specific enough to distinguish items without making claims about freshness or expiry.
A successful coffee station has an accessible appliance location, a clear place to prepare the drink, manageable everyday supplies, and a simple cleanup route. Start with those four functions. Add storage or decoration only when it solves a problem you can name.
Keep good recipes close
Add The Cooking Twins to your preferred sources on Google for more easy dinners, no-bake desserts and kitchen inspiration.
Emma & Ella Frost
A practical resource from The Cooking Twins.
More from Emma & Ella Frost
Comments
Leave a commentShare your question or planning tip below.