
Pantry Organization With Clear Containers: What to Decant and What to Keep
Organize a pantry with clear containers without losing package details. Plan shelf fit, useful bins, readable labels, back stock and manageable refills.

By Emma & Ella FrostUpdated November 16, 2026

5-Ingredient Dump & Go Crockpot Meals
101 effortless slow cooker recipes for busy families.
View on AmazonAvailable on AmazonClear containers can make a pantry easier to read, but a shelf of matching canisters is not the goal. The useful result is knowing what you have, finding the right ingredient, and putting groceries away without losing the package information. Start with one troublesome shelf rather than replacing every bag and box.
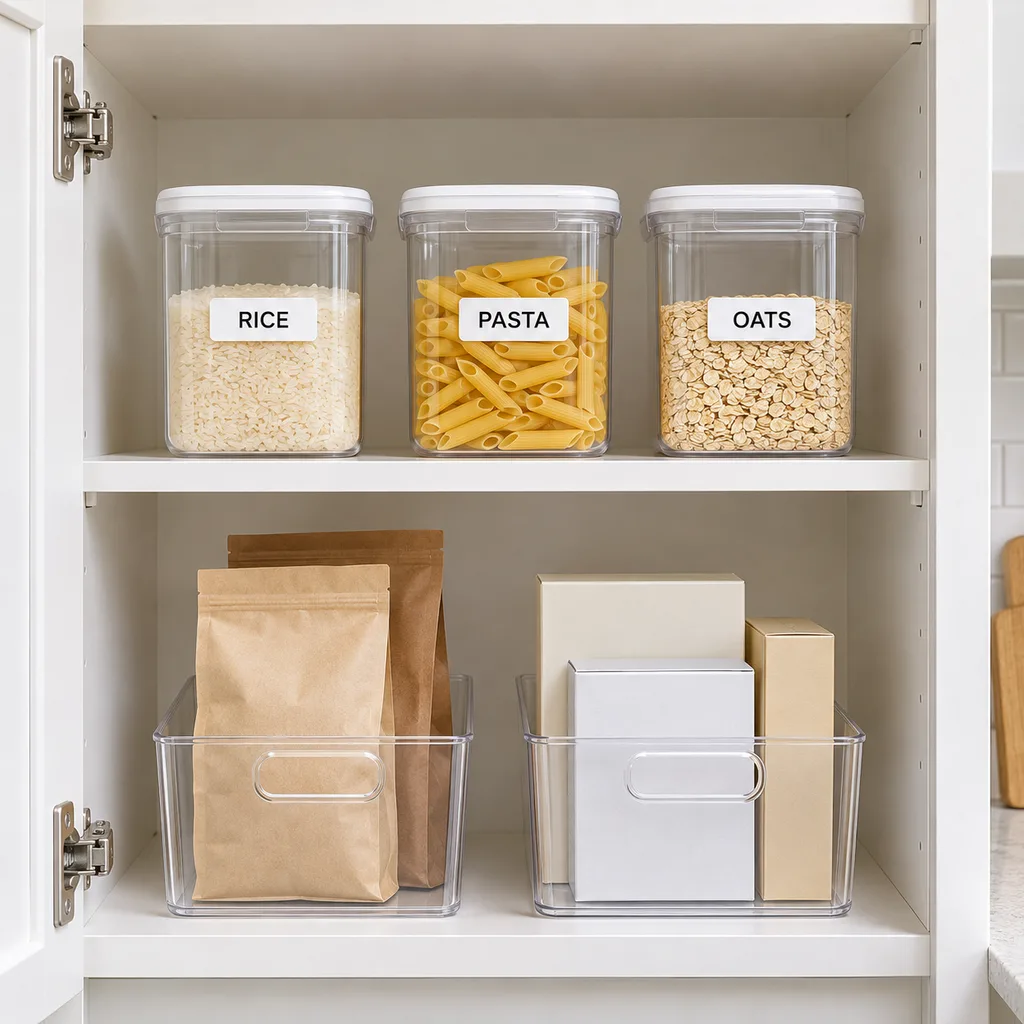
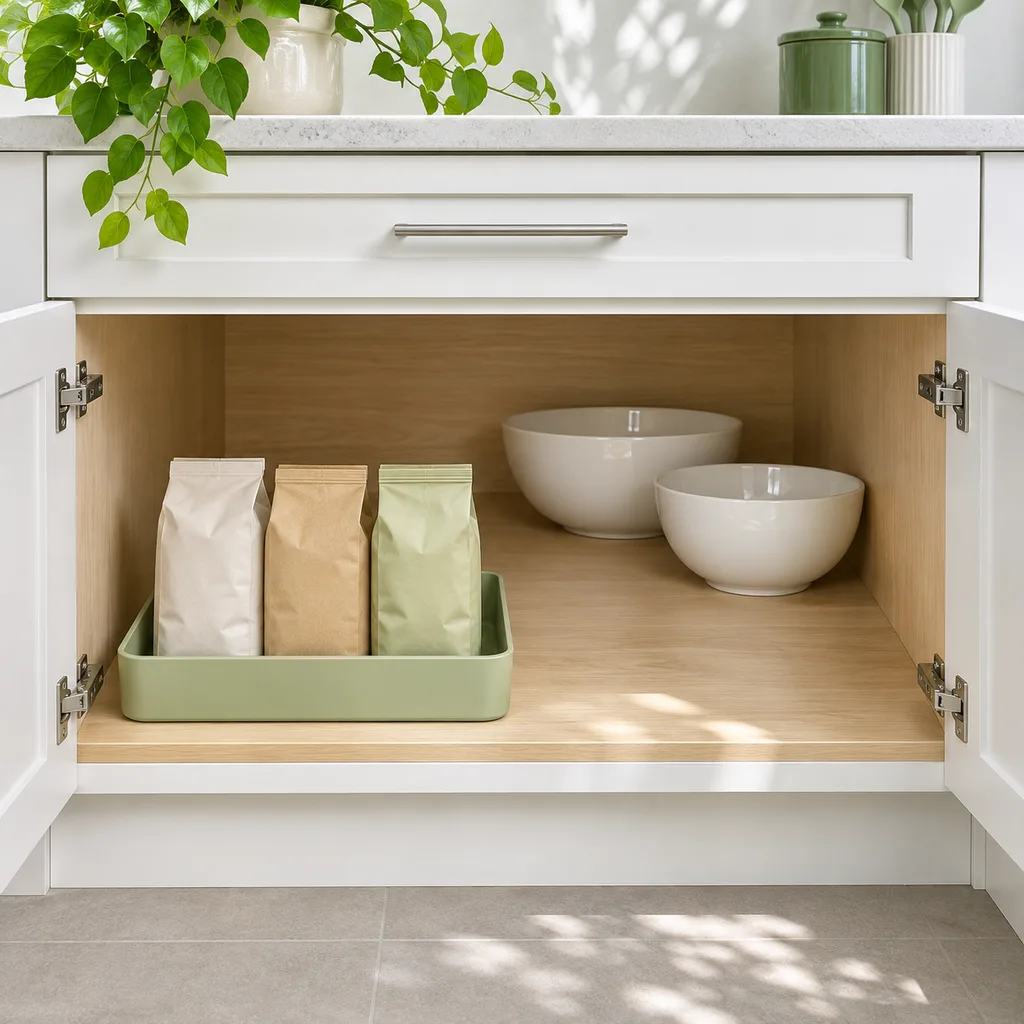
There are two different approaches: group unopened packages in a clear bin, or pour a suitable dry ingredient into a food-storage container. The first keeps the packaging intact. The second needs a plan for labels, cleaning, leftover quantities, and the next refill. Choose separately for each food instead of buying one large matching set.
Decide what should stay in its original package
Keep products in their original packaging when it already works well. A resealable pouch that stands upright may need only a defined shelf location. Boxes with preparation directions and specialty ingredients with detailed handling instructions deserve particular care before anything is discarded.
LSU AgCenter's pantry guidance favors retaining packaging because it carries product identity, directions, nutrition information, and details useful during a recall. A clear outer bin can organize those packages without separating food from that information. If you do decant, keep the complete product details available and label the container clearly.
Make three groups on your work surface: packages to keep as they are, packages to collect in a bin, and ingredients worth considering for a canister. This is an organizing exercise, not a reason to put refrigerated foods on a pantry shelf. Follow the product's storage instructions.
Measure the shelf and the way you reach into it
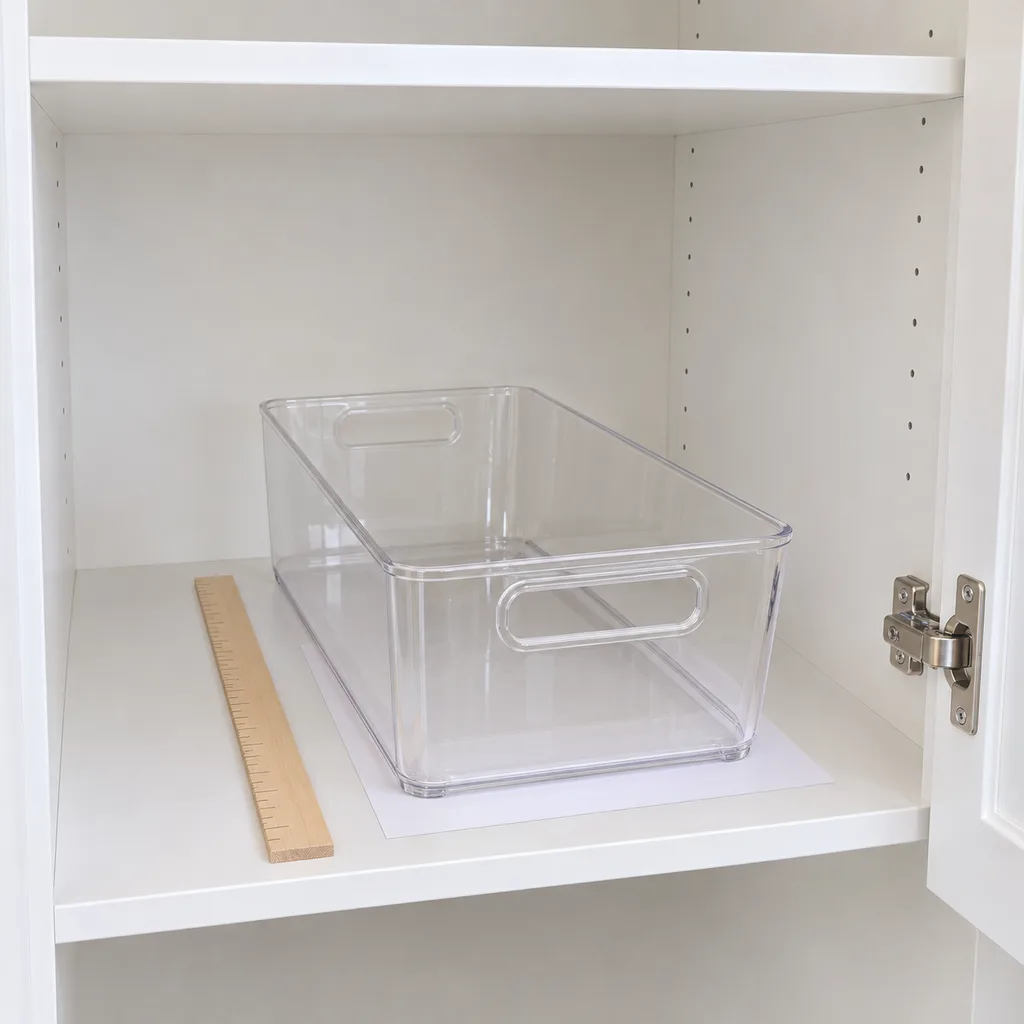
Measure usable shelf width, depth, and the space below the shelf above. Check hinges, door baskets, support brackets, and any lip that reduces the opening. A container can fit on the shelf yet be awkward to lift through the doorway.
Before buying, mark a proposed footprint on a piece of paper and place it on the empty shelf. Leave room to grasp a lid or pull out a bin without shifting everything beside it. For deep shelves, try one shallow front row and a separate back-stock space rather than several identical containers hiding behind each other.
Choose a size based on the actual package you usually buy, not a generic statement that a container holds a certain number of pounds. Different ingredients occupy different volumes. Check the manufacturer's capacity information and test the arrangement with the real package before discarding anything.
Use clear bins for categories, not loose mixtures
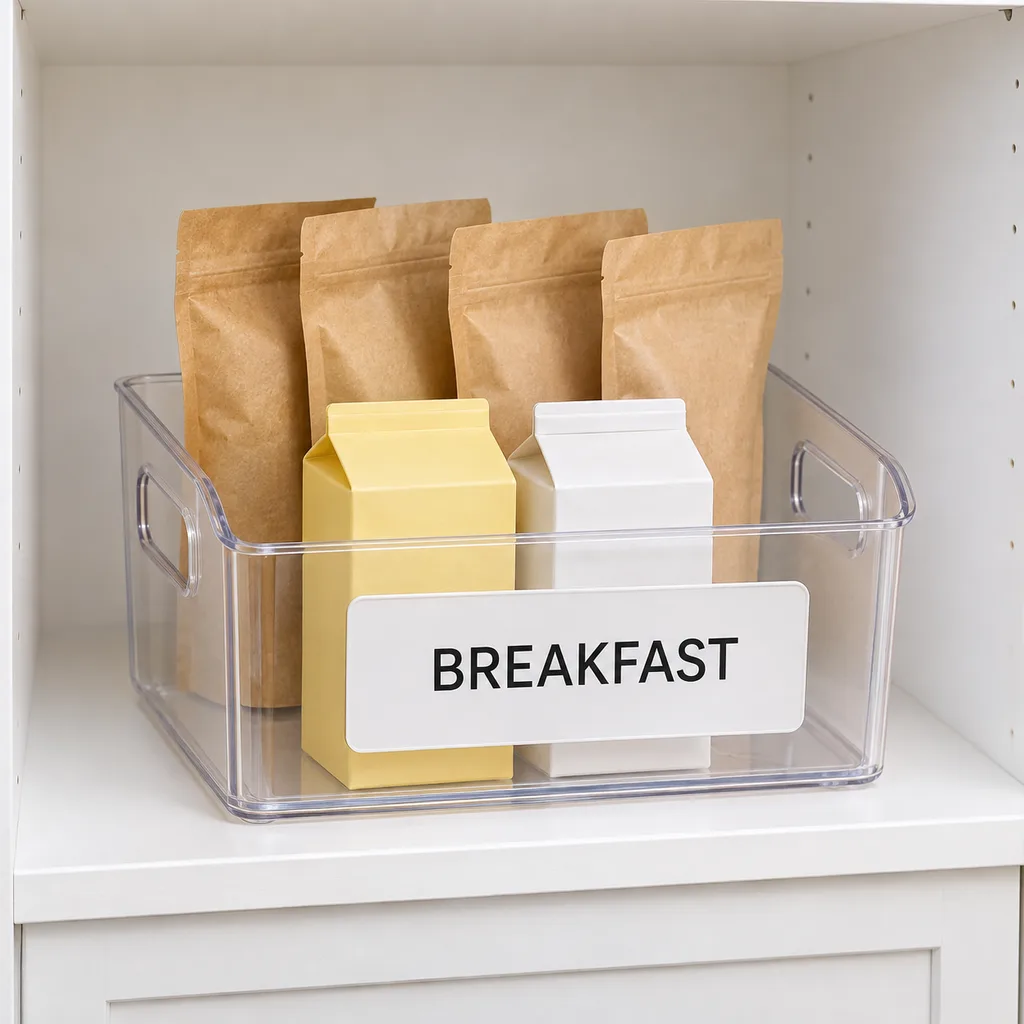
A bin can keep several small packages together: baking decorations, breakfast add-ins, or unopened snack pouches. Keep each food in its own closed package. The bin is a retrieval tool, not a shared food container.
Name the group by the task that sends you to the pantry. A breakfast bin is useful if you reach for its contents together; a broad miscellaneous bin usually moves the search problem into a box. If a category grows too large to inspect at a glance, split it into two useful groups.
Keep weight manageable and avoid stacking bins where retrieving the lower one requires balancing the upper one. Put the items used most often where the people using them can reach comfortably. Check shelf and organizer load limits rather than assuming a clear plastic bin makes a heavy collection safe to lift.
Keep product information with every decanted ingredient
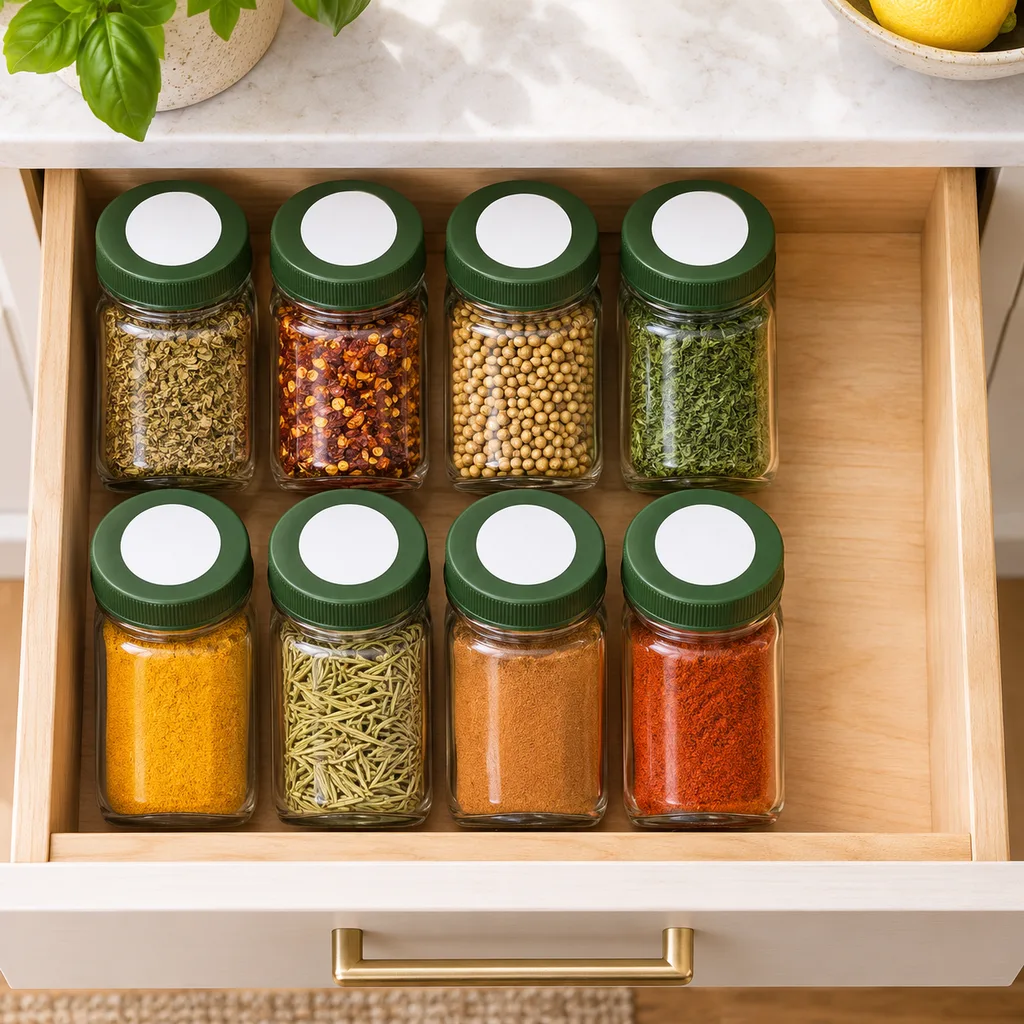
For food that suits decanting, choose a container intended for food contact and follow its care instructions. Wash and dry it as directed before filling. A similar-looking craft jar is not automatically suitable for food. Ask the manufacturer when the intended use is unclear.
A practical record includes the exact product and brand, ingredient and allergen information, preparation and storage directions, package date wording, and lot or batch details where present. Retain the package panel or a legible photograph that can be matched unambiguously to the container. A large label saying only flour does not distinguish all-purpose flour from a gluten-free blend.
Do not replace a manufacturer's date with a guessed shelf life. An opened-on note can be useful for your own tracking, but it does not establish an expiry date or extend the product's stated storage conditions. If several household members cook, show them where the retained information lives.
Make room for the next purchase before refilling
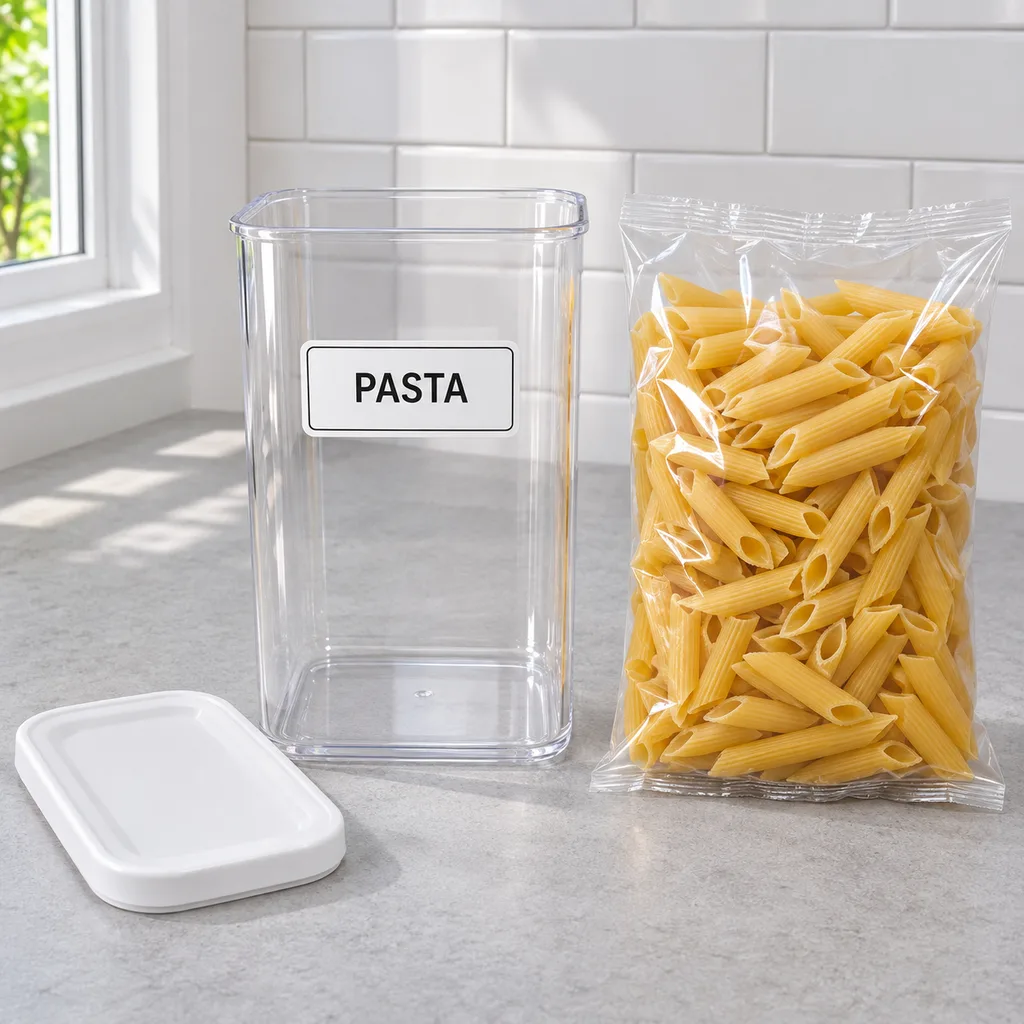
Leave a back-stock location for a new unopened package rather than forcing it into a partly used canister. Use the remaining older food first when appropriate, then clean and dry the empty container according to its instructions before starting the next fill. Keeping batches separate makes it easier to track which package supplied the food.
For original packages, place newer purchases behind the older suitable stock. This simple rotation is also recommended by LSU AgCenter. Make an exception when a package's condition or its directions require a different decision; rotation is not permission to use damaged or questionable food.
Keep a short buy-next list outside the containers. Add an ingredient when its remaining amount will not cover the meals you actually plan, not just because its canister looks partly empty. Uniform fill levels are a styling choice, not a shopping requirement.
Keep the pantry separate from cleaning supplies
Do not use the new empty space for detergents or household chemicals. The FDA's food-storage guidance says to keep nonperishable foods away from cleaning products and to follow storage directions on labels. A decorative basket does not provide that separation.
Leave clear sightlines so leaks, crumbs, damaged packaging, and items pushed to the back are easier to notice. Wipe up spills and address a damaged package rather than hiding it in a fresh container. This guide is about organization, not a treatment plan for pantry pests or a method for salvaging questionable food.
Try one shelf before repeating the system
Begin with a small group of frequently used foods. Put them away, retrieve ingredients for a normal meal, and return them afterward. Notice which lid needs two hands, which bin blocks another item, and which label disappears when the container is on its shelf.
Adjust the layout before buying more containers. A successful pantry does not need every container to match: a few clear bins, some original packages, and a small number of well-labeled canisters can work together. Keep what makes shopping, cooking, and putting food away easier, and leave out the pieces that create another chore.
Keep good recipes close
Add The Cooking Twins to your preferred sources on Google for more easy dinners, no-bake desserts and kitchen inspiration.
Emma & Ella Frost
A practical resource from The Cooking Twins.
More from Emma & Ella Frost
Comments
Leave a commentShare your question or planning tip below.