
Canned Food Pantry Organization Ideas for Clear Labels and Easy Access
Organize canned food around visible product labels, manageable groups and actual shelf fit. Plan mixed can sizes without building a crowded pantry display.

By Emma & Ella FrostUpdated November 16, 2026

5-Ingredient Dump & Go Crockpot Meals
101 effortless slow cooker recipes for busy families.
View on AmazonAvailable on AmazonCanned food is easier to plan around when you can identify each product, see how much you have, and reach it without dismantling the shelf. A useful system does not need a large rolling dispenser. Start with the cans you buy regularly and the space your cupboard actually provides.
These canned food pantry organization ideas concern unopened commercially packaged products that their labels permit you to store in the pantry. They are not home-canning instructions, shelf-life advice or a way to make a questionable can suitable to use.
Read the products before sorting them into groups
Keep the original labels visible. Similar-looking cans may contain different ingredients, different package sizes or different forms of the same food. Whole tomatoes, crushed tomatoes and tomato paste may all belong in a cooking group without being interchangeable in a recipe.
Check storage directions instead of assuming every product sold in a can belongs at room temperature. Follow the package's instructions and retain identifying details that may matter for a recall. An attractive outer label should not cover the product name, directions or other necessary information.
Put unknown products aside for identification rather than guessing from the container's shape. The organization system should make the actual food easier to recognize, not replace its information with a broad category such as dinner supplies.
Do not hide damaged cans inside a tidy arrangement
Inspect the cans while moving them, before placing them behind an organizer. FDA's food-storage guidance identifies swelling, leakage, punctures and serious damage among warning signs. Follow that guidance and the manufacturer's instructions for a questionable package rather than treating it as something to use first.
Do not taste a questionable product to decide whether it belongs on the shelf. This guide does not provide a damage-grading system or a method for salvaging food. When the package raises a safety question, resolve that question through authoritative guidance, not a new storage location.
Keeping a clear view of the shelf also helps you notice leaks or a sticky surface. Do not place an outer basket around a problem simply to make the group look uniform. A tidy shelf is not proof that its contents are safe.
Choose groups that match how you cook
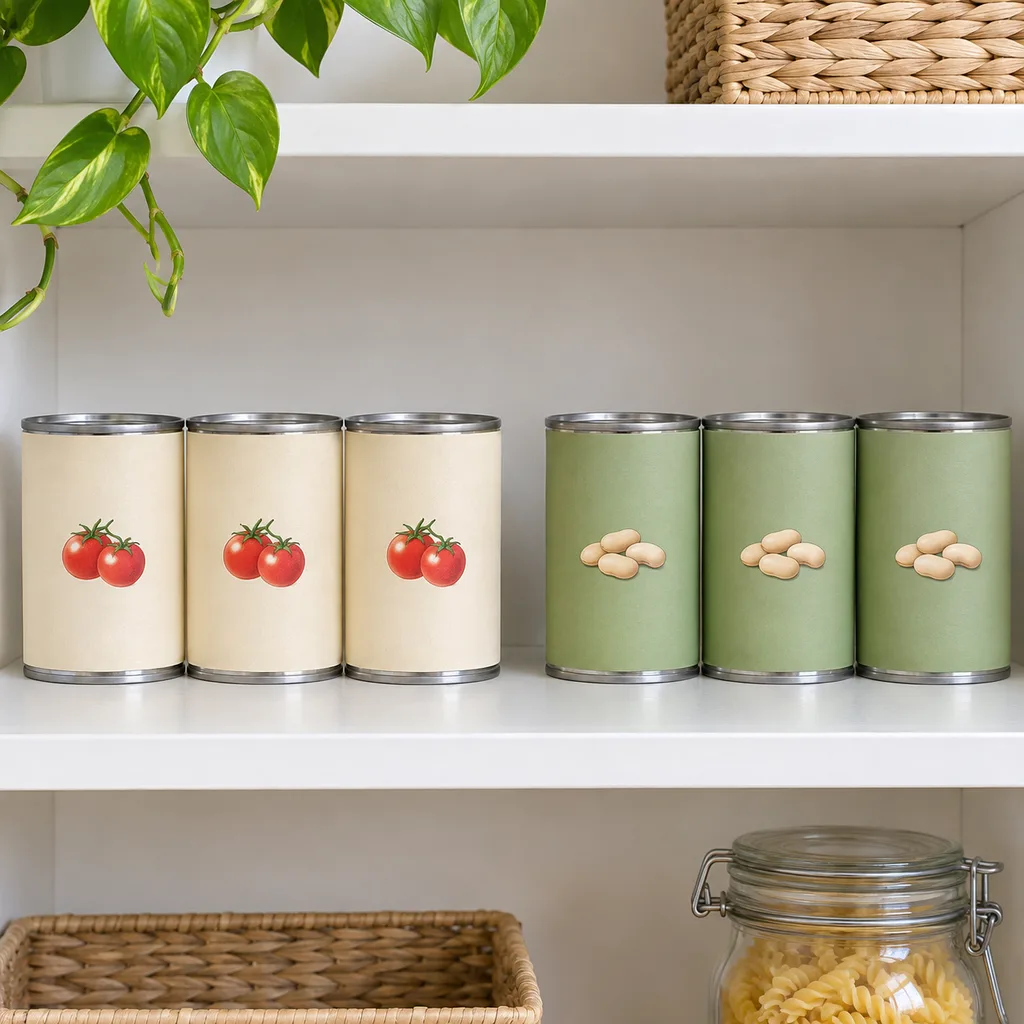
Begin with a few useful categories, such as beans, tomato products, vegetables or canned fish. You can also group ingredients for a recurring meal, provided individual labels remain visible. Choose the arrangement that helps your household find the right product.
A category that includes nearly everything is not doing much work. If you repeatedly search through a broad soup-and-sauce group, separate the products by the distinction that matters to you. Conversely, one small can does not need its own permanent bin simply because it is a different flavor.
Keep a shared group name understandable. Another person should be able to put a purchase away without learning a complicated code. A plain shelf label can identify the group while the original cans retain the detailed product information.
Check shelf fit before choosing an organizer
Measure the usable opening as well as the shelf itself. Hinges, shelf lips and the space above a proposed riser can limit what you can retrieve. Check that the largest can you actually buy can enter and leave the organizer without forcing it.
Review shelf and organizer load limits. Cans create a concentrated weight, and an arrangement that fits geometrically is not automatically suitable for the load. Follow the product's intended use rather than building an improvised tall stack.
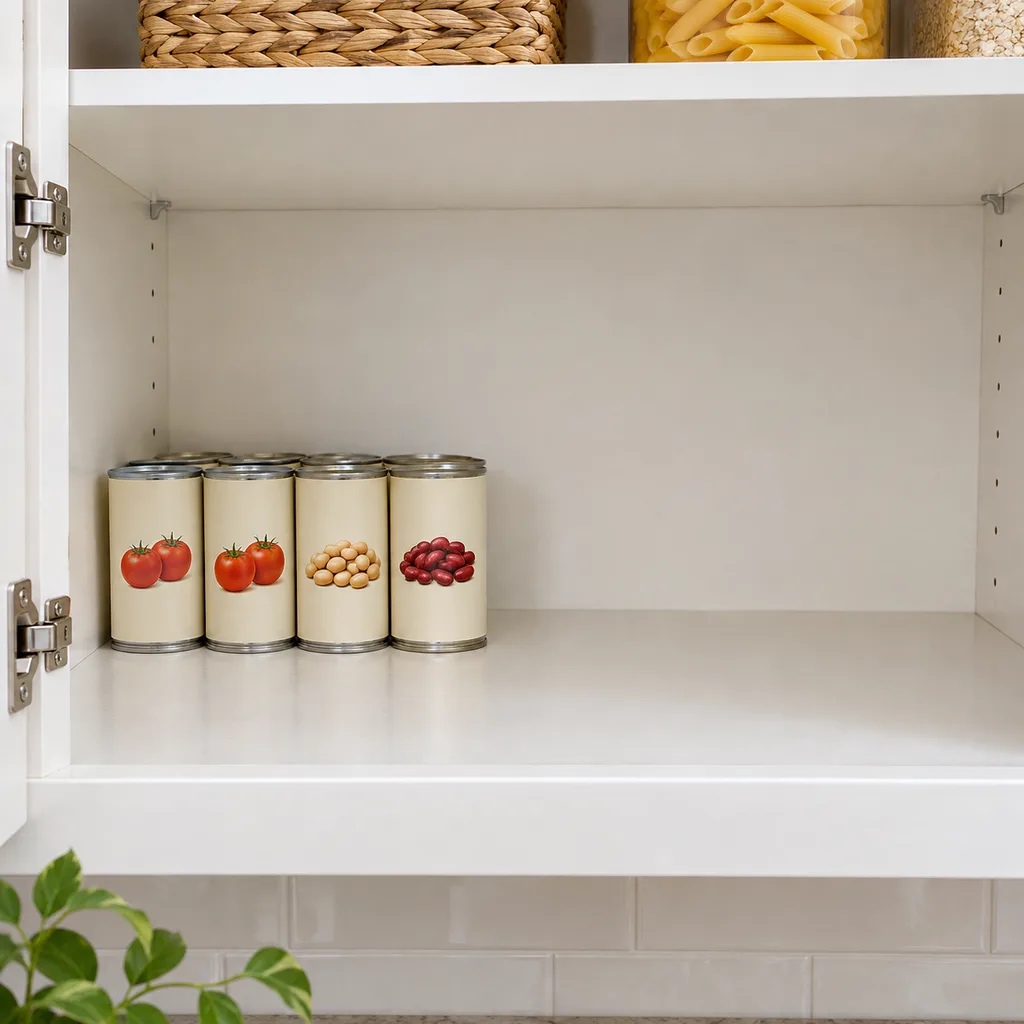
Try a short front row before buying a dispenser. A shallow bin may group a small collection, while an appropriate riser may make a back row easier to see. Neither is inherently necessary. Keep an existing bare shelf if it already provides clear labels and easy access.
Keep different can sizes manageable
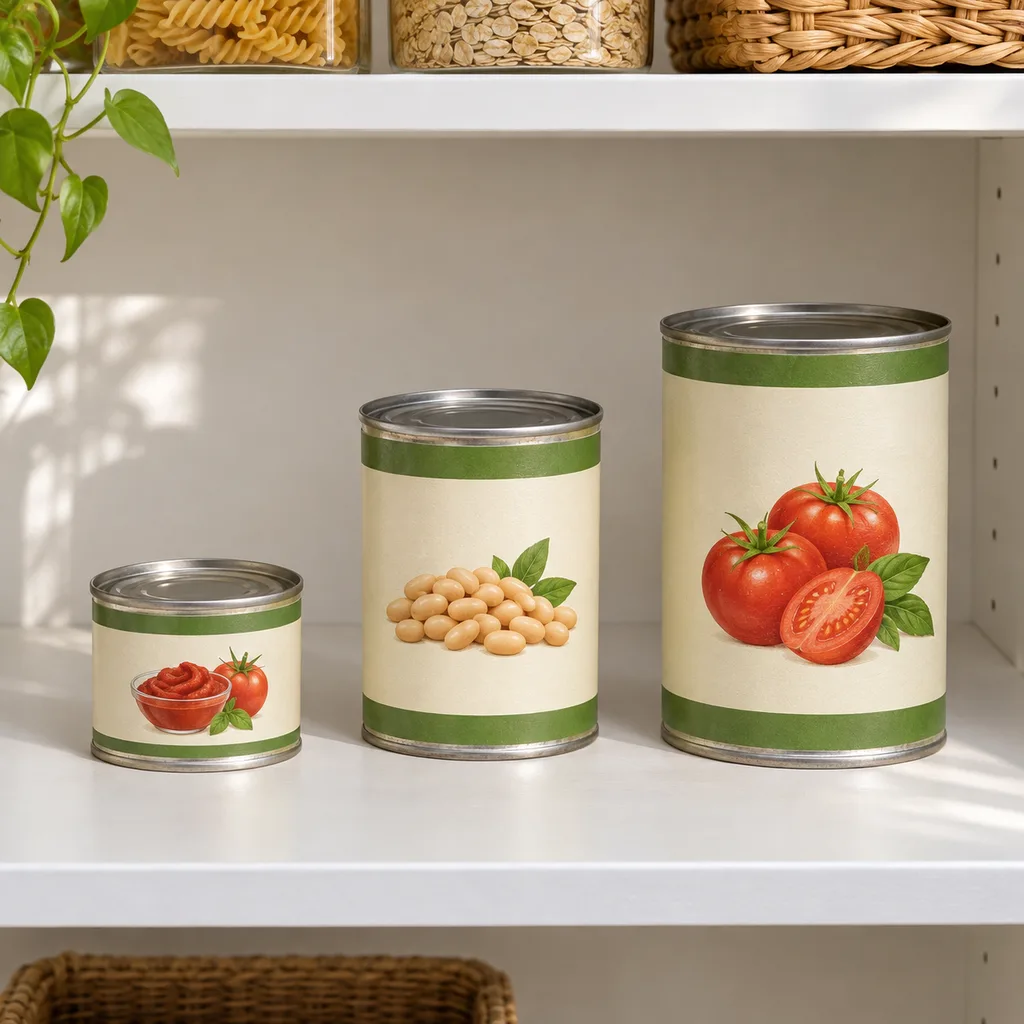
A system designed around one standard can may not accommodate a small paste can, a wide fish tin and a large tomato can equally well. Check the actual size range rather than assuming a photograph shows compatibility with your purchases.
Give unusually small products a defined place where they will not disappear behind larger ones. Keep large or heavy cans accessible in a way consistent with the shelf and organizer instructions. Avoid placing them where removing one requires balancing another container.
If you use a rolling organizer, verify its intended can sizes, capacity and loading directions. Do not infer safe stacking or dispensing from a decorative image. Make sure product identification remains accessible rather than turning every can so that only an uninformative metal end is visible.
Connect the shelf to your meal and shopping decisions
When planning a meal, check the exact product and package amount required by your chosen recipe. A count of three cans may conceal three different foods or sizes. Use the label rather than the general appearance of the shelf to decide what is available.
Keep incoming packages distinguishable from the stock already there, with their original date wording available. Do not turn a rotation habit into permission to use damaged food or interpret every printed date as the same kind of instruction. This article does not establish a universal use-by order or storage duration.
Write down a confirmed shortage instead of refilling every open space automatically. A gap may simply mean the system is working and food has been used. Let the meals you plan determine the next purchase, not the desire for a completely filled display.
Leave the shelf easy to inspect and clean
Keep nonperishable foods away from household chemicals, as FDA advises. Do not use the newly organized food shelf for cleaners just because a decorative bin can conceal them. Food grouping and chemical separation are different requirements.
Choose organizers you can move and maintain according to their care instructions. Keep the shelf surface visible enough to inspect rather than filling every corner with nested accessories. If you cannot remove a bin without unloading a heavy collection, a smaller group may be easier to manage.
A practical canned-food pantry lets you answer three questions: what is this product, can I reach it easily, and does it belong in a meal I plan to make? Build around those answers. Matching dispensers and a perfectly full shelf are optional.
Keep good recipes close
Add The Cooking Twins to your preferred sources on Google for more easy dinners, no-bake desserts and kitchen inspiration.
Emma & Ella Frost
A practical resource from The Cooking Twins.
More from Emma & Ella Frost
Comments
Leave a commentShare your question or planning tip below.