
Lunchbox Container Storage Ideas: Keep the Whole Kit Ready
Organize empty lunch containers, lids and bags as usable kits, with reachable storage and a separate return route after lunch.

By Emma & Ella FrostUpdated November 16, 2026

5-Ingredient Dump & Go Crockpot Meals
101 effortless slow cooker recipes for busy families.
View on AmazonAvailable on AmazonStore lunchbox containers as the pieces you need for a packing session, not simply as a tall stack of empty boxes. A useful setup brings together the containers, their confirmed lids and the lunch bag they actually fit, while leaving cleaning and drying separate from ready-to-use storage.
This guide is about empty equipment between uses. It does not establish how long a packed lunch can travel, whether a container is leakproof or what temperatures it tolerates. Follow the instructions for the actual containers, bag and any cooling equipment when planning the food itself.
Start with the lunch kit you really use
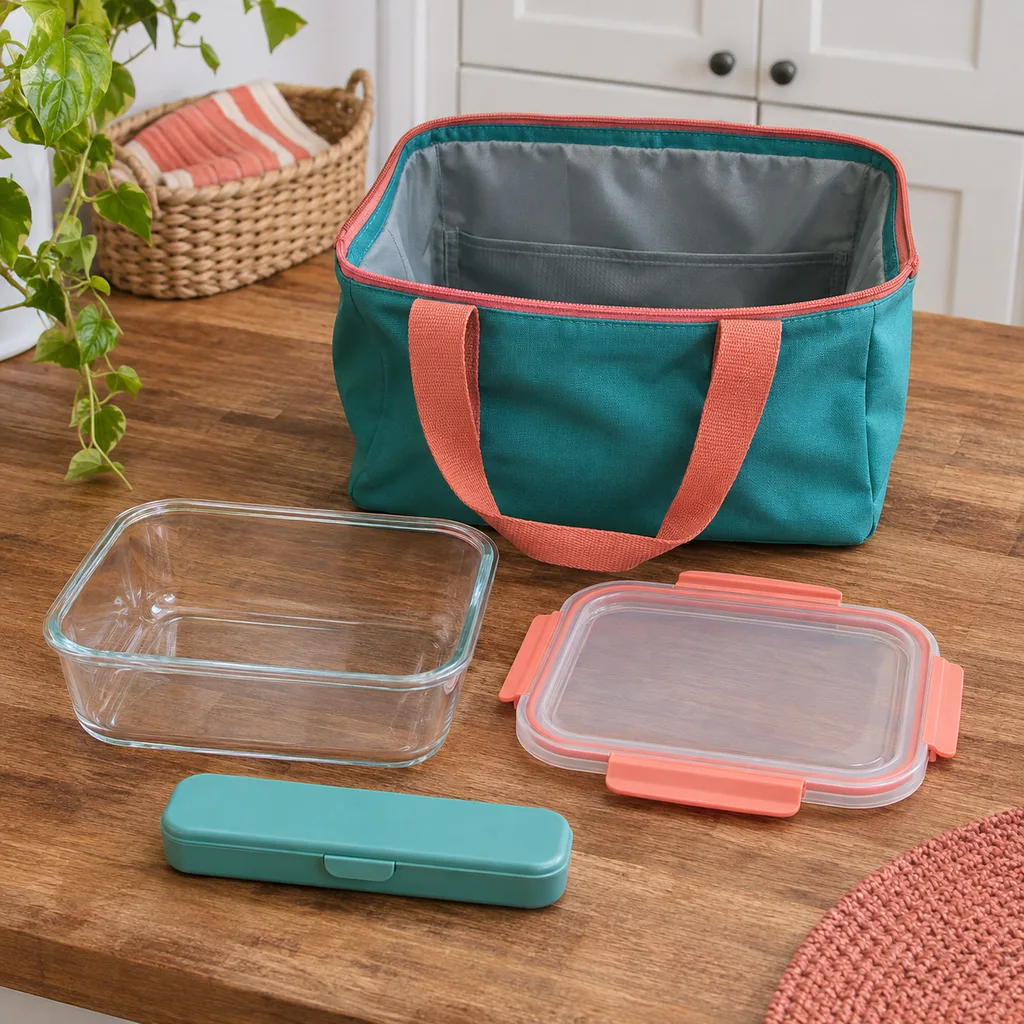
Set out one typical lunch bag and the clean, empty containers normally packed inside it. Include the components you genuinely need, such as an intended divider or utensil case, without adding accessories just to complete a display.
Check the arrangement while everything is empty. Can the containers go in and come out without forcing the bag closed? Does the person who packs or carries it understand which pieces belong together? A storage plan should reflect that actual combination rather than a collection of unrelated containers.
Keep more than one arrangement only if it solves a real difference, such as a different bag or meal format. Do not assume that the same-looking base, insert or lid belongs to every version of a product. Keep the maker's identity and care information available.
Give ready equipment one reachable home
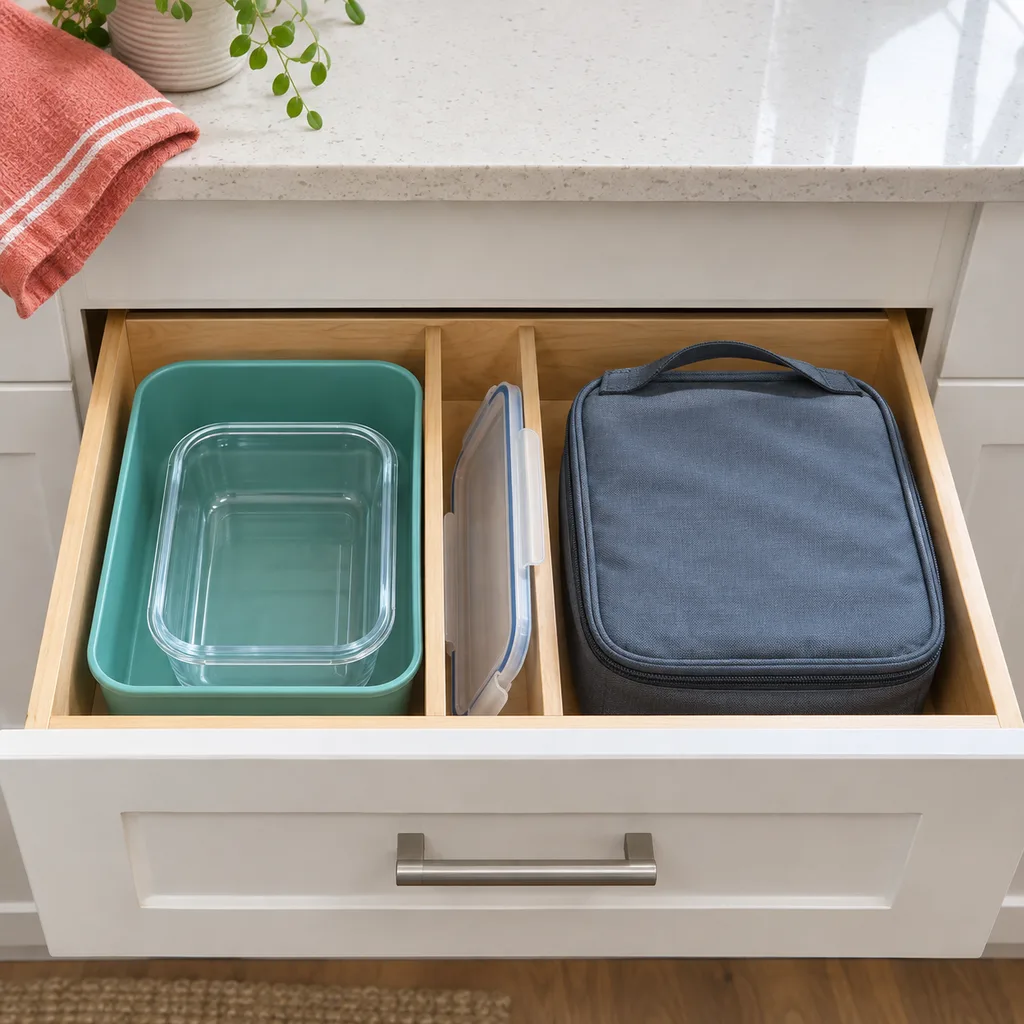
Choose a drawer section, cupboard shelf or removable bin near the place where lunches are assembled. It should hold the ready equipment without blocking the rest of the kitchen. The small-kitchen organization guide helps with the broader decision about reachable everyday storage.
Start with an organizer you already own if it fits. A plain open bin can group a complete kit; a divided drawer can separate container families while keeping them visible. Neither format is automatically better: try retrieving the actual pieces before buying another organizer.
Keep this area for clean, dry equipment ready for its permitted use. It is not a substitute for the cleaning or drying process required by the products. Do not put a used lunch bag straight into the ready section just to make the counter look clear.
Choose between complete kits and grouped components
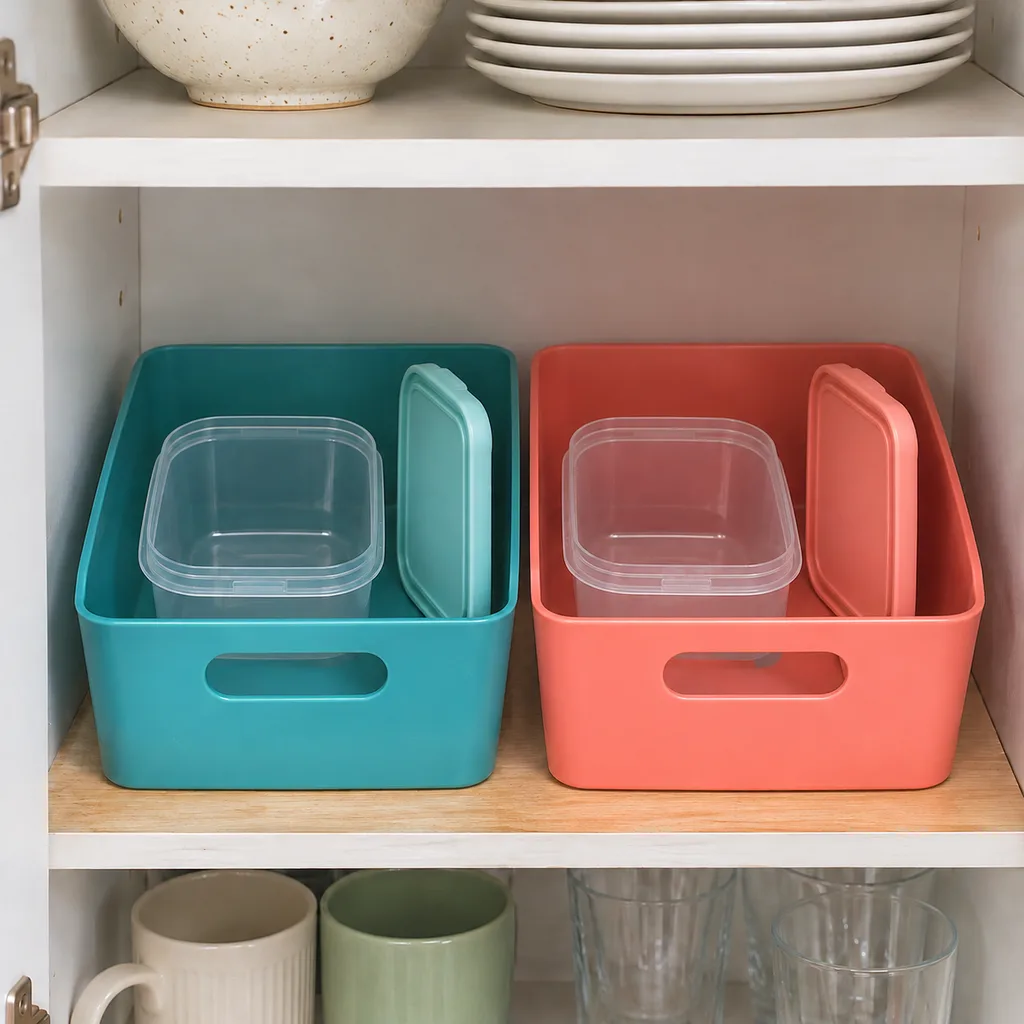
Complete kits can work when one person uses a consistent arrangement. Keep the confirmed pieces in the same section so they can be retrieved together. Store them assembled only if that suits the product's directions and the pieces are ready for storage.
Grouped components may suit a household that changes container sizes. Keep one container family together, with its identified lids nearby. Arrange the pieces so taking one out does not require pulling several unrelated stacks onto the floor.
Do not force nesting, bend dividers or guess a lid match to make a set fit the organizer. If an arrangement hides the pieces you need most, change the organizer or reduce the active collection instead of making the stack taller.
Separate everyday kits from occasional extras
Use the easiest section for the equipment selected most often. Put genuinely useful alternatives farther back or in another labeled area. An occasional larger container does not need to occupy the same front position as the usual lunch kit.
Count complete, usable arrangements rather than counting every loose base as another lunchbox. A container awaiting a confirmed replacement part belongs in a separate decision area, not in the ready stack.
Use a simple label on the storage section if several people share the space. Labeling the organizer rather than the food-contact surface can make the destination clear without covering the manufacturer's markings or care information.
Build a return route after lunch
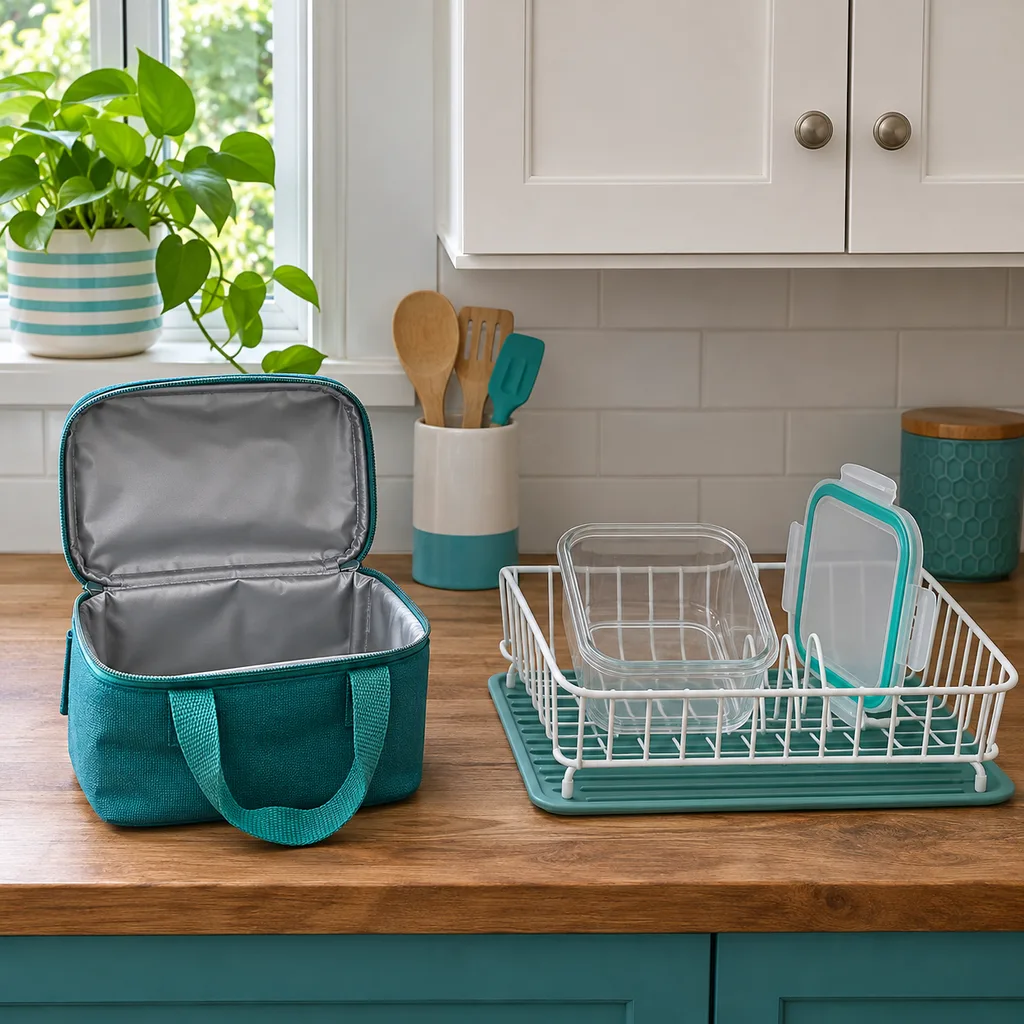
Agree where returning equipment goes before cleaning. Keep that handoff separate from the ready area so nobody has to guess whether an item was used. Follow the actual cleaning and drying instructions rather than assigning one wash method to every fabric, seal and container.
Once the pieces are ready for storage, return them to their established group. Check that removable components have come back with the kit; a missing part is easier to notice before the next packing session.
If the process stalls, identify the missing handoff. Perhaps the lunch bag arrives in a different room, or one person does not know where the dry pieces belong. A clearer destination may help more than a new set of matching bins.
Keep shopping decisions outside the equipment drawer
A drawer of organized empty containers does not tell you which ingredients are available. Keep meal planning and the food shopping list in the normal household system. The store-section grocery template can organize confirmed purchases without turning the equipment drawer into another planning archive.
Review the setup when the bag, meal format or person using it changes. Keep the active arrangement easy to retrieve, keep unresolved parts separate and give returning equipment a clear route back. The aim is a dependable packing handoff, not a picture-perfect stack that nobody wants to disturb.
Keep good recipes close
Add The Cooking Twins to your preferred sources on Google for more easy dinners, no-bake desserts and kitchen inspiration.
Emma & Ella Frost
A practical resource from The Cooking Twins.
More from Emma & Ella Frost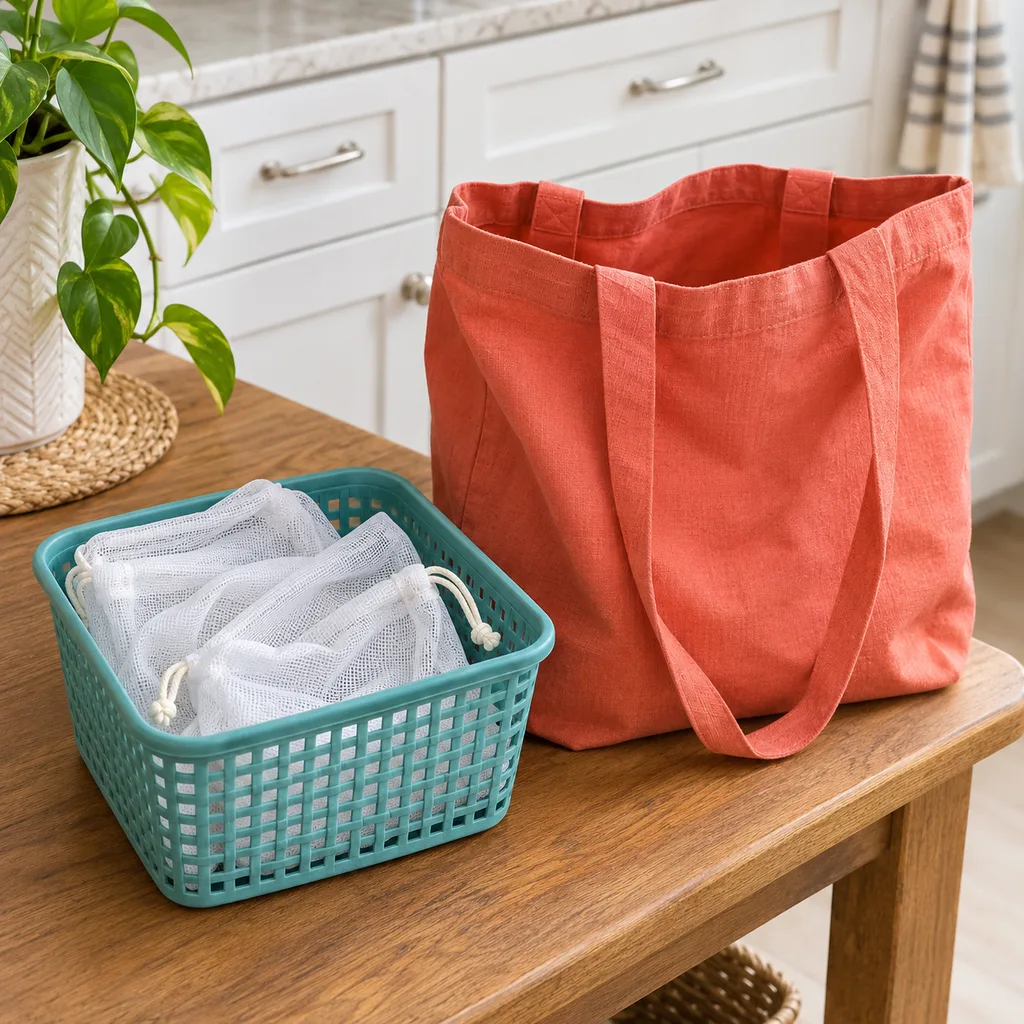
Comments
Leave a commentShare your question or planning tip below.