
Cutting Board and Pot Lid Storage Ideas: Separate the Shapes Before the Slots
Organize cutting boards and pot lids around material care, handle clearance, supported slots and a simple retrieve-and-return check before buying a rack.

By Emma & Ella FrostUpdated November 17, 2026

5-Ingredient Dump & Go Crockpot Meals
101 effortless slow cooker recipes for busy families.
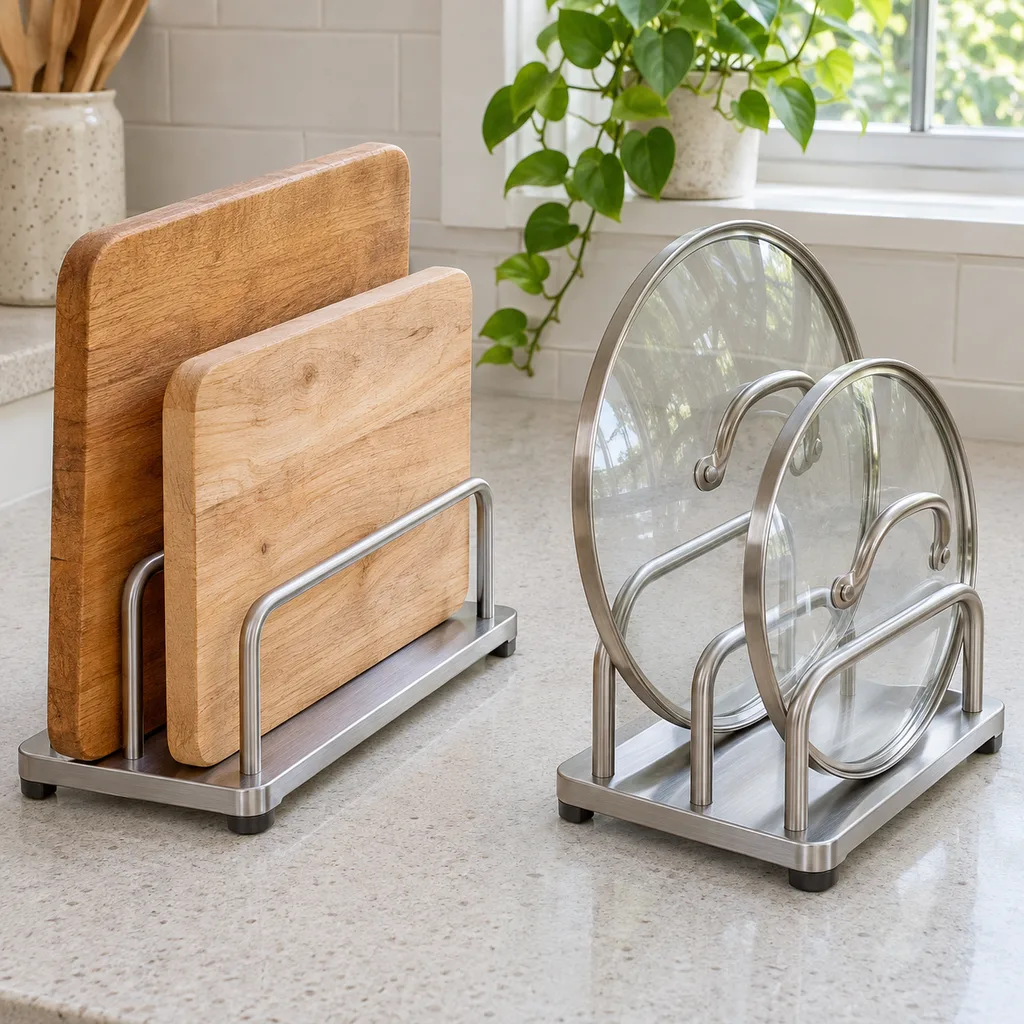
View on AmazonAvailable on AmazonCutting boards and pot lids can both fit a narrow cabinet area, but they need different storage checks. A board has thickness, weight and material-care requirements. A lid adds a projecting handle, a rim and the possibility of rolling. Sort the pieces first, then choose a supported arrangement that lets you remove and return each one without rebuilding a stack.
Start with the clean, ready-to-store pieces you actually use. Keep washing and drying separate from the final storage decision, and follow the instructions for each material. These ideas concern layout and retrieval, not a new cleaning method, a universal rack size or permission to mount hardware on any cabinet door.
Make two inventories before choosing one organizer
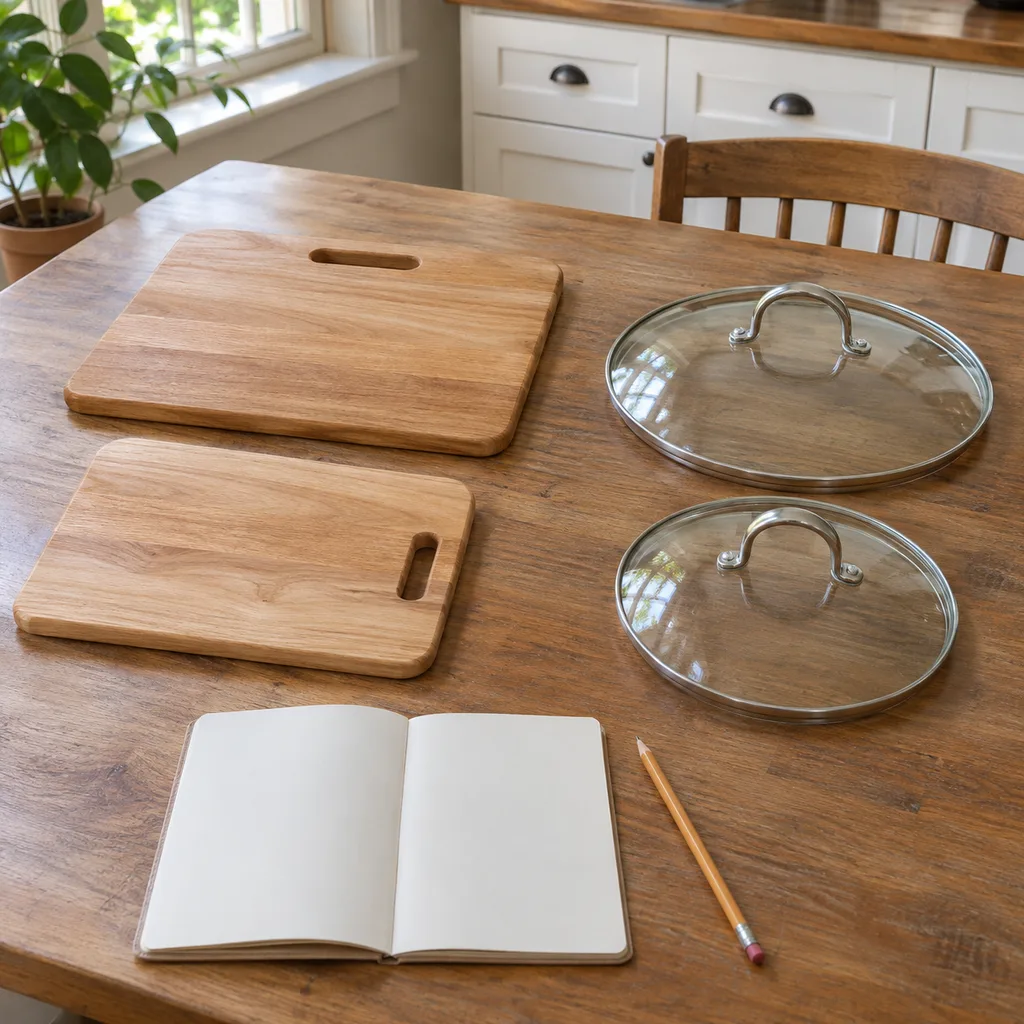
Put cutting boards in one group and cookware lids in another. Keep food-container lids separate: the flexible lid from a lunch container does not have the same storage needs as the heavy lid of a cooking pot. Do not force every object described as a lid into the same holder.
For each board, note its material, thickness, outline and the edge or handle used to grasp it. Check the manufacturer's care and storage directions before choosing an orientation. A thin board and a heavy block should not receive the same slot merely because their fronts look similar.
For each cookware lid, identify the actual pot or pan it belongs to. Keep model or product information when compatibility is unclear. Similar diameter or color does not establish that a lid is intended for a particular pan, and this organization guide does not validate a substitute lid.
Set an unresolved piece aside for identification rather than labeling it as spare for every pot. That makes the final arrangement easier to understand without quietly turning uncertainty into a cooking recommendation.
Check the piece's full shape and the removal path
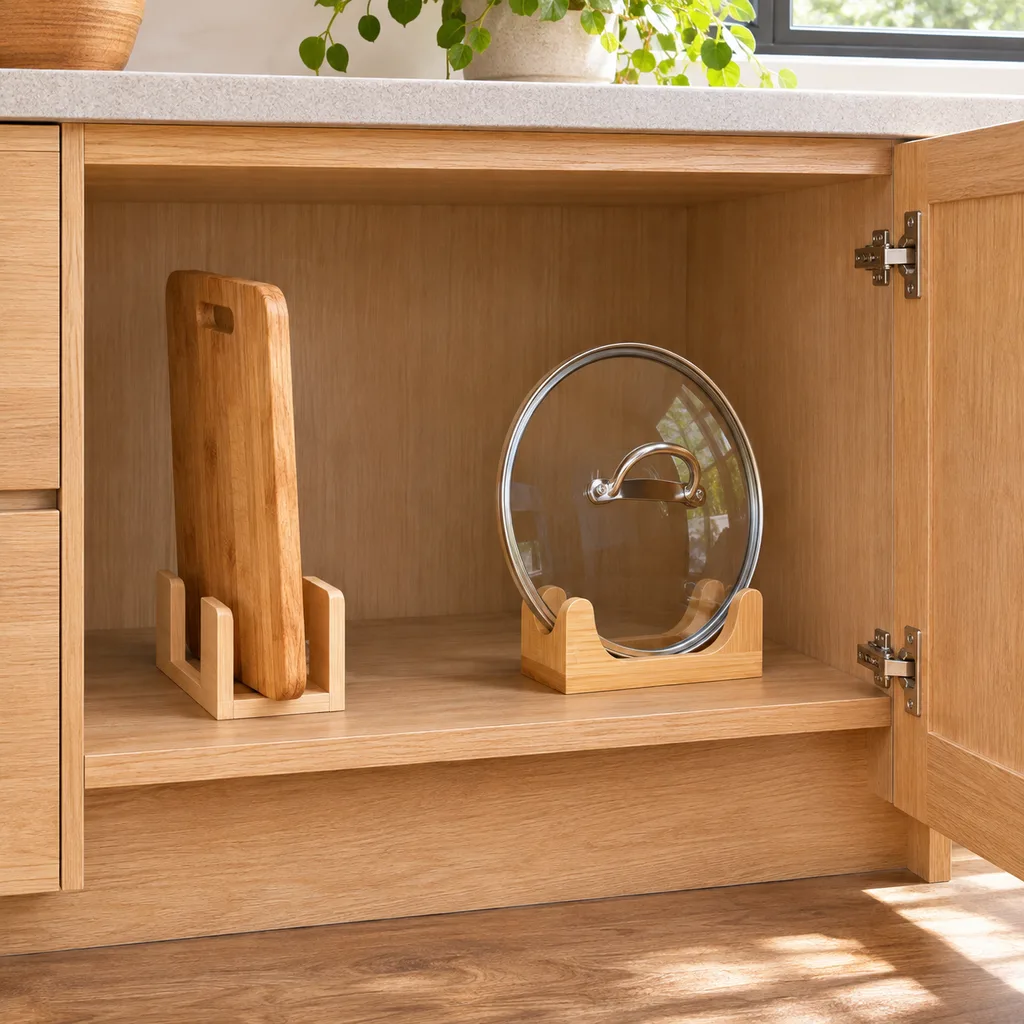
Measure the usable cabinet opening and the available shelf area, including hinges and projecting hardware. Then consider the motion of removing each piece. A board may stand inside the cabinet but need extra room above it to lift out of a rack.
For lids, include the knob or handle, not only the round outline. A lid placed with its handle facing outward can interfere with the closing door; turning it inward can make the grip harder to reach. Check the actual movement rather than choosing an orientation from a photograph.
Our deep cabinet guide covers the separate front-to-back reach problem. For boards and lids, add this question: can the largest piece leave its place while the neighboring pieces remain supported?
Use divided slots only when they support the actual pieces
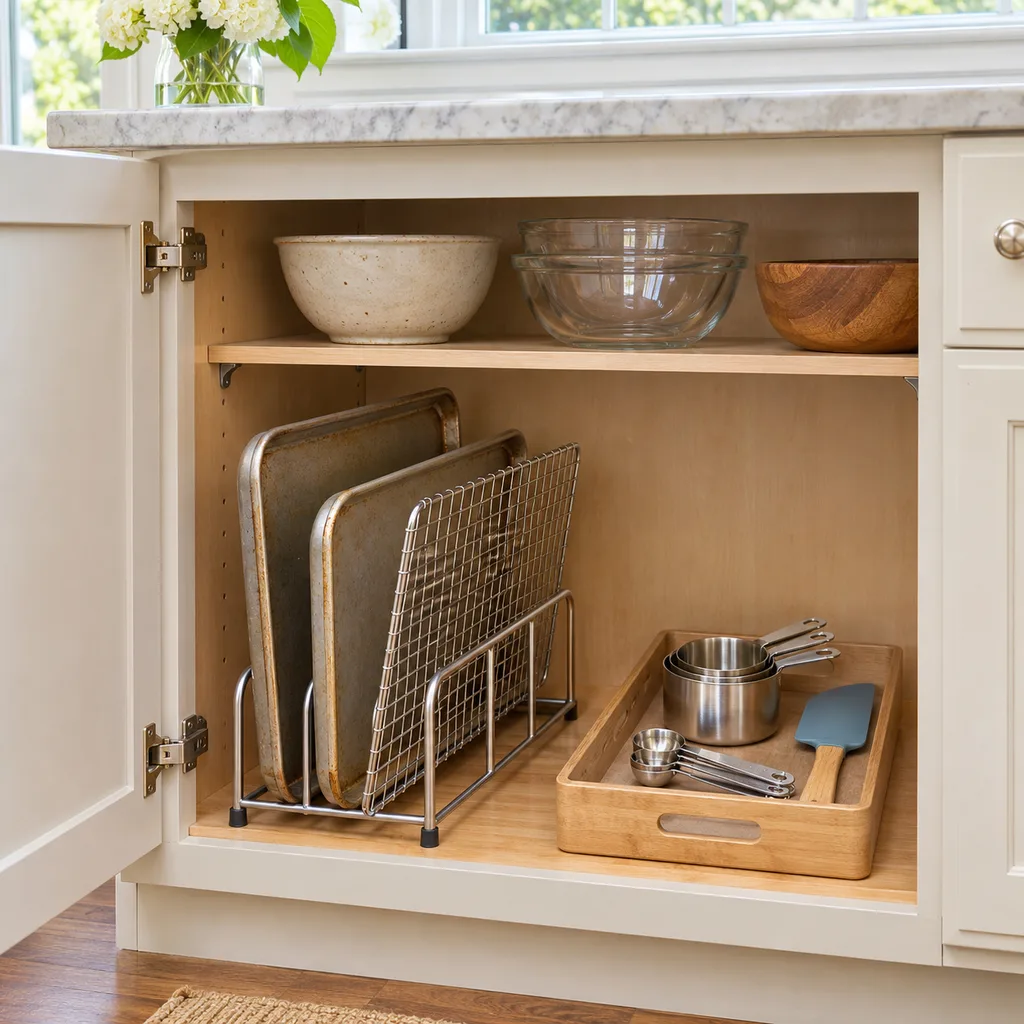
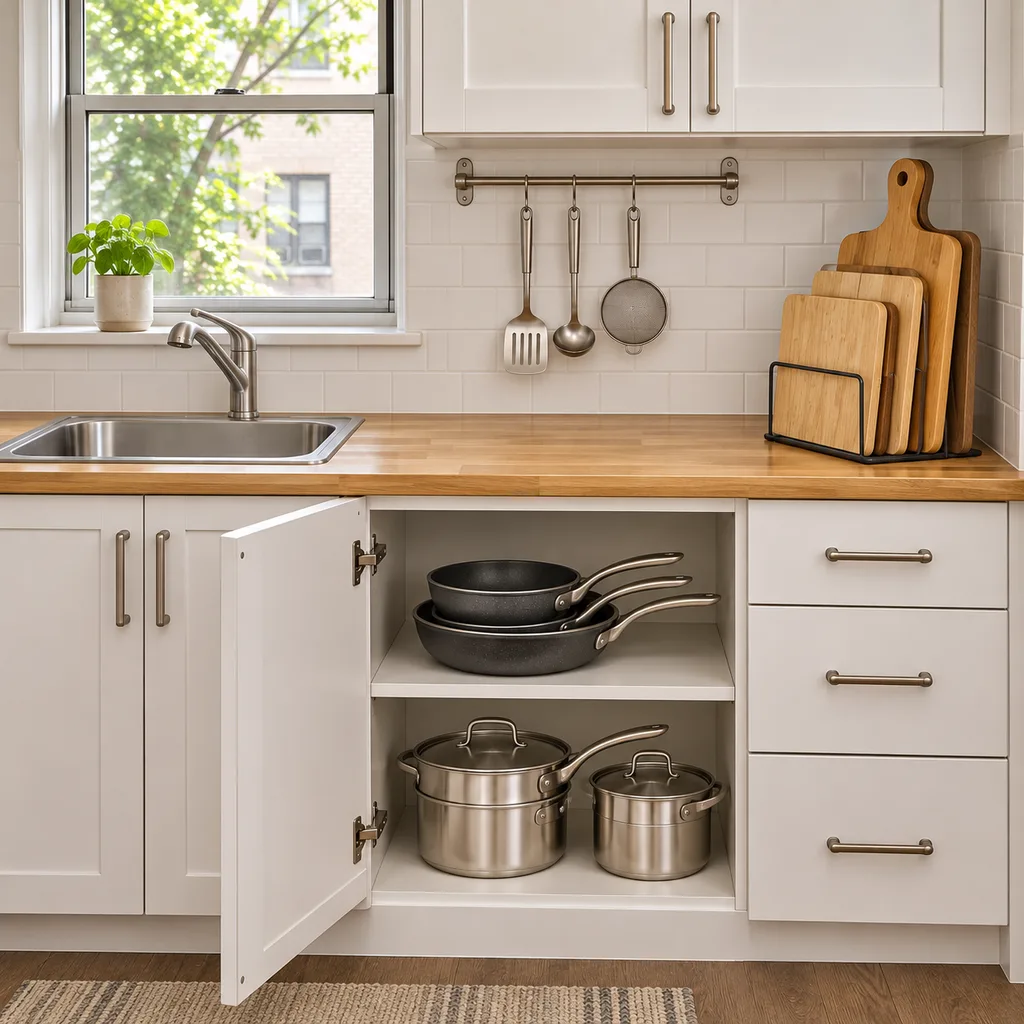
A freestanding divided organizer can give suitable boards individual places. Choose a holder intended for the pieces' weight, thickness and shape, and follow its instructions. A desktop file sorter or a narrow decorative basket is not automatically appropriate for heavy kitchen equipment.
Check whether a board can be grasped without pinching fingers between neighboring objects or pulling the holder forward. Keep the rack within the shelf and organizer limits. If the arrangement depends on another board remaining in place to stop everything tipping, reconsider it.
Material care still governs the final position. In its cutting-board storage FAQ, John Boos recommends storing its wood boards on edge and away from direct sunlight. That is a maker's instruction for its boards, not a reason to apply one care routine to every plastic, composite or wooden product.
Keep drying space distinct from storage space. Putting a board into a cabinet is not a substitute for completing the cleaning and drying required by its actual instructions. Do not describe an organizer as sanitizing the board or preventing contamination merely because it separates the pieces.
Give round lids their own supported resting positions
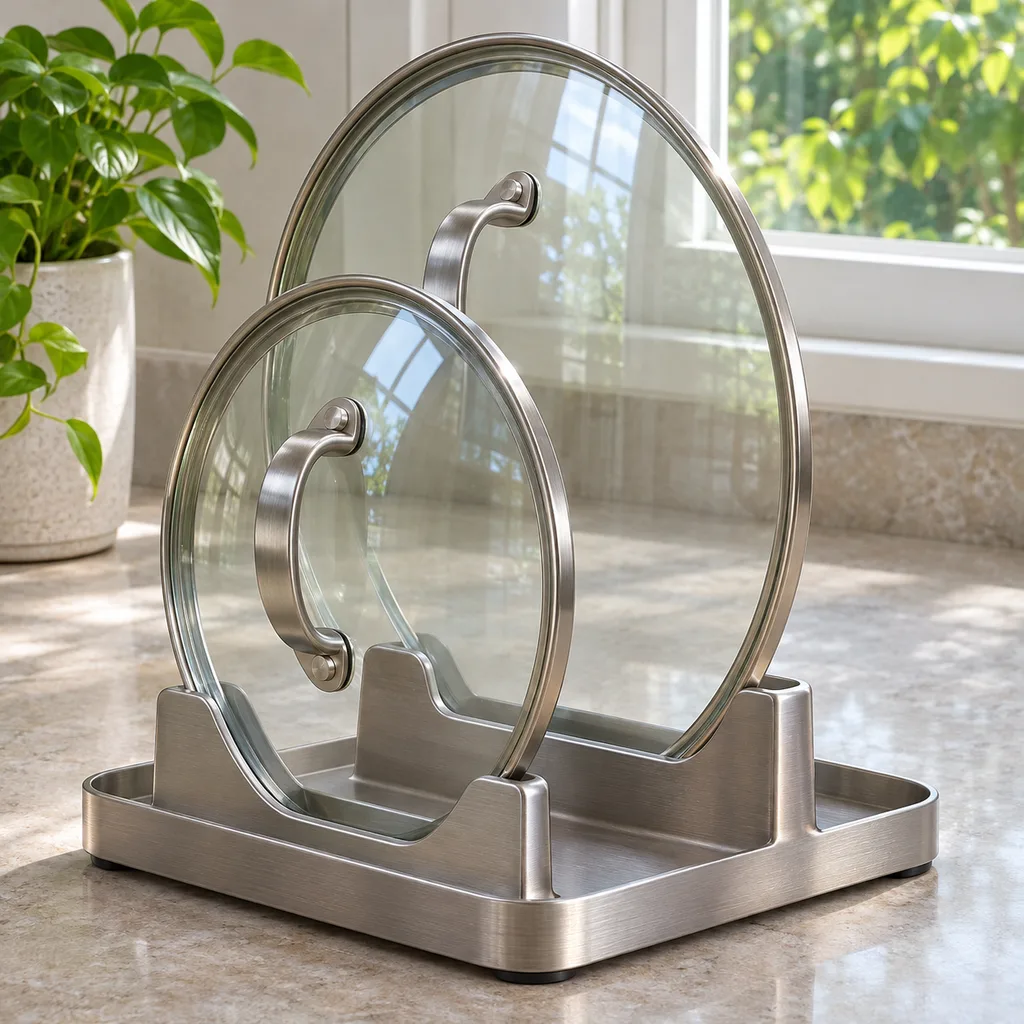
A lid holder should accommodate the lid's rim and projecting handle without letting the piece roll or lean precariously against a neighbor. Check the intended uses and actual instructions of the holder. A rack that accommodates one lid shape may not accommodate a different knob, rim or handle.
Leave enough room to take the chosen lid out and put it back without threading it through another handle. Keep the lid's matching cookware easy to identify, whether the pieces are stored together or in separate locations. A short readable group note can help when several similar lids are involved.
Door-mounted storage adds another set of checks: door construction, mounting requirements, hinge movement, interior clearance and the load the actual system is intended to carry. Do not drill, add adhesive or hang a heavy lid from an improvised hook on the strength of a general storage idea. Ask the relevant maker when the fit or installation is uncertain.
Keep a simple alternative when a rack does not help
Not every cabinet needs a new organizer. Some lids may remain with their matching pots when that arrangement follows the equipment instructions and makes both pieces easier to retrieve. Other pieces may need a separate supported location because nesting them creates an awkward lift.
For boards, use the storage orientation allowed by the actual maker. Do not assume a horizontal pile is a universal no-purchase solution, particularly when the board's instructions call for edge storage or air circulation. Changing the location can be more useful than adding another divider to the wrong shelf.
The small kitchen organization guide helps assess working space and ordinary retrieval. Keep a newly cleared gap when it is needed to move the pieces; the aim is not to fill every opening.
Check the return as carefully as the first removal
With the normal neighboring pieces present, retrieve the board or lid you use most often and return it to the intended spot. Notice whether the holder shifts, a handle catches or another piece must be balanced on the counter. A tidy arrangement photographed empty does not answer those questions.
If putting the piece away is harder than removing it, simplify the group or change the location. Keep identification and actual care instructions available. The useful result is a board or matching lid you can find, retrieve and return deliberately, not a larger collection of organizers.
Keep good recipes close
Add The Cooking Twins to your preferred sources on Google for more easy dinners, no-bake desserts and kitchen inspiration.
Emma & Ella Frost
A practical resource from The Cooking Twins.
More from Emma & Ella Frost
Comments
Leave a commentShare your question or planning tip below.